I have asked ChatGPT to generate 3D models. ChatGPT can not generate 3D models directly but 3D models can generated via intermediary OpenSCAD scripts: OpenSCAD provides a scripting language to describe objects which can be combined to form 3D models. ChatGPT understands the syntax of this scripting language and generates perfectly cromulent scripts. I have asked two versions of ChatGPT to generate a 3D model of a house, a cat, a stick figure, a chair and a tree. The results are interesting…
The models immediately make the difference between ChatGPT 3.5 Turbo and ChatGPT 4.0 clear: 4.0 generates much better models with, at least, recognizable elements: a chair has four legs, a cat has a head and a tail. It is impressive that reasonable 3D models are generated but there is still room for improvement: proportions are not respected and elements are not always connected. Anyway, if the 3D-models can be seen as a way to visualize code quality, then 4.0 is a clear improvement and it makes me curious about future ChatGPT versions. It also made me reflect on a couple of aspects of LLMs in general.
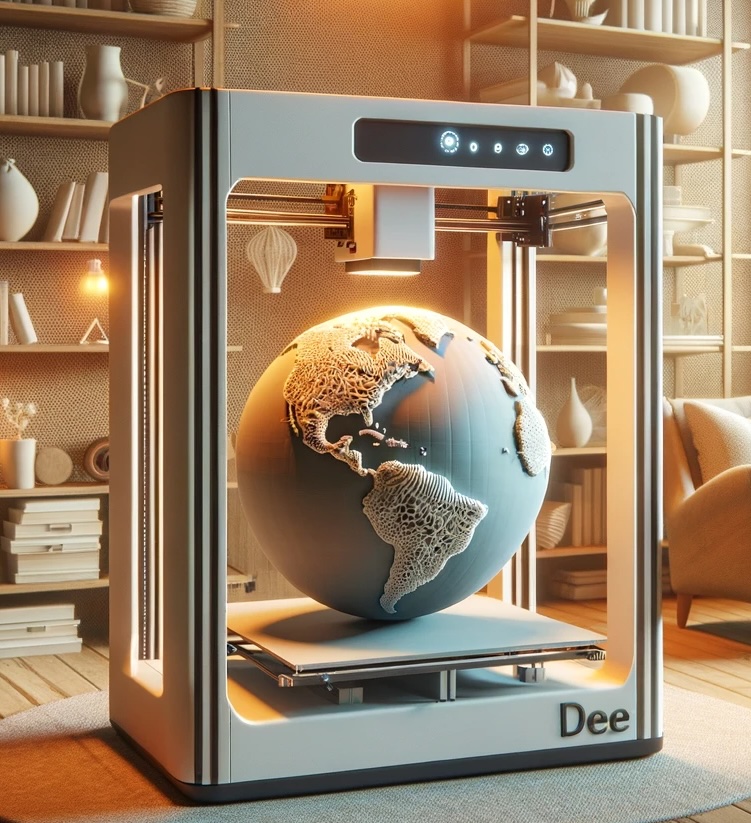
Fig: a black box generating 3D models.
ephemerality The response of a LLM to a prompt is ephemeral: the same prompt causes a different response depending on context, randomness and the position of heavenly bodies - or so it seems. Traditional software systems follow a strict set of clear rules and provide deterministic, predictable and reliable results. The inverse is true for LLMs which takes some getting used to. As a user, an LLM is effectively a vantablack box - there is no way to know why a certain response was given instead of another.
Updates LLMs services - and SaaS in general - have an additional feature which makes them even more unpredictable: updates to systems can happen without notice. After a recent unannounced update, for example, ChatGPT 4 started to produce gibberish. This adds another layer to the already uncontrollable and ephemeral nature of responses to LLM prompts.
To counter the ephemeral quality of prompt responses, I have 3D printed the generated 3D models. Some pictures can be found below. I find that these physical, tangible, immutable objects provide a comforting counterbalance to the digital, ephemeral nature of LLM responses. Additionally, it highlights the absurdity of the generated models.
There are other ways to solidify ephemerality: crochet patterns, juggling patterns, guitar tablature, music notation all have some kind of structured text representation which LLMs can generate and which can have a physical representation. I would encourage people to bring prompt responses to the physical world: it really makes the - current - limitations of LLMs very clear.
At the Ghent Center for Digital Humanities (GhentCDH) we offer IT-services mainly for researchers in the Humanities at Ghent University. The services range from internal collaborative research tools to publicly facing science communication platforms. Technically, it is a mix of off the shelve software with or without modifications and custom solutions using several technical stacks. It is a challenge to keep these services running, secure and up-to-date for years with a limited budget.
In an attempt to make maintenance of these services more manageable we are in the process of containerizing our software. Running software in containers has advantages. One of the advantages is a guaranteed consistency across environments. Also, isolated software containers can be beneficial for security and stability. It also allows one to run different versions of a stack on the same server without running into compatibility problems.
Next to running software in containers, development in containers also has advantages. It allows you to switch projects easily without needing to install dependencies - e.g a specific database system version - directly on a development machine. The main advantage I see is that containerization promotes developer hygiene. Stereotypically, developers do not have the best hygiene and can use any available help. Containerization forces developers to think about separation of code and configuration, code and data and it forces to be explicit about dependencies and environmental assumptions.
The main disadvantage is that some configuration is needed to get the containers running and that there is a small performance penalty. The following might help with that first part.
Dockerized Python database development
To put the theory to the test my colleagues and I put together a GitHub repository with a dockerized Python development setup. It shows interaction between Python and a PostgreSQL database. The database system runs in a container and the development environment is also kept in a container. Both containers are started with docker compose and configured via a .env file.
The stack uses a recent Python version, PDM to resolve Python dependencies and SQLAlchemy to interact with the PostgreSQL database. The VS code editor allows developers to run and debug software in a container. The video below shows the startup procedure and setting a breakpoint in some Python code.
Vid: Starting a database server and development container. Running and debugging Python code in a container.
Note that this is just an example setup, your setup might look quite different. You might need a different stack, use a different container environment (e.g. podman) or IDE but the principle of container based development could stay the same.
I have put off using containers for quite a while and I am quite a late convert, but now that I am doing more technical work in a small team I do see the advantages of an easy-to-set up, controlled, containerized development with explicitly defined dependencies. If you have no experience with containers yet, I would encourage you to at least try container based development out and see where it could help you!
A couple of months ago, OnTracx, a Ghent University sports-tech spin-off launched with the ‘dream of a world where every runner can stay injury-free’. That dream is based on a firmly grounded interdisciplinary research project, which I was fortunate to contributed to. The research project - headed by the UGent sports science department - developed a music-based bio-feedback system to reduce footfall shock while running with the aim to lower common running-related injury risk. I fondly remember soldering and programing the first cluncky prototypes, now already eight years ago!
In my role, I contributed to several key papers that form the foundation of OnTracx. Notably, the ‘validity and reliability’ paper, which has become the most cited work in my academic portfolio, which at least indicates academic interest. The main author of the paper is now doing a post-doc in Harvard, so he must have been doing something right! Additionally, I am also recognized as co-inventor on a patent related to the system.
Van den Berghe, P., Lorenzoni, V., Derie, R., Six, J., Gerlo, J., Leman, M., & De Clercq, D. (2021). Music-based biofeedback to reduce tibial shock in over-ground running: A proof-of-concept study. Scientific reports
Fig: schema of the low impact runner research system. Foot-fall impact is measured with wearable sensors and music-based feedback is given to the runner with the aim to avoid high impact.
The journey from research to commercial realization is always thrilling. As OnTracx steps into the market, I am filled with hope and anticipation for its success, mirroring and potentially exceeding the fruitful research track.
My ex-girlfriend and current wife likes maps. While looking for a gift for the new-years I got the idea to give her a 3D map of the nearby historic city center of Ghent with its three iconic towers. I have a 3D printer at home but still need to find a printable 3D model of Ghent.
Luckily, a couple of days ago a piece of software appeared to capture Google Earth tiles -cubes- into a single 3D file. There you can select an area of interest via google maps and download a GLTF file which captures the landscape in 3D. The software needs an API key which can be requested via the Google Developer tools.
After downloading a GLTF file, the 3D model needs to be made 3D-printable. There are online GLTF to STL converters but a bit of care needs to be taken to end up with an actually printable STL. My selected area of interest only has slight height differences in the landscape which are handled by placing the STL file on a base which compensates for these differences. Your 3D slicer can also generate structure to support inclinations in the landscape.
The 3D model generated by Google Earth is quite noisy and can contain floating parts and holes. It may be needed to edit the STL mesh directly. Selecting a slightly shifted area of interest may also solve problems with the edges of the print: take care to chop less buildings in two.
Have fun printing your own piece of the world!
Fig: a 3D model for the Ghent city center visualized with an Three.js STL viewer.
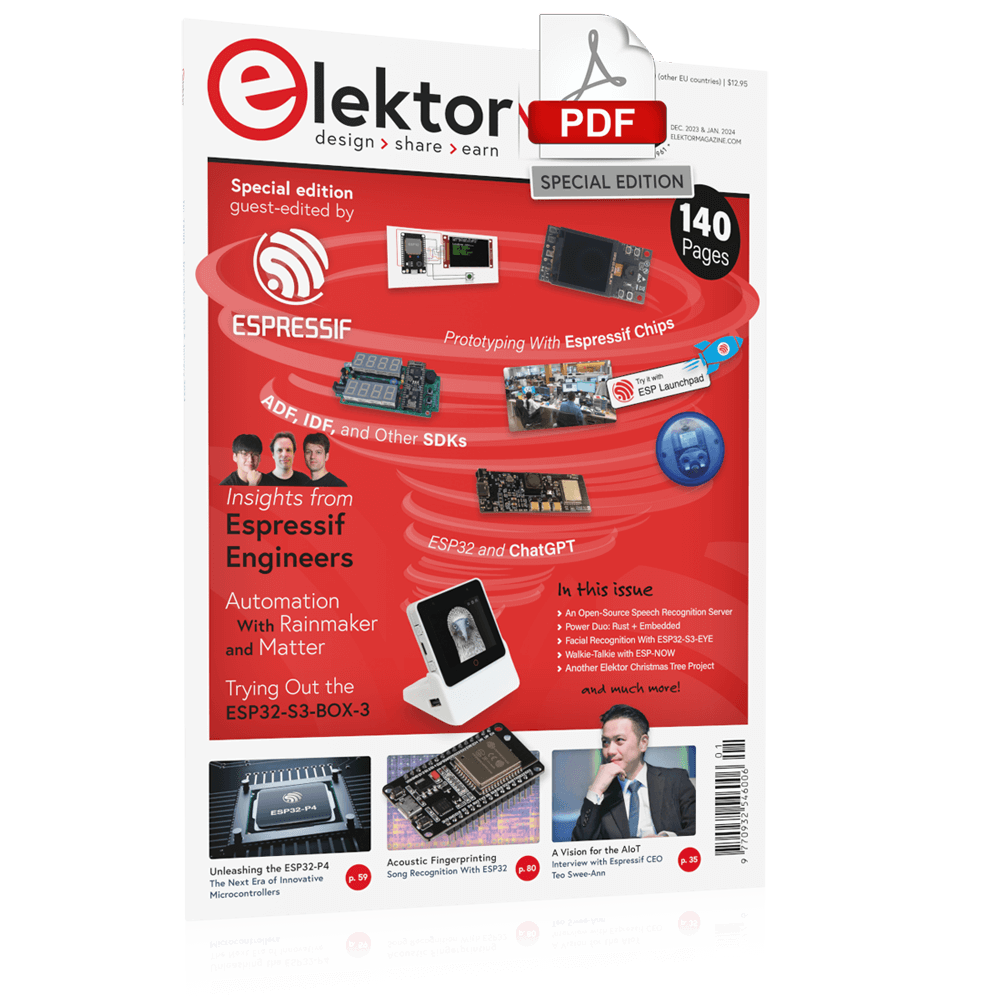
Elektor, a hobby electronics magazine, recently featured an article on acoustic fingerprinting using the ESP32. It is included in a special edition on Espressive products like the ESP32. This article includes content previously published on this blog and other writings about Olaf.
Since the article is based on my writings, there was an agreement to allow one of their writers to compose the magazine article under my name. This was my first experience with having a ghostwriter – quite convenient, I must say. Although it’s somewhat apparent that the article is compiled from various sources, I am overall pleased with the outcome. It even made the front page!
Elektor has a rich history, dating back to the early 1960s when it was first published in Dutch as ‘Elektuur’. I have fond memories of browsing Elektuur at my nerdy uncle’s place. If anything, this article has certainly earned me some nerd credibility points in my uncle’s eyes.
Fig: Hammer vs. screw. Not the right tool for the job.
For the last couple of years this blog has not been using any Javascript. During the last decade this has become quite rare. Only 1.2% of websites do not use Javascript I see this as a problem. In this text I want to argue that Javascript is perhaps not always the right tool for the job. Especially for web-pages which visitors simply want to read and where no explicit interactive actions are wanted from a user perspective, I see Javascript as detrimental.
I was triggered to write this by a few observations. One is by a Rails frontend framework which claims that “the only technology we should be using to create web UI is JavaScript”. This implies that the whole DOM should be rendered by Javascript. On the other hand there are frameworks which now advertise server side rendering as new feature like Blazor and Nuxt. The old thing is new again.
Let’s look at a few examples. Take visiting news website. On a news site, a user expects to be able to read current news, reviews, opinions, .. and there is no expectation of interactivity. Basically, a news site could work equally well on physical paper, as was the case for the last century or more. Ideally, a news site is a static HTML page with an easy to follow layout and some images, perhaps some static ads, with information flowing in a single direction.
If we look at, for example, the Guardian, we do not get this ideal experience, instead 82 Javascript files are loaded and the full website takes six full seconds to load on a fast fiber connection. The site even tries to load files from other domains. This bloat results in 8 website programming errors and CORS-issues. The Guardian website is far from the worst example of this sprawl of Javascript, the front-end for the Guaridan is even developed in the open.
Another news site is Hacker News. With its focus on Sillicon valley and technical news, this site has probably one of the most tech-savvy readers and … it does not rely on Javascript for functioning. There is a single small, readable 150 line script to improve usability but that is it. The makes the the website fast, easily indexable, straightforward to maintain, accessible, future-proof, failsafe, and compatible with even the most basic browsers and screen-readers.
Similarly, this blog is a dynamic Rails site but thanks to extensive use of server-side rendering and caching it behaves more like a static site generator: once everything is cached, the application mostly serves static HTML fragments. The client-side requirements are minimal as well: since no Javascript is used to modify the DOM - or even at all - lay-outing is straightforward.
Note that some blog posts feature advanced web application prototypes which do use a boatload of Javascript e.g. to convert audio, visualize audio, interact with micro-controllers or MIDI instruments,… . These prototypes use many of the available browser APIs like the Web Audio API, WebAssembly, Web MIDI API, Web Bluetooth API, WebGL, …. I really do like targeting modern browsers with offer many possibilities to build easy-to-use applications. But that is exactly a distinction that needs to be made: applications versus pages. Javascript versus No Javascript.
There is something about surprising interfaces. Having a switch to turn on a light gets quite boring after a while. Turning on a light by clapping twice, on the other hand, has some kind of magic feel to it. In a recent Mr Beast video he and his gang visit a number of expensive houses and in one of those mansions there is a light operated by clapping twice. I am not sure about the blatant materialism, but it got me thinking on how to build a similar clap-operated light yourself.
So, what are the elements needed: first a microphone to pick up sound. Second an algorithm is needed that detects claps. And finally, something that reacts to claps: a light or something else.
Many devices have microphones so sound input is relatively easy, and with some creativity there are many things waiting to be ‘clap triggered’: vacuum robots, sunscreens, lights, in-house ventilation, … The main difficulty is implementing a efficient clap-detection algorithm. Luckily there are already a few described in the literature. I have based my ANSI C implementation on ‘Duxbury, C., et al (2003). Complex domain onset detection for musical signals’.
My version of the clap-detection algorithm has two parameters which might need adapting to fit your environment. The silence threshold determines the minimum loudness for a clap to be triggered. The onset threshold determines more or less how ‘percussive’ the sound needs to be: the idea is to only react to things sounding like a clap and not to e.g. a loud whistle or other sounds. This is what the onset threshold tries to control. You can try it out below:
Demo: click the 'start audio' to capture your microphone and try to clap clearly twice. Lower the parameters if nothing happens.
Clap detection on a micro-controller
With this working we now can try to run this code on a micro-controller. Running it on a micro-controller makes it more practical in daily use to e.g. switch on lights. A low-cost ESP32 with a MEMS microphone is a good platform: these microcontrollers are easy to use and have WiFi connectivity which opens the possibility to trigger commands to smart sockets or other WiFi-enabled devices. The pector GitHub repository contains an Arduino project to run the clap-detection algorithm on an ESP32 or similar device (Teensy, RP2040,… ).
Clap detection in the command line
Next to the main clap detection software, there is a small script to trigger commands when a clap is detected. In this case, the script waits for a double clap and then pushes updates to a git repository. There are two reasons for this: the first is that it is fun, the second is for bragging rights. Not that many people can say they once pushed source code simply by clapping twice. It is, however, a challenge to find people who have the patience to listen to me explaining what I have done and who are impressed by this feat, so maybe there is only one reason: it is fun. Below a screen capture can be found pushing code to the pector repository.
Vid: pushing code by clapping
Have a look at the pector GitHub repository for more info on how you can make your websites/apps/command line tools/devices clap controlled!
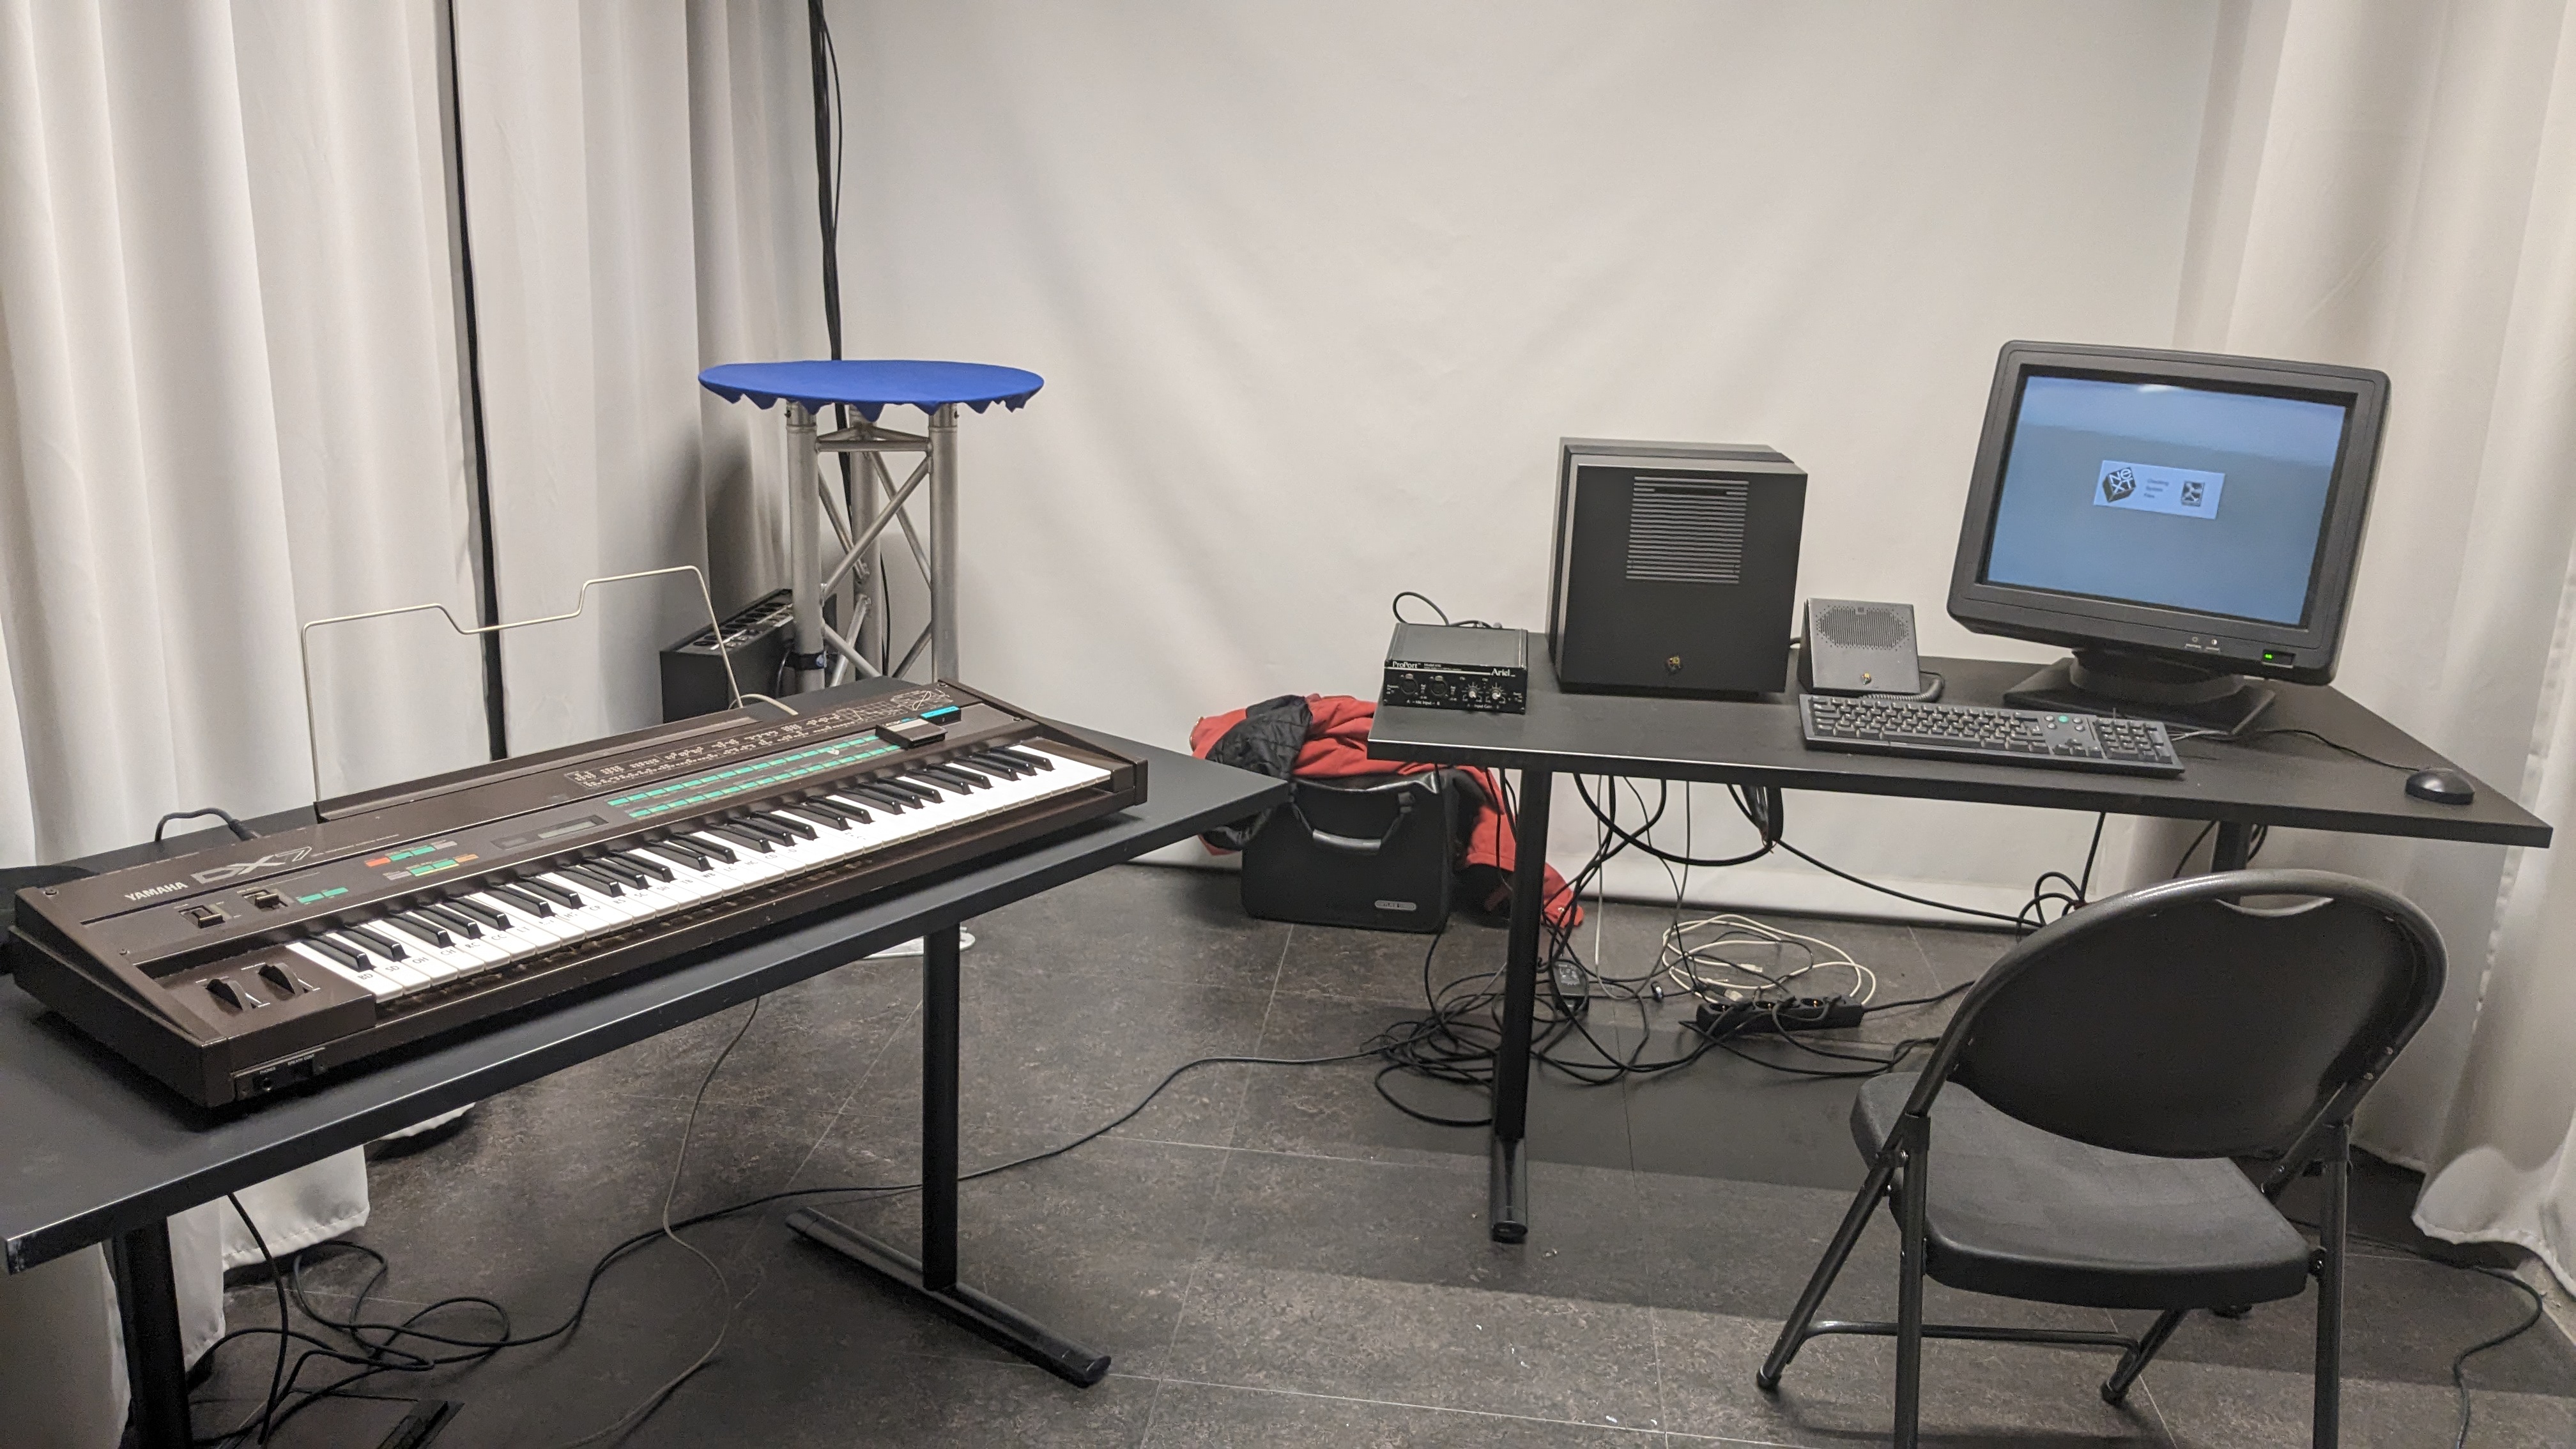
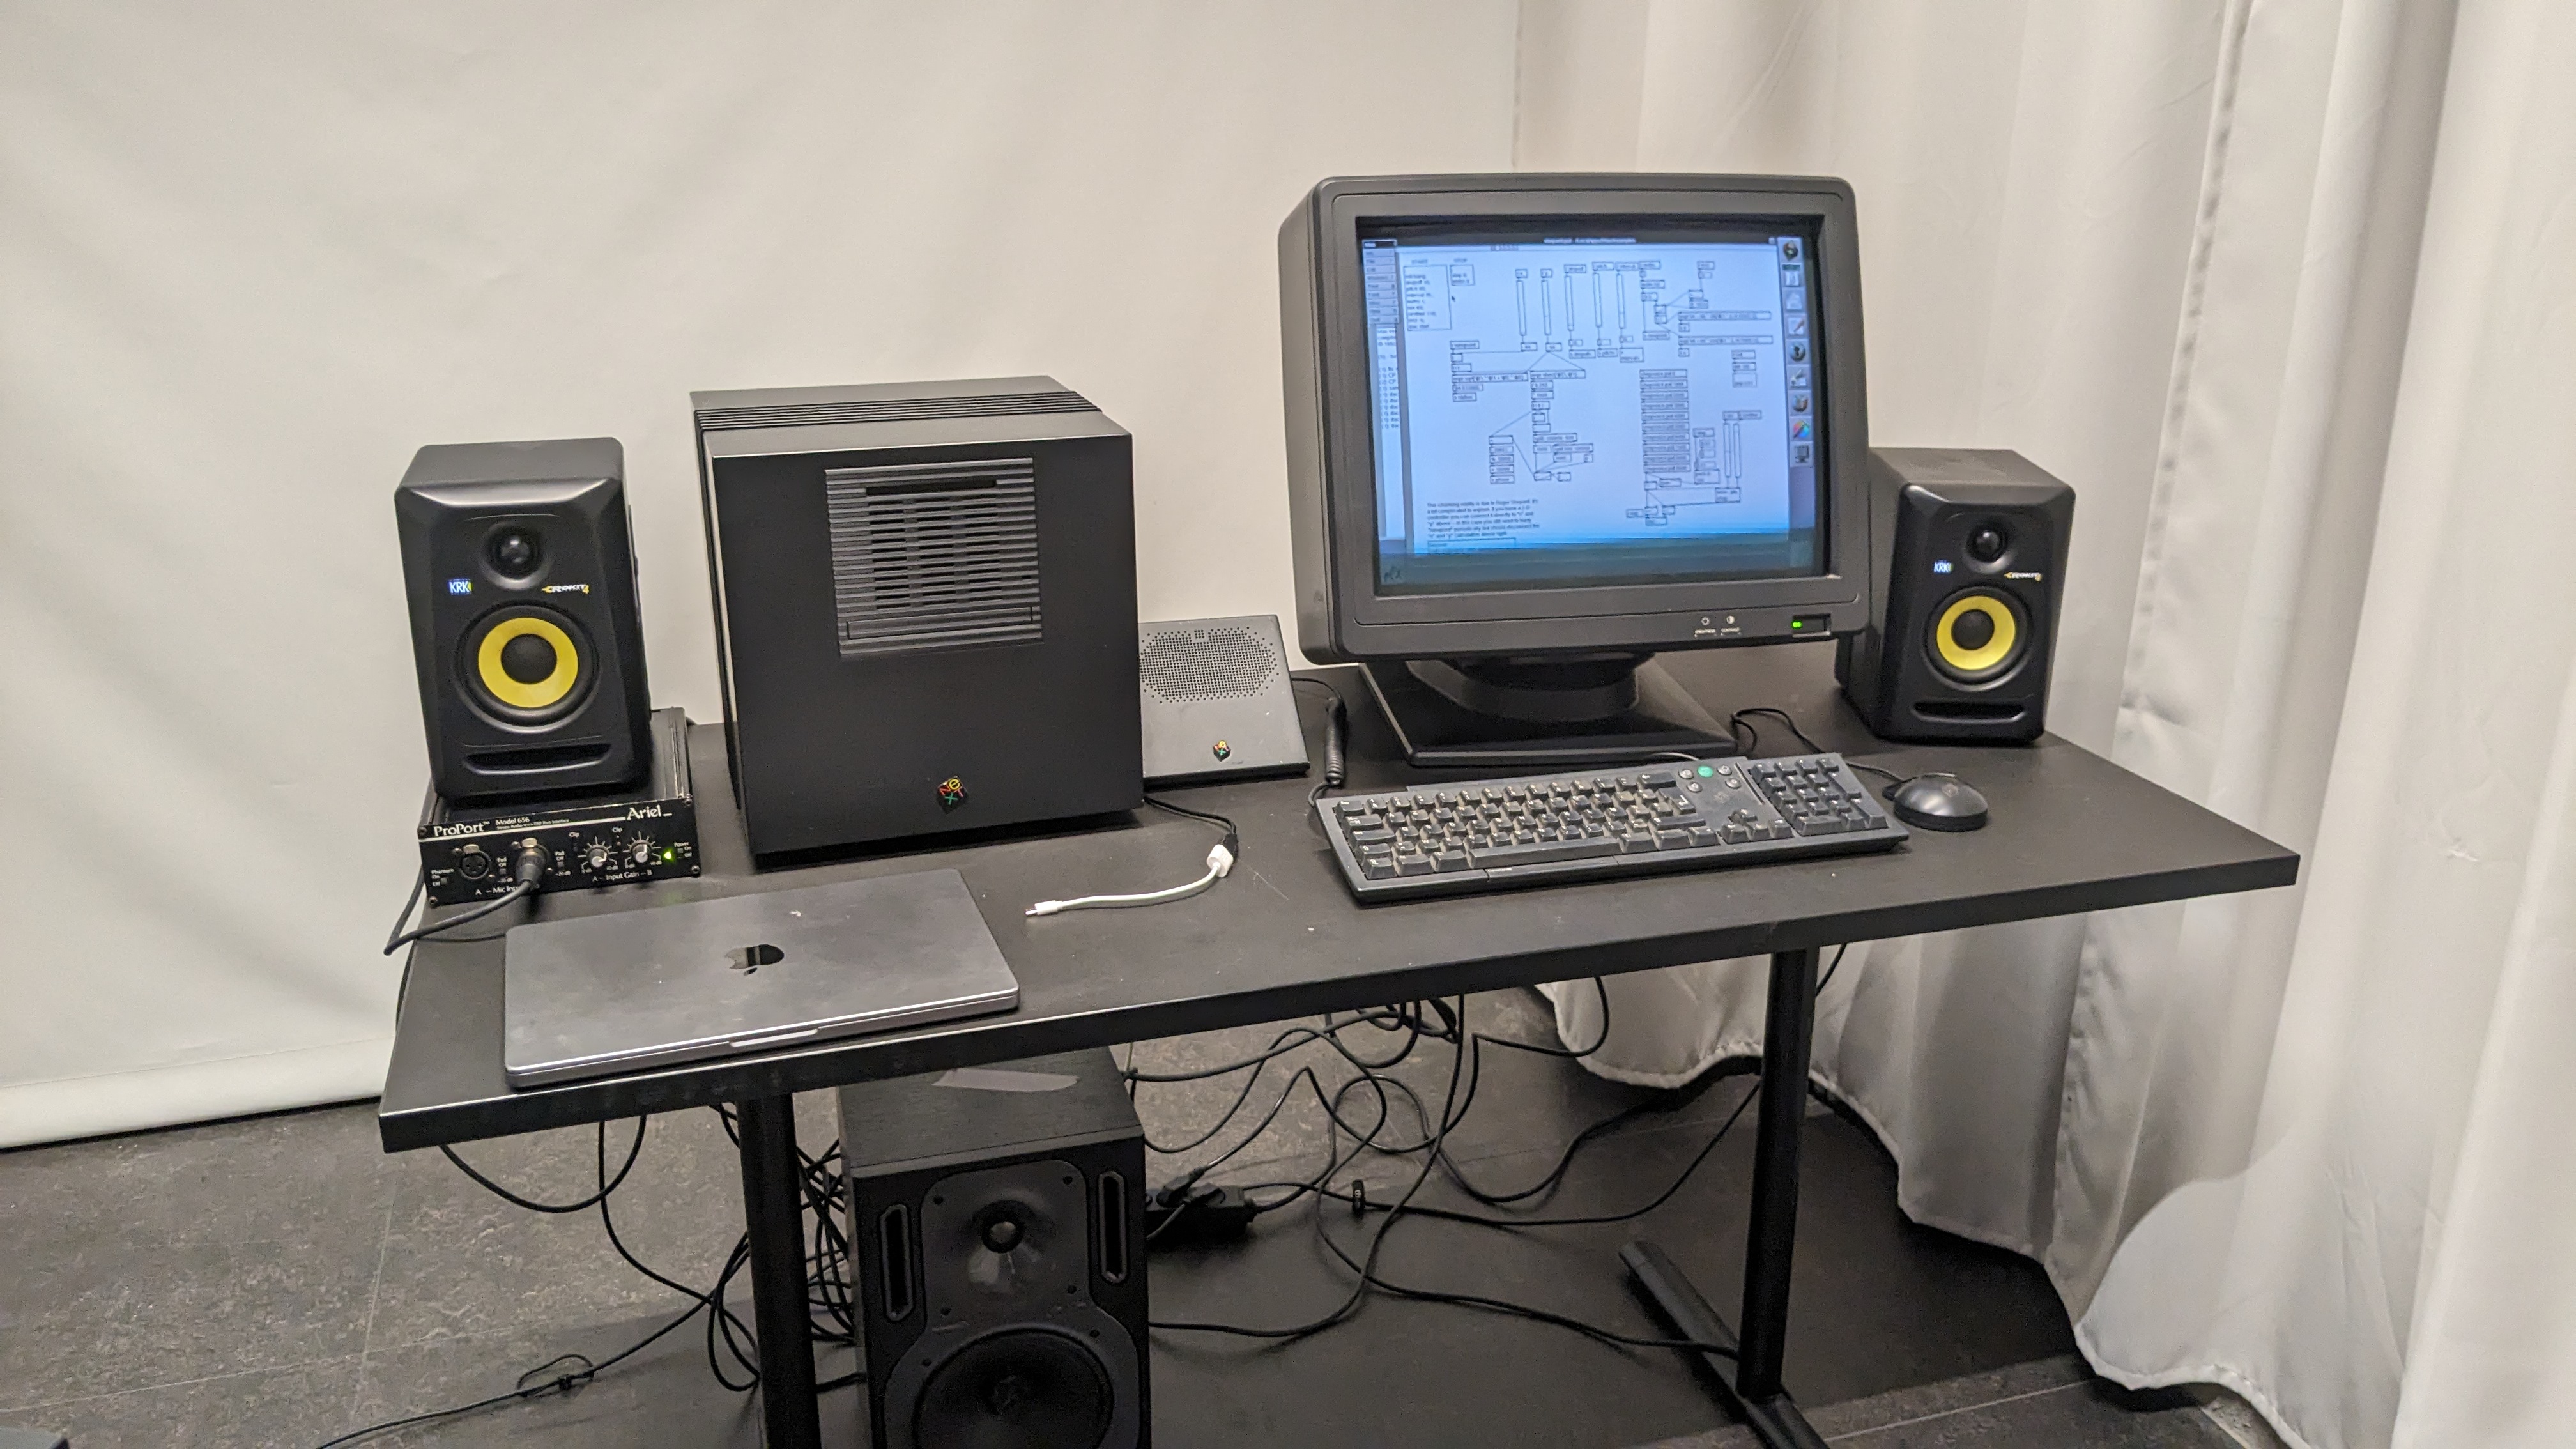
I will be demoing an early digital music workstation at the Flanders 2023 Science Day. During the Science Day there will be demonstrations of several of the electronic music heritage instruments of the collection of IPEM, which used to be an early electronic music production studio. In the collection is a vintage analog synthesizer (an EMS Synthi 100), a Yamaha DX7, an analog plate reverb audio effect processor and, finally, a NeXTcube with a unique sound-card and early digital music workstation software.
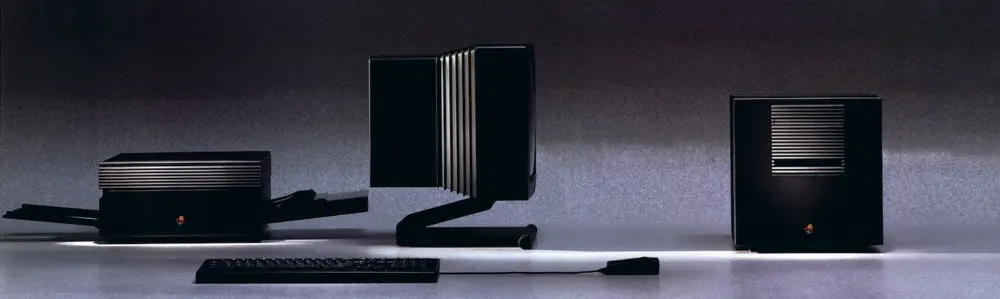
The NeXTcube is an influential machine in computing history. The NeXTcube, with an additional soundcard, was also one of the first off-the-shelf devices for high-quality, real-time music applications. I have restored a NeXTcube to run an early version of MAX, an environment for interactive music applications. This combination of software and hardware was developed at IRCAM and was known as the IRCAM Musical Workstation or IRCAM Signal Processing Workstation (ISPW). See my previous blog posts on Electronic Music and the NeXTcube and USB MIDI interface for the NeXTCube
Fig: the NeXTcube's design stood out compared to the contemporary beige box PCs.`
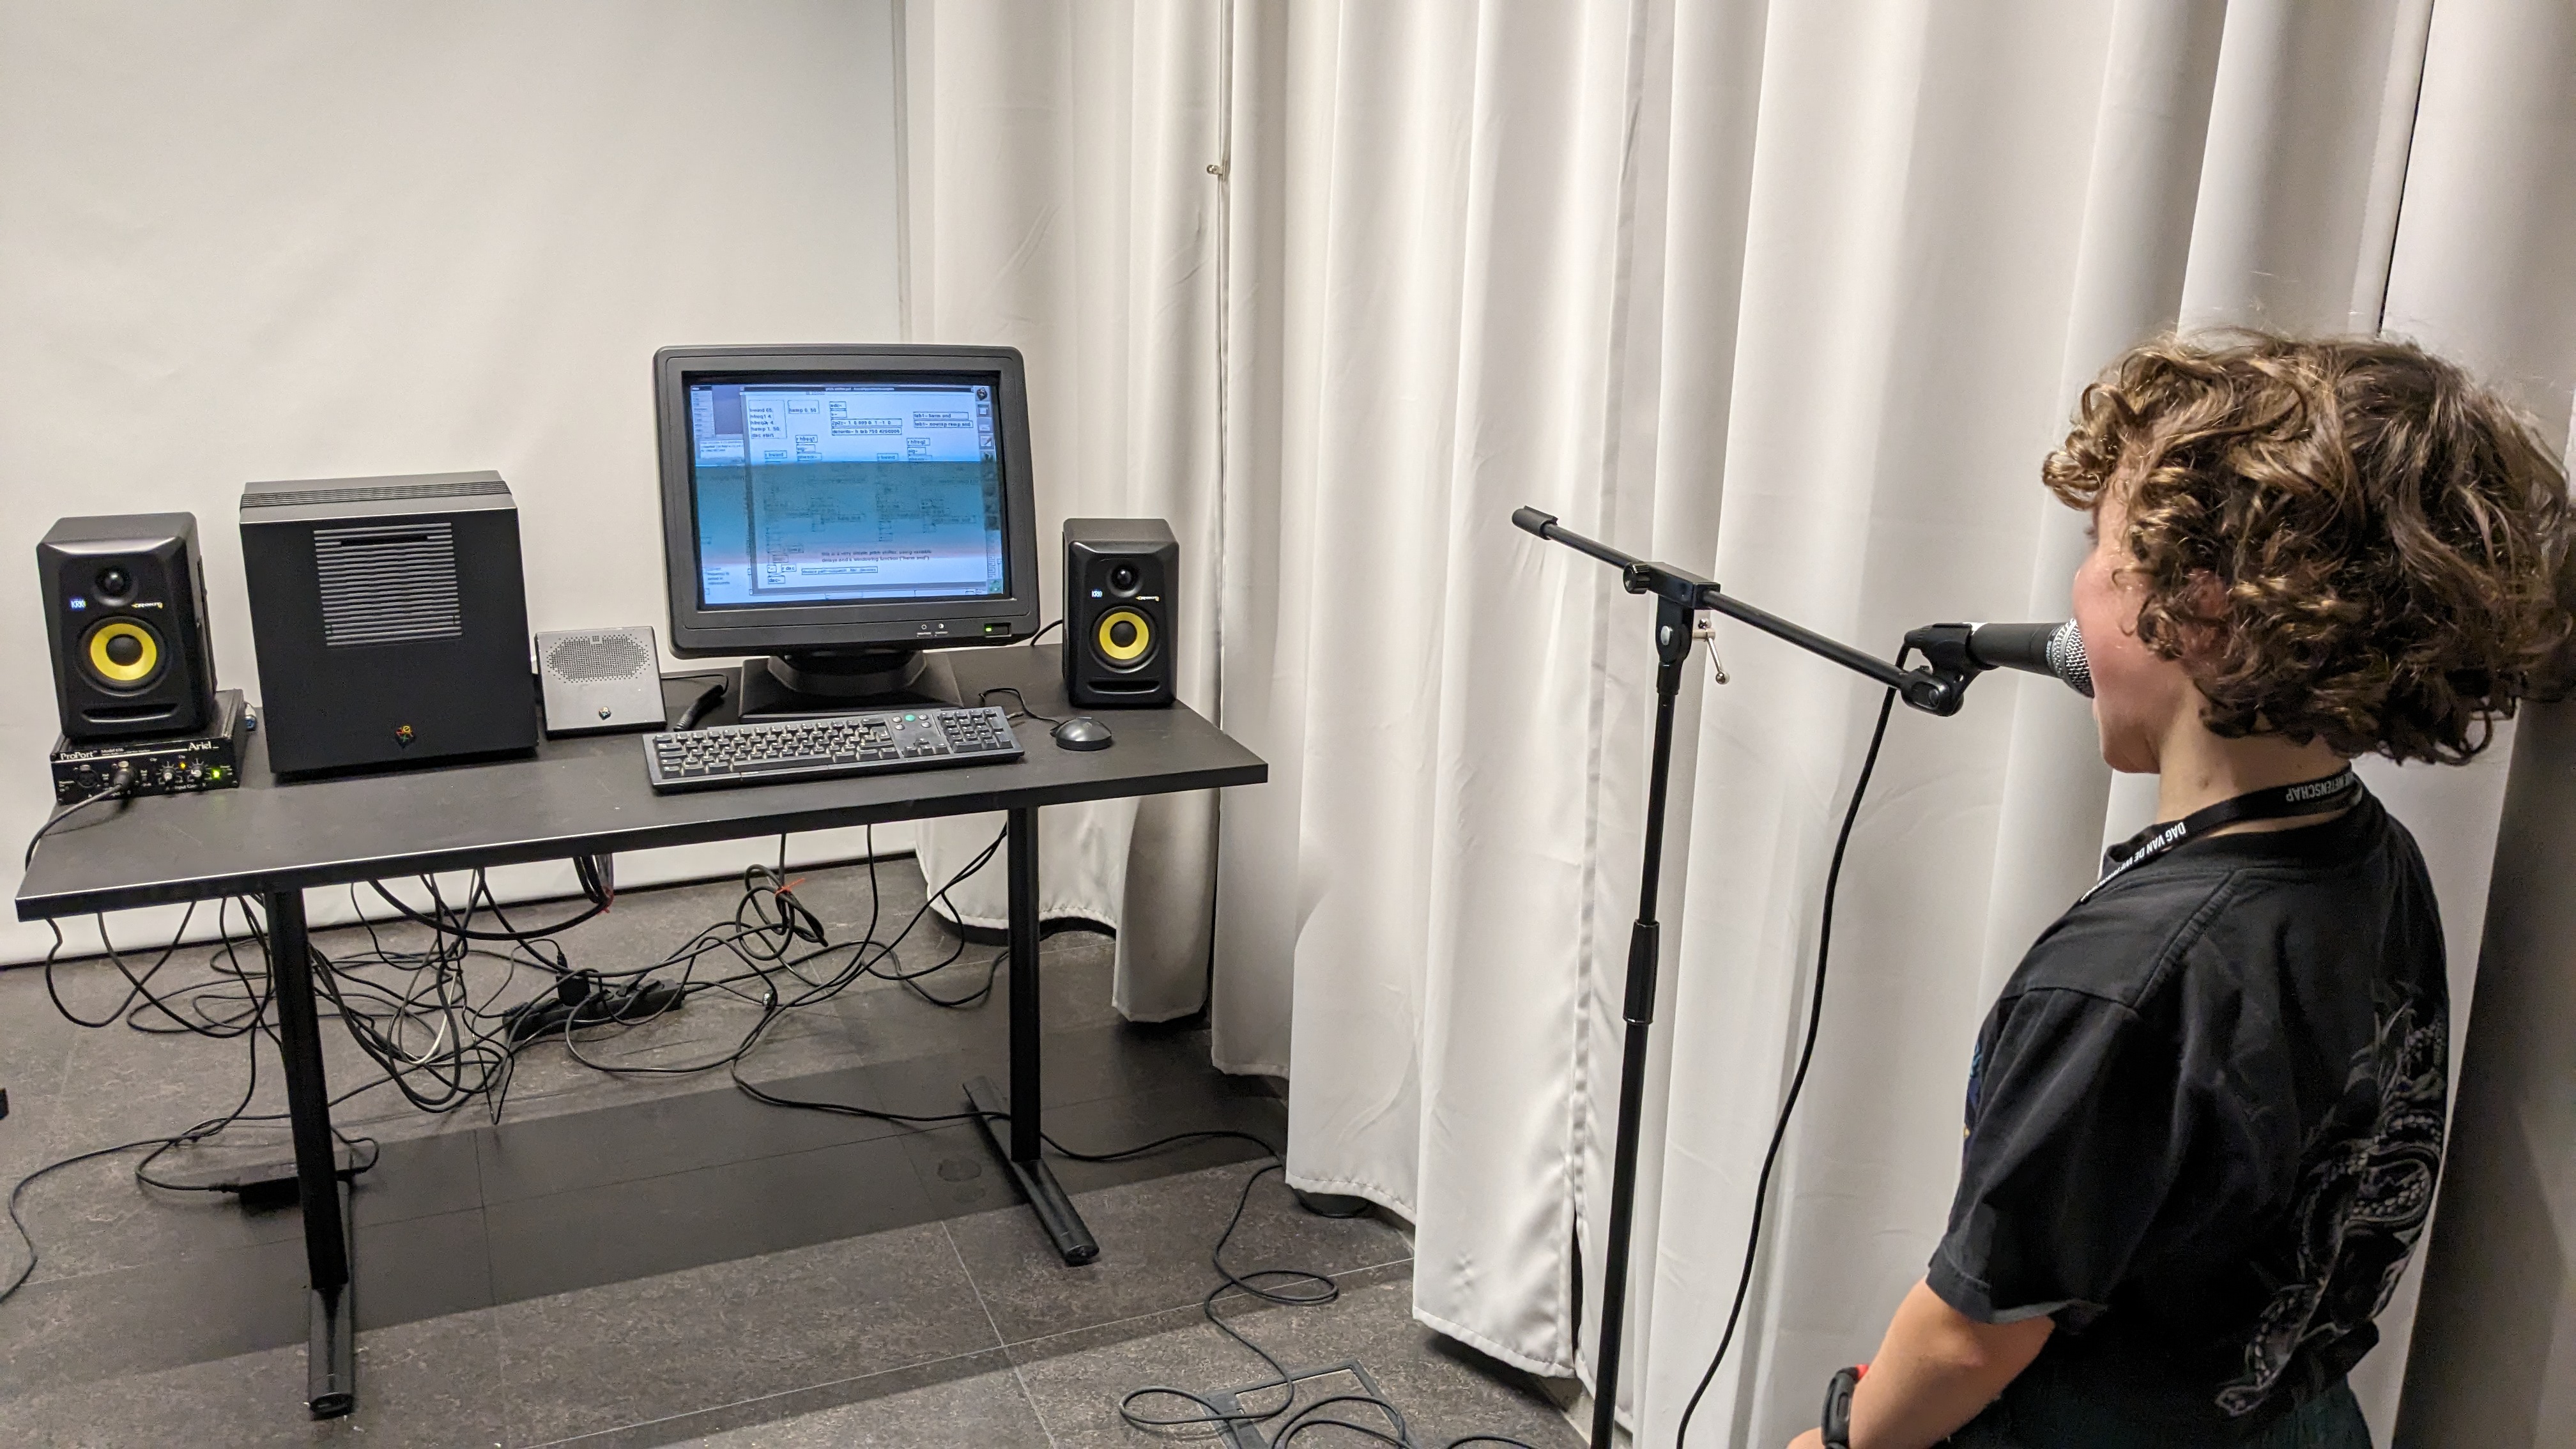
The IPEM collection of electronic music instruments is unique with the aim to reintroduce the instruments into daily music practice an turn them into living heritage`. For example in 2020, the Dewaele Brothers released the album made exclusively on the IPEM ‘EMS Synthi 100’ synthesizer. The NeXTcube demo will be hands-on as well. See you there!
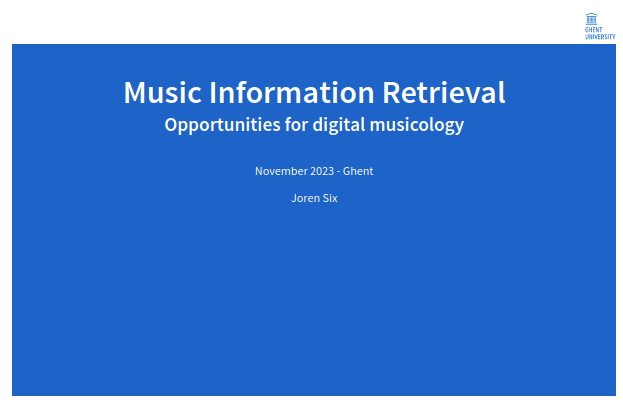
I have been asked to give a guest lecture introducing Music Information Retrieval for the course ‘Foundations of Musical Acoustics and Sonology’ at Ghent University. The lecture slides include interactive demos with live sound visualization and can be found below.
As we delve into the intricacies of how machines can analyze and understand musical content, students will gain insights into the cutting-edge research field that underpins modern music technology. From the algorithms powering music recommendation systems to the challenges of extracting meaningful information from audio signals, the lecture aims to ignite curiosity and inspire the next generation of musicologists in both music and technology. Get ready for an engaging session that promises to unlock the doors to a world where the science of sound meets the art of music.
Thanks to ChatGTP for the slightly over-the-top intro text above. Anyway, here you can find my introduction to Music Information Retrieval slides . Especially the interactive slides are perhaps of interest. The lecture was given in the Art-Science Interaction Lab (ASIL) which has a seven meter wide screen, which affects the slide design a bit.
Fig: Click the screenshot to go to the 'Introduction to Music Information Retrieval' slides.
</img>
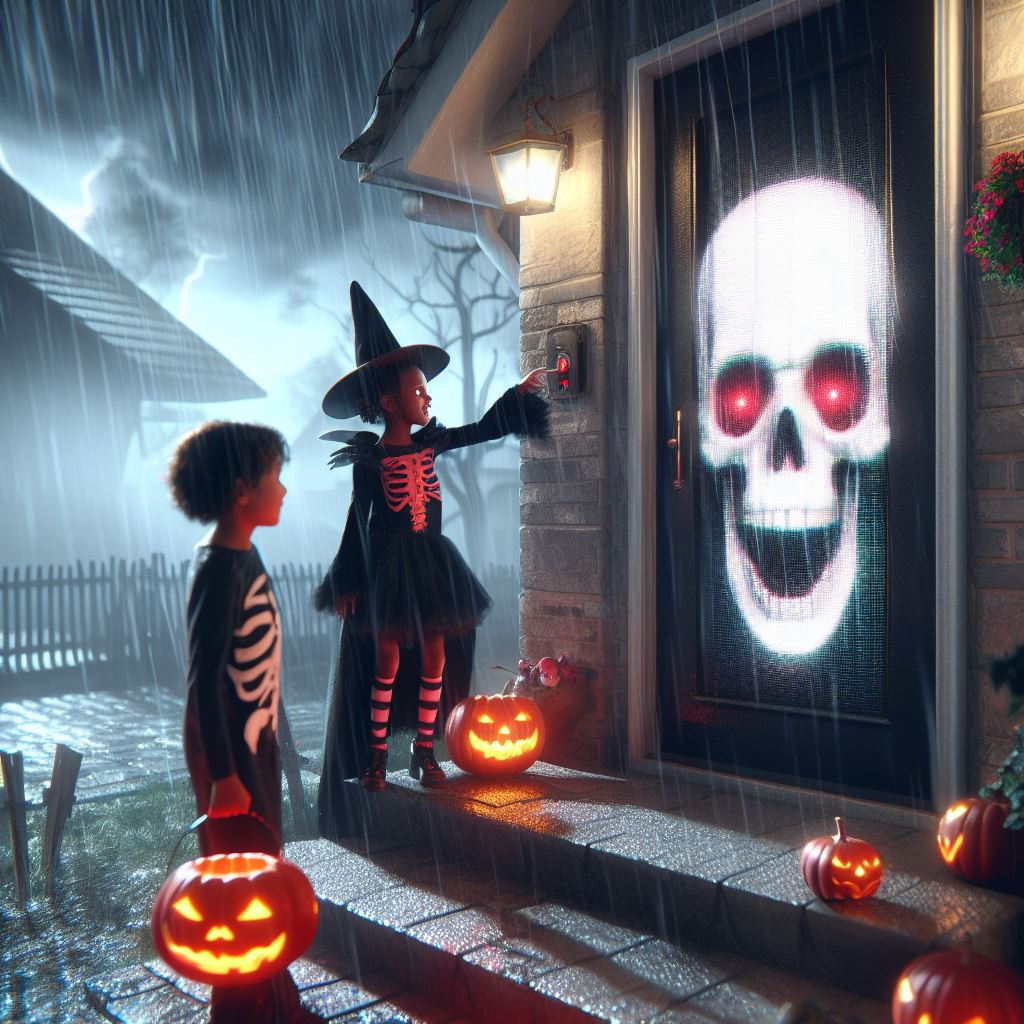
Fig: *Door projection as imagined by DALL.E*.
I did a thing, and, similar to most stuff made here, it is quite a bit of effort and rather pointless. In that sense, it is a bit like life itself. Anyhow, it seems that the Halloween tradition of trick-or-treating has found a strong foothold in mainland Europe. Due to social embeddedness, I prepared Halloween themed projection that responds to my door-bell. I have a glass door, which is ideal for scary projections. The idea is to have a continuous door projection but with a twist: when kids press the doorbell a projected ghost reacts and rushes towards them along with a loud ghostly scream.
This blog post details the technical setup with the intention to inspire similar projects and serve as documentation for next year. First we need a way react to the doorbell.
Doorbell trigger setup
I sourced a couple of FSR (Force Sensitive Resistor)’s from a “sound book” that I had taken apart. Most of these sound books with e.g. animal sounds are meant for toddlers and have a some type of button and a small electronics circuit to make sound. Some of these books work with FSR ‘buttons’ which are similar in size to a doorbell. I took a single FSR from such a book.
I attached the FSR to a “Teensy LC” micro-controller with an additional resistor and put it in a small 3D-printed case. The Teensy was programmed to emit a MIDI Note On event when the FSR/doorbell is pressed. A Note Off follows when the button is released. Once it is connected via USB to a computer it is essentially regarded as a digital piano with only a single key. Making a micro-controller pretend to be a standard MIDI device is very practical since the message passing protocol is standardized and well supported by many types of systems. MIDI is also optimized for low-latency communication. Via the Web MIDI API there is even support for MIDI in web browsers.
Video projection
While software like Resolume allows for complex interactive video projections, my requirements are more modest: I need a continuous background video and I want the ‘scare’ video and audio to appear when the doorbell is triggered. I opted for a browser-based solution: multi-media capabilities, scripting and MIDI support are all present in modern browsers. Running things in a browser has advantages: there is no need for specialized software, it is easy to program, easy to run, relatively stable and future-proof. The proof-of-concept can be seen below. For the actual projection on a window or door you need to first cover the glass with a thin layer of white paper which lets most light through. A white paper tablecloth works well.
Demo: click the 'start video' to start the background video and click doorbell if you dare...
The code is not much special and a bit hacky but can be found attached. The download includes the “html, javascript, css, video, audio and the micro-controller software for a doorbell-triggered projection”.
From the first of October I started at the Ghent Centre for Digital Humanities (GhentCDH) as research software engineer. GhentCDH ” engages in the field of ‘Digital Humanities’ at Ghent University, ranging from archaeology and geography to linguistics and cultural studies. GhentCDH develops DH collaboration and supports research projects, teaching activities and infrastructure projects across the faculties”.
I will be helping with the many projects they are involved in: ranging form public research valorization to internal research tools. I am sure I will learn a lot by discussing projects with a diverse range of researchers and hope to consolidate my expertise in the area of mulitimedia analysis and annotation in some ways. The current areas of expertise can be found on their website:
Collaborative databases: offering advice and support for collaborative databases at Ghent University. It helps researchers to develop a database instance, powered by e.g. Nodegoat. It provides advice regarding data standards and linked data.
Digital text analysis: aiming to improve digital text analysis at Ghent University by offering support and information to researchers. You can contact us for advice on TEI and digital editions, working with digital text analysis tools, and using computer-assisted qualitative data analysis.
Geospatial analysis: offering advice, support and training regarding geospatial data management, analysis and visualisation to the humanities and social sciences researchers at the Ghent University.
Digital heritage: offering support in regards to digital heritage, participation and virtual expositions. GhentCDH helps researchers, teachers and students to create, manage and enrich their own digital collections and set up virtual exhibitions around them.
A recent GhentCDH project is Gent Gemapt or Ghent mapped‘an interatcive platform which connects places, historical maps and heritage collections which each other and the wider audience’.
The recent version of the OLAF (Overly Lightweight Acoustic Fingerprinting) audio fingerprinting system also includes an updated WASM build which deserves a bit more attention.
The browser version of Olaf enables audio fingerprinting in the browser. This can be used to e.g. react to music playing in the environment, so called second screen applications or to synchronize several devices to an audio stream.
The goal of the demo below is to play music aloud - not using headphones - using the controls on the left. You can either play the reference track or an unrelated distractor. Next, the Olaf fingerpinter system needs to be started using the button on the right which captures the microphone of your device. Then Olaf tries match the incoming sound of the microphone and the reference track. Once a match is found the exact time in the match is displayed until the sound matches no more. Note that there is no direct information flowing between the left and right part. You can also play the reference on another device to be sure.
Reference:
\
Distractor:
To get this demo working with the Web Audio API and use AudioWorklet objects, to process audio in the background an not on the main browser thread. There is surprisingly little info to find on how to combine WASM libraries - I used both Olaf and libsamplerate-js - and the AudioWorklet environment. Thanks to one of the very few resources on combining WASM, emscripten and AudioWorklets led me in the right direction.
The Web Audio API offers some great functionality for web based audio applications. The API also has a couple of quirks and is not always easy to use. One of those quirks is the limited support for resampling audio. When requesting a microphone stream of a certain sample rate the API only allows configurations your hardware supports. Ideally there should be an option to resample the incoming stream to a requested sample rate (and format) independent of hardware.
On macOS and Chrome the issue becomes even more confusing: when using multiple AudioContexts they can only have the same sample rate. E.g. starting a microphone on 16kHz by itself is possible but not when there is also audio playback on the same page, then everything switches over to 48kHz. There even seems to be an effect of different browser tabs. Other browsers and platforms have similar issues. This is problematic when you need audio in a fixed sample rate.
The solution is to resample audio incoming samples in your code or use the OfflineAudioContext as a resampler. The OfflineAudioContext way needs a lot of code and, crucially, only works on the main browser thread and not in an AudioWorklet. The AudioWorklet should be the place for computationally intensive audio processing like resampling. To solve the resampling problem I have glued together an AudioWorklet and libsamplerate-js to provide an easy to use audio resampling solution which is demo’d below:
The demo does not seem to do much but it reads incoming microphone data and uses a high quality audio resampling library to resample an audio stream into a requested audio sampling rate. The browser development console shows some info on this process. To get this working in an audio worklet, the libsamplerate-js needed to be recompiled and directly included in the AudioWorklet. To inspect the source, check the “Web Audio API AudioWorklet resampler”:[web-audio-api-resample.zip].
Olaf is an acoustic fingerprinting system designed with embedded devices in mind. It has a low memory use and computational requirements which are compatible with e.g. the ESP32 line of microcontrollers devices like the SparkFun ESP32 Thing or devices based on the RP2040 chip. Recently I have prepared a demo with the newest version of Olaf running on an ESP32 which deserves some attention.
To match audio, Olaf needs access to streaming audio. This can be audio read from an SD-card but, more likely, audio comes from a microphone. Digital microphones have some great features: a low-noise floor, great at picking up omnidirectional sound and they are inexpensive. I have prepared a demo of Olaf which shows how to use Olaf on an ESP32 with an INMP441 MEMS microphone. To test the MEMS microphone I also made a MEMS microphone to WiFi program which sends incoming sound on the ESP32 over WiFi to a computer where the sound quality can be verified.
The example provides a scaffold for embedded music-reactive applications. Once the microcontroller knows which song is playing and where in the song the match is found it can trigger LED’s (or explosions, fireworks, lyrics, other effects…) which should happen in sync with the music. See the example below to get the idea, this demo runs an older version of Olaf but the idea stays the same:
The main difference between the current and previous versions of Olaf is that now the ESP32 version, the browser version and the PC version are all running the exact same code. No hacks are needed any more to support a platform. This means that testing and debugging can be done on a computer and, if everything goes well, the code should work as expected on the embedded device (or browser).
Getting MEMS microphones to work on microcontroller platforms as the ESP32 is challenging. In theory, the I2S protocol provides a standardised, easy way to receive audio from a microphone and send stereo audio to a DAC. In practice, the many parameters make I2S not straightforwards to use. As with most protocols and standards, the mismatch between limitations and quirks of specific hardware and software implementations can cause issues. To debug I2S microphones on ESP32 or the RP2040 I have prepared a small Arduino program.
The IS2 WiFi microphone program sends audio from the microphone over WiFi to a computer which listen to the microphone: this make sure that the microphone works as expected and audio samples are correctly interpreted. It validates the I2S settings like buffer sizes, sample rates, audio formats, stereo or mono settings, … After configuring an SSID, password and IP-address it becomes possible to listen — in real-time — to the microphone which also allows the listener to sense the microphone quality.
size_t bytesIn = 0;
esp_err_t result = i2s_read(I2S_PORT, &sBuffer, bufferLen, &bytesIn, portMAX_DELAY);
int16_t *sample_buffer = (int16_t *)sBuffer;
int16_t samples_read = bytesIn / 2;
float audio_block_float[samples_read];
for (size_t i = 0; i < samples_read; i++) {
sample_buffer[i] = gain_factor * sample_buffer[i];
// Max for signed int16_t is 2^15
audio_block_float[i] = sample_buffer[i] / 32768.f;
}
// Send raw audio 32bit float samples over UDP
Udp.beginPacket(outIp, outPort);
Udp.write((const uint8_t *)audio_block_float, bytesIn * 2);
Udp.endPacket();
Fig: The main part of reading i2s audio from a microphone and sending an UDP packet.
To listen to the incoming audio an UDP port needs to be captured and subsequently send to a program that can interpret and play or store audio. With netcat UDP data can be captured. With ffmpeg and ffplay audio can be payed or stored. In practice the receiving computer might run the following commands to decode UDP packages and hear the microphone:
# for playback, receive UDP packages and interpret raw audio
nc -l -u 3000 | ffplay -f f32le -ar 16000 -ac 1  -

# for playback, receive UDP packages and store in a wav file
nc -l -u 3000 | ffmpeg -f f32le -ar 16000 -ac 1 -i pipe: microphone.wav
I have just released a Python wrapper for the Olaf acoustic fingerprinting library. Olaf is a scalable audio search system based on indexing . Olaf is programmed in C but a wrapper now makes its functionality available in Python.
The python wrapper should make it more accessible for developers to get started with it and makes it compatible with other Python libraries. A few notable libraries are the librosa python package for music and audio analysis,nnAudio, A fast GPU audio processing toolbox and other more general plotting, data processing and machine learning libraries. Despite Python’s many flaws, its rich library ecosystem is unmatched.
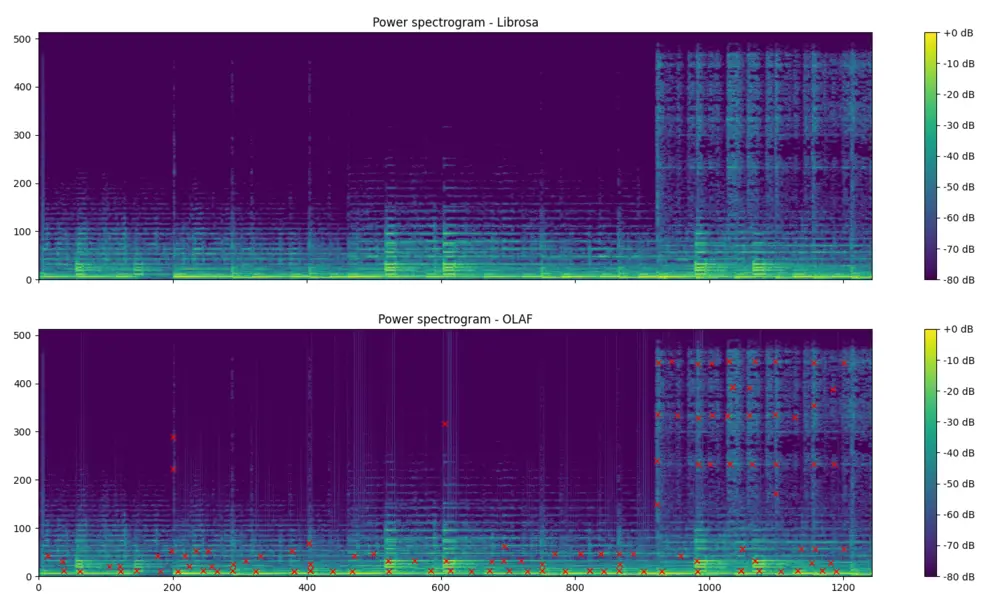
The associated GitHub repository contains documentation on how to use the Olaf python wrapper and also contains examples. The first shows how to index a song into the database and subsequently query the database. The second visualises the event points extracted by Olaf. The figure below shows shows the resulting event points, extracted with Olaf, plotted on a magnitude spectrogram, calculated with Olaf. The spectrogram on top is calculated using librosa and is meant to be very similar to Olaf.
\
Fig: *A power spectrum from librosa and one from Olaf, with event points marked*.
The wrapper was made with Python CFFI which works reasonably well. The automatically generated wrapper library support a large part of the C language but it needs a compilation step for each platform. Currently, the instructions assume a POSIX-like system, but technically, the wrapper can also function on Windows, albeit with the potential need for Windows-equivalent instructions in place of certain POSIX ones. The wrapper is wrapped in an easy to use python class called Olaf.py:
```python\
from olaf import Olaf, OlafCommand\
import librosa
Store the first ten seconds of an audio file\
audio_file = librosa.ex(‘choice’)\
Olaf(OlafCommand.STORE,audio_file).do(duration=10.0)
Query for a part of the same file (with an offset of 7 seconds), but change volume\
y, sr = librosa.load(audio_file,mono=True, sr=16000,duration=10,offset=7.0)\
y = y * 0.8 #change the volume\
results = Olaf(OlafCommand.QUERY,audio_file).do(y=y)
We expect a match between the stored and partially overlapping query\
print(results)\
```
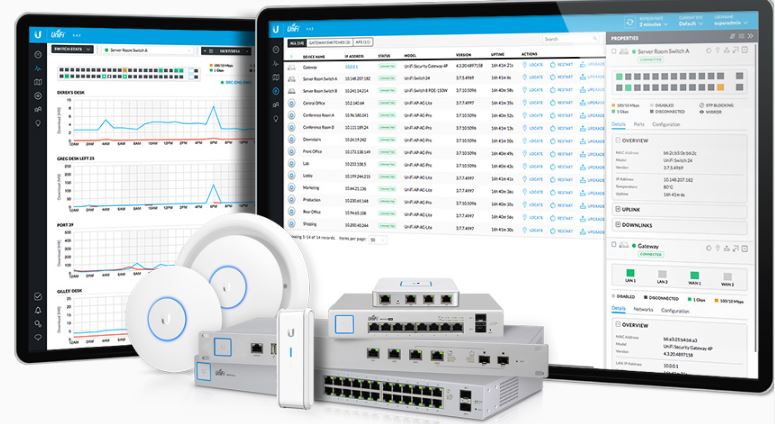
I have been using a couple of UniFi devices in my home network for a couple of years. These devices proved to be reliable and full-featured, especially considering the relatively low price point. To manage UniFi devices a self-hosted instance of the UniFi network server is practical, especially when you already have a home server.
Unfortunately, the official installation instructions for UniFi miss a crucial step for installation on Debian 11. The network manager is not compatible with newer versions of mongodb. To install a version of mongodb compatible with UniFi on Debian 11, use the following commands:
The Wall Street Journal made a video on the internals Shazam fingerprinter. The visuals and technical explanation serves as a very good introduction in spectral-peak-based audio fingerprinting. For those who want a more in depth view or want to try out such systems: I have implemented extensions on the Shazam technique in two open-source systems.
Olaf is a spectral-peak based fingerprinter aimed at embedded systems, traditional computers and browsers. Panako is implemented in Java and has robustness against pitch-shifting and time-stretching which is briefly mentioned in the video below as well:
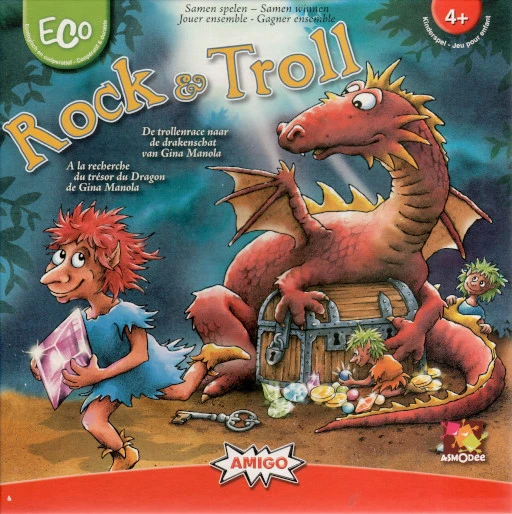
I often play board games with my kids. One of them is an absolute board game fan while the other is a sore loser and only wants to play collaborative games. These games are played ‘against the board’ and you win, or lose, together. I myself also still have problems losing games so I do understand this predicament. Genetics…
Rock & Troll is one of those games. It is a chance based game where you collaboratively try to build a path to a treasure before the dragon reaches it. Every player has to flip a tile which is either a part of the path (good) or a dragon (very bad). To increase engagement during play I often add sound effects. I was thinking: this can be improved and automated. For example, by doing this when a dragon tile is flipped:
The idea is to unobtrusively detect game state and add sound effects at critical moments. The sound effect should be playing without too much lag, ideally within about 200ms, so it feels immediate and connected to the game event. To implement this a camera based system with robust, fast object detection seemed like the way to go.
Dragon detection
To detect dragons in a video stream I want to retrain an existing object-detection system. So two things need to happen: first a realistic, labeled dataset needs to be created. Then a system needs to be trained to detect the dragons. We do not want to label a massive dataset so we will use transfer learning to retrain an existing network. This existing network should already have learned basic features like edges, colors, geometries and other basic patterns. With the hope that this would result in robust detection, even with a limited dataset.
To create the dataset I wrote a small script which took a webcam picture every few seconds while I was manipulating the board and tiles. This resulted in about 130 pictures, some with no dragons and some with six, 300 labels in total. For annotating the dataset I used the free roboflow web-app which also hosts the final dragon dataset. After augmentation, the size of the dataset can be tripled. The command to extract images from a webcam looks like this on my system:
After some consideration for alternatives I landed on the YOLOv8 object-detection system: a robust and fast object-detection system. Additionally, it is well-documented, pytorch-based, easy-to-use and it has support for video streams. The annotated roboflow dataset can be downloaded in a YOLOv8 compatible format as well. Transfer learning, was based on the yolov8s.pt weights, which are downloaded automatically. With the system installed correctly and the dataset dowloaded, a local GPU based training command might look like this:
Once the system was trained - download the “model wheights here”:[dragons.pt] - a bit of “glue code”:[rock_n_troll_v8.py] is needed. The python script needs to stream images from a camera, here via open cv, and detect dragons in each image. Every time a new dragon is found, the sound effect is played. Note that the Roboflow website automatically trains a model as well which can be tried out with a webcam.
There are a few ways improve the robustness of the system. During a game there are only more and more dragons: if the script detects less dragons than before it is probably a false negative or there is occlusion. Additionally, the dragon tiles remain in the same location once they are placed on the board. This means that new dragons are expected only in certain regions of the image. Both heuristics can be used to together to improve robustness.
Notes
One of the reasons I bought a M1 mac with unified memory is for exactly these types of AI applications. After installing pytorch 2.0, the GPU acceleration resulted in a 10x training speed improvement. Training on a GeForce 1080 GTX from 2016 was still quite a bit faster, probably thanks to years of performance tuning targeting CUDA. It is clear that the mac GPU acceleration software ecosystem can use more effort, even system tools in macOS are limited: e.g. in the macOS activity monitor, GPU activity is very much an afterthought.
I am and hesitant to use cloud based GPU computing due to lack of control and privacy. I am not willing to send pictures from my kids to e.g. Google Cloud GPUs. The dependency on hardware of others might also limit the longevity of systems.
The ease-of-use, performance and accessibility of these deep-learning systems is great. Only a couple of years ago it would take months of hard work to maybe only approach similar detection performance. Adapting this idea for other board games and more types of tiles or board game events should be very possible.
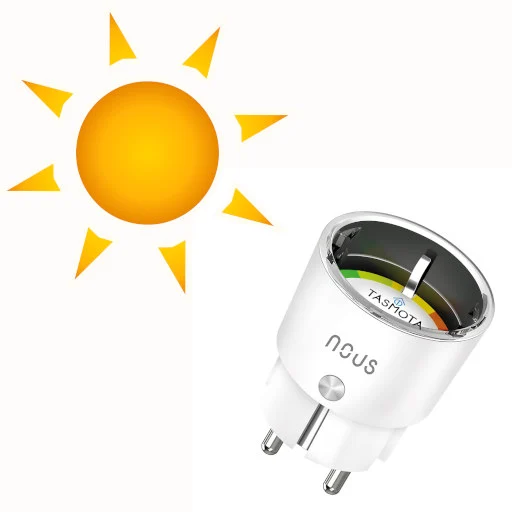
I recently installed a couple of smart electrical sockets. The sockets only switch on when there is a solar energy surplus: when my rooftop solar panels produce more than the current energy consumption. I use these ‘solar sockets’ to charge the battery of an electric bike, for air conditioning and for charging other smaller devices. This post describes the components needed for such a system with the aim to inspire similar build.
Solar panels and a solar inverter with some form of readout.
A device to measure electrical energy use in a home.
Smart sockets with an easy to use API.
Some software to glue everything together.
1. ☀️ Solar panels and inverter
Most solar inverters have some form of API to readout the current solar panel output. In my case I use a SMA inverter which has two ways to extract this data: via Bluetooth and via wired ethernet. I found the wired ethernet solution to be the most reliable. The SMA inverter does use a somewhat annoying data formatting protocol but luckily there is an open source solution to decode the data: SBFspot
For SMA inverters, and possibly for others as well, there another option: the data is also automatically uploaded to a cloud based platform. This platform has an API which can be used to extract data on solar energy production. I do not like to be dependent on external cloud based software platforms, which might change at any time. Additionally, for real-time data cloud based platforms can be slow.
2. Measuring total electrical energy use
To measure total power use, I use an “Eastron SDM220M” measurement device which communicates with a server over a serial connection. There are adapters to translate serial Modbus to USB. The device is installed in my wiring closet by a professional: it is directly connected to the 60A mains and I would not advise to DIY it.
Alternatively, some places are equipped digital energy meters which might have a way for direct readout or readout via a cloud based API, after a few minutes. This might suffice for a solar socket install.
Energy use measurement might not be strictly needed for the ‘solar sockets’: if energy use is predictable it might be ok to simply switch the sockets on your average peak solar power. Perhaps combined with a local weather API. Finally we need to switch on some sockets.
3. Smart WiFi Socket
There are many smart WiFi sockets on the market. Most come with a smartphone app which allows you to control the socket from anywhere. Behind the scenes the sockets communicates with the vendor’s cloud based system over the internet. Additionally there are some integrations with systems like Apple Home, Amazon Alexa en Google Assistant. For fundamental\
infrastructure like sockets in my home I want to avoid dependencies on a external cloud based systems. Next to the concerns about privacy and ownership there is a very practical concern: the cloud based system might just stop working in a few years. Especially any dependency on a Google service is suspect. Also I am not convinced of Amazon Alexa’s future.
Luckily, there is Tasmota which provides open source firmware targeting many types of ‘smart’ devices including smart sockets. The tagline for Tasmota is ‘Total local control with quick setup and updates’. I bought a couple of Nous A1T Tasmota Smart WiFi sockets which come with Tasmota firmware. Switching the socket on is done by sending an HTTP GET request to an url, which can be scripted easily. There is some
4. Control software
A script glues everything together: it logs energy usage and solar output. It switches on the solar sockets when a surplus is detected and switches again when the surplus is gone. There is some additional logic which ensures that the socket remains on for at least an hour even if there is no solar surplus. This to ensure that batteries are charged to a minimal usable state.
In summary, here we presented a couple of building blocks to build ‘solar sockets’ which are on only when there is a energy surplus. By using simple API’s offered by Tasmota and locally running software, there is no dependency on (in the long term) unreliable cloud based systems which ensures the longevity of the build.
As an additional bonus, the solar sockets also serve as an indicator. A small LED shows when they are on, or, in other words, when there is solar energy surplus and when it is a good idea to switch on other electrical appliances.
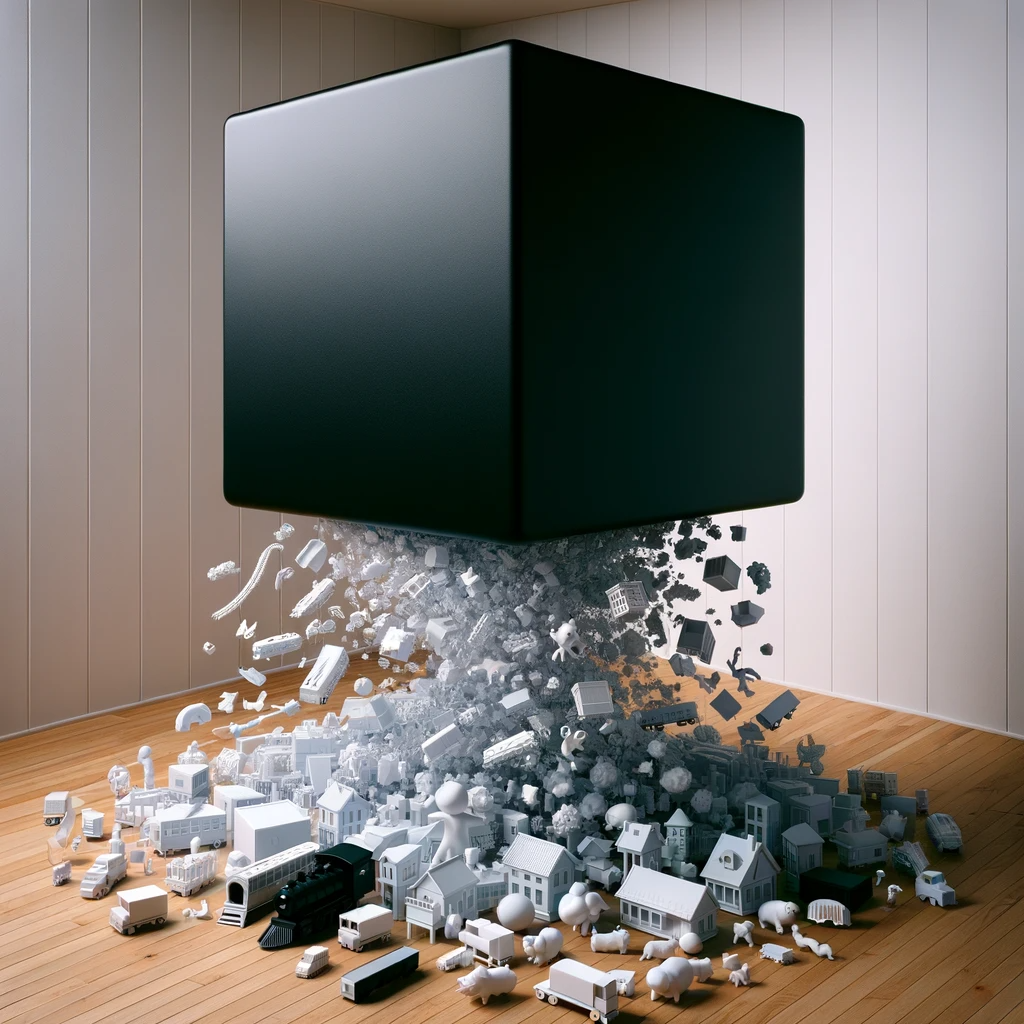 Fig: a black box generating 3D models.


 </img>
Fig: *Door projection as imagined by DALL.E*.
</img>
Fig: *Door projection as imagined by DALL.E*.


 \
\