On Saturday the eight of April I gave a workshop on the ESP 32 micro controller at Newline, the yearly hackerspace conference of Hackerspace Ghent. The aim was to provide a hands-on introduction. The participants had to program to make the ESP execute the following:
Blink
Connecting to wifi
Sending data from the ESP32
Sending data using TCP
Broadcast data over UDP
Broadcast data using OSC over UDP
Broadcasting sensor data over UDP and OSC
Mesh Networking
At the start of the workshop I gave a presention as an introduction.
I have given a presentation at the the Newline conference, a yearly event organized by the Hackerspace Ghent. It was about:
“In this talk I will give a practical overview on how to connect hard- and software components for musical applications. Next to an overview there will be demos! Do you want to make a musical instrument using a light sensor? Use your smartphone as an input device for a synth? Or are you simply interested in simple low-latency communication between devices? Come to this talk! More concretely the talk will feature the Axoloti audio board, Teensy micro-controller with audio board, MIDI and OSC protocols, Android MIDI features and some sensors.”
During the presentation the hard and software components were demonstrated. More concretely an introduction was given to the following:
This post contains some info on how do some basic home automation: it shows how cheap remote controlled power sockets can be managed using a computer. The aim is to power on or power off lights, a stereo or other devices remotely from a command shell.
The solution here uses an Arduino connected to a 433.33MHz transmitter. Via a Ruby script installed on the computer a command is send over serial to the Arduino. Subsequently the Arduino sends the command over the air to the power socket(s). If all goes well the power socket reacts by switching the connecting device on or off.
In the video below the process is shown. The command line interface controls the light via the Arduino. It should show the general idea.
The following Ruby script simply sends the binary control codes to the Arduino. For this type of power socket the code consist of a five bit group code and five bit device code. The Arduino is connected to /dev/tty.usbmodem411.
The code below is the complete Arduino sketch. It uses the RCSwich library, which makes the implementation very simple. Essentially it waits for a complete command and transmits it through the connected transmitter. The transmitter connected is a tx433n
#include <RCSwitch.h>RCSwitch mySwitch = RCSwitch();
char command[12];//2x5 for device and group + command
int index = 0;
char currentChar = -1;
//the led pin in use
int ledPin = 12;
void setup() {
//start the serial communication
Serial.begin(9600);
//433MHZTransmitter is connected to ArduinoPin#10
mySwitch.enableTransmit(10);
//Led connected to led pin
pinMode(ledPin, OUTPUT);
Serial.println("Started the power command center! Mwoehahaha!");
}
void readCommand(){
//read a command
while (Serial.available() > 0){
if(index < 11){
currentChar = Serial.read(); //Read a character
command[index] = currentChar; //Store it
index++; //Increment where to write next
command[index] = '\0'; // append termination char
}
}
}
void loop() {
//read a command
readCommand();
//if a command is complete
if(index == 11){
Serial.print("Recieved command: ");
Serial.println(command);
char operation = command[0];
char* group = &command[1];
//group is 5 bits, as is device
char* device = &command[6];
//execute the operation
doSwitch(operation,group,device);
//reset the index to read a new command
index=0;
}
}
void doSwitch(char operation, char* group, char* device){
digitalWrite(ledPin, HIGH);
if(operation == '1'){
mySwitch.switchOn(group, device);
Serial.print("Switched on device ");
} else {
mySwitch.switchOff(group, device);
Serial.print("Switched off device ");
}
Serial.println(device);
digitalWrite(ledPin, LOW);
}
Cheap remote controlled power sockets.
Remote and power socket with DIP-switch.
Soldered 'Arduino shield' to control power sockets.
The Amsterdam Music Hack Day is a full weekend of hacking in which participants will conceptualize, create and present their projects. Music + software + mobile + hardware + art + the web. Anything goes as long as it’s music related
The hackathon was organized at the NiMK(Nederlands instituut voor Media Kunst) the 25th and 24th of May. My hack tries to let a phone start a conversation on its own. It does this by speaking a text and listening to the spoken text with speech recognition. The speech recognition introduces all kinds of interesting permutations of the original text. The recognized text is spoken again and so a dreamlike, unique nonsensical discussion starts. It lets you hear what goes on in the mind of the phone.
The idea is based on Alvin Lucier’s I am Sitting in a Room form 1969 which is embedded below. He used analogue tapes to generate a similar recursive loop. It is a better implementation of something I did a couple of years ago.
The implementation is done with Android and its API’s. Both speech recognition and text to speech are available on android. Those API’s are used and a user interface shows the recognized text. An example of a session can be found below:
To install the application you can download Tryalogue.apk of use the QR-code below. You need Android 2.3 with Voice Recognition and TTS installed. Also needed is an internet connection. The source is also up for grabs.
I have upgraded the operating system on my LG GT540 Optimus from the stock Android 1.6 to Android Gingerbread 2.3.4. I followed this updgrade procedure.
It is well worth it to spend some time upgrading the phone, especially from 1.6. Everything feels a lot faster and the upgraded applications, e.g. Gallery, are nicely improved.
The main reason I upgraded my phone is to get the open source accessory development kit (ADK) for Android working. I got the DemoKit application working after some time but need to do some more experiments to see if the hardware actually works: I am waiting for a USB Host Shield for Arduino. To be continued…
Vorige zaterdag werd Apps For Ghent georganiseerd: een activiteit om het belang van open data te onderstrepen in navolging van onder meer Apps For Amsterdam en New York City Big App. Tijdens de voormiddag kwamen er verschillende organisaties hun open gestelde data voorstellen de namiddag werd gereserveerd voor een wedstrijd. Het doel van de wedstrijd was om in enkele uren een concept uit te werken en meteen voor te stellen. Het uitgewerkte prototype moest gedeeltelijk functioneren en gebruik maken van (Gentse) open data.
Luk Verhelst en ikzelf hebben er TwinSeats voorgesteld.
TwinSeats is een website / online initiatief om nieuwe mensen te leren kennen. Met hen deel je dezelfde culturele interesse en ga je vervolgens samen naar deze of gene voorstelling. Door events centraal te stellen kan TwinSeats uitzonderlijke cultuurburen zoeken. Leden vinden die cultuurburen dankzij een gezamenlijke voorliefde voor een artiest of attractie of eender welke bezigheid in de vrijetijdssfeer.
Het prototype is ondertussen terug te vinden op TwinSeats.be. Let wel dit is in enkele uren in elkaar geflanst en is verre van ‘af’, het achterliggende concept is belangrijker.
This post describes a crucial aspect of how to connect an android phone, the LG GT540 Optimus, to an Ubunu Linux computer. The method is probably similar on different UNIX like platforms with different phones.
To recognize the phone when it is connected via usb you need to create an UDEV rule. Create the file /etc/udev/rules.d/29.lg545.rules with following contents:
On the phone you need to enable debugging using the settings and (this is rather important) make sure that the “mass storage only” setting is disabled.
Rooting the device makes sure you have superuser rights. Installing the android SDK is well documented.
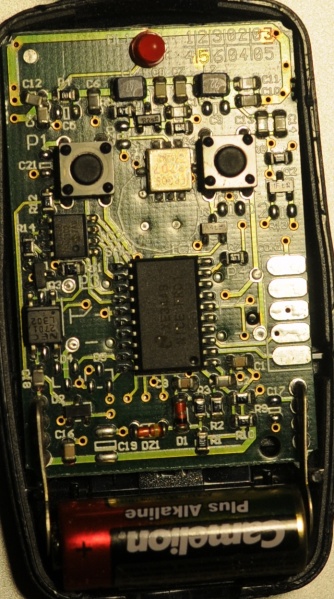
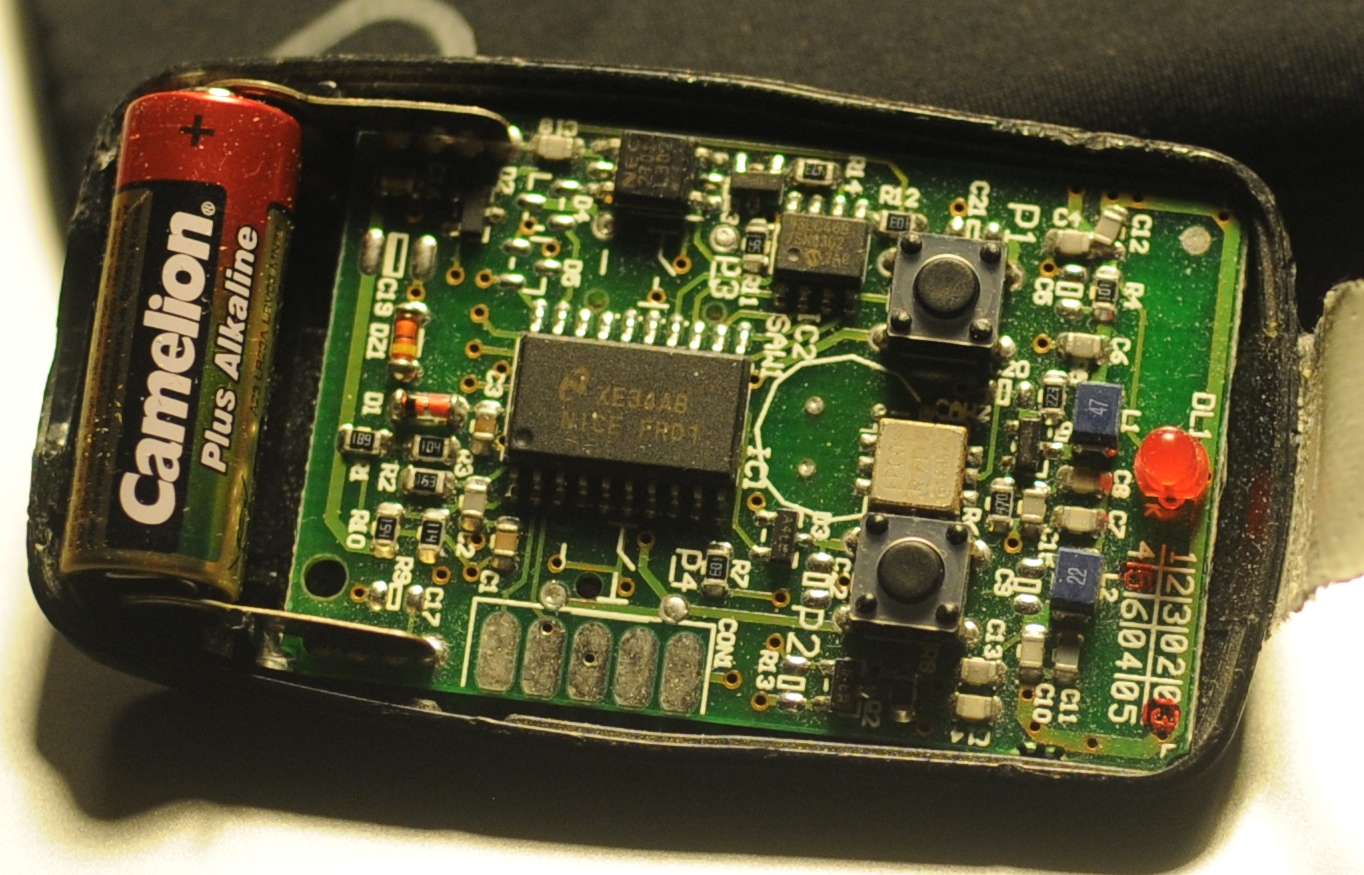
The problem: There is a group of people that want access to Hackerspace Ghent but there is only one remote to open the gate.
The solution: Build a system that reacts to a phone call by opening the gate if the number of the caller is whitelisted.
What you need:
A BeagleBoard or some BeagleBoard alternative with a Linux distribution running on it. Any server running a unix like operating system should be usable.
A Huaweii e220 or an alternative GSM that supports (a subset of) AT commands and has a USB port.
A team of hackers that know how to solder something togeher. E.g. The hardware guys of hackerspace Ghent.
The Hack: First of all try to get caller id working by following the Caller ID with Linux and Huawei e220 tutorial. If this works you can listen to the serial communication using pySerial and react to a call. The following python code shows the wait for call method:
The second thing that is needed is a way to send a signal from the beagle board to the remote. Sending a signal from the beagle board using Linux is really simple. The following bash commands initialize, activate and deactivate a pin.
This is the scenario: you have a Huawei e220, a linux computer and you want to react to a call from a set of predefined numbers. E.g. ordering a pizza when you receive a call from a certain number.
The Huawei e220 supports a subset of the AT commands, which subset is an enterprise secret of te Huawei company. So there is no documentation available for the device I bought, thanks Huawei. Anyhow when you attach the e220 to a Linux machine you should get two serial ports:
To connect to the devices you can use a serial client. GNU Screen can be used as a serial client like this: screen /dev/ttyUSB0 115200. The first device, ttyUSB0 is used to control ttyUSB1, so to enable caller ID on te Huawei e220 you need to send this message to ttyUSB0:
The RING and CLIP messages are the most interesting. The RING signifies an incoming call, the CLIP is the caller ID. The BOOT and RSSI are some kind of ping messages. The following Python script demonstrates a complete session that enables caller ID, waits for a phone call and prints the number of the caller.
Recently I bought a big shiny red USB-button. It is big, red and shiny. Initially I planned to use it to deploy new versions of websites to a server but I found a much better use: ordering pizza. Graphically the use case translates to something akin to:
If you would like to enhance your life quality leveraging the power of a USB pizza-button: you can! This is what you need:
A PC running Linux. This tutorial is specifically geared towards Debian-based distos. YMMV.
A big, shiny red USB button. Just google “USB panic button” if you want one.
A location where you can order pizzas via a website. I live in Ghent, Belgium and use just-eat.be. Other websites can be supported by modifying a Ruby script.
Technically we need a driver to check when the button was pushed, a way to communicate the fact that the button was pushed and lastly we need to be able to react to the request.
The driver: on the internets I found a driver for the button. Another modification was done to make the driver process a daemon.
The communication: The original Python script executed another script on the local pc. A more flexible approach is possible using sockets. With sockets it is possible to notify any computer on a network.
if PanicButton().pressed():
# create a TCP socket
s = socket.socket(socket.AF_INET, socket.SOCK_STREAM)
# connect to server on the port
s.connect((SERVER, SERVER_TCP_PORT))
# send the order (margherita at restaurant mario)
s.send("mario: [margherita_big]\n")
The reaction: a ruby TCP server waits for message from the driver. When it does it automates a HTTP session on a website. It executes a series of HTTP-GET’s and POST’s. It uses the mechanize library.
login_url = "http://www.just-eat.be/pages/member/login.aspx"
a = WWW::Mechanize.new
a.get(login_url) do |login_page|
#post login_form
login_form = login_page.forms.first
login_form.txtUser = "username"
login_form.txtPass = "password"
a.submit(login_form, login_form.buttons[1])
end
Some libraries are needed. For python you need the usb library, the python deamons lib needs to be installed seperatly. Setuptools are needed to install the deamons package.
Ruby needs rubygems to install the needed mechanize and daemons library. Mechanize needs the libxslt-dev package. You also need the build-essential package to build mechanize.
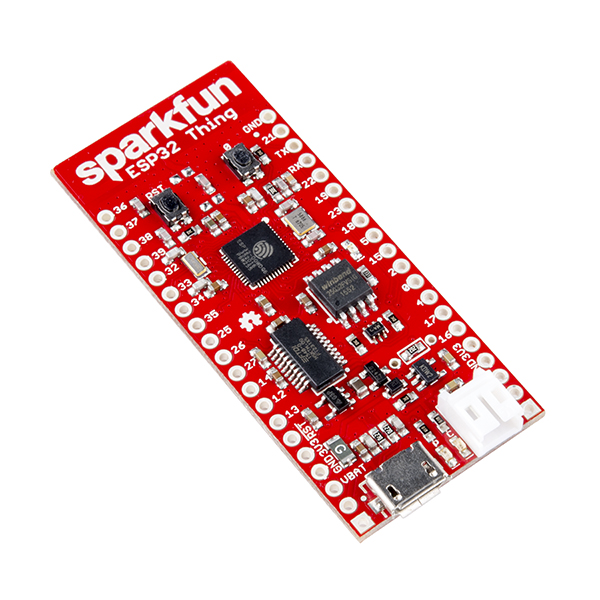 On Saturday the eight of April I gave a workshop on the ESP 32 micro controller at Newline, the yearly hackerspace conference of Hackerspace Ghent. The aim was to provide a hands-on introduction. The participants had to program to make the ESP execute the following:


 This post is about a hack I did for the 2012


 TwinSeats is een website / online initiatief om nieuwe mensen te leren kennen. Met hen deel je dezelfde culturele interesse en ga je vervolgens samen naar deze of gene voorstelling. Door events centraal te stellen kan TwinSeats uitzonderlijke cultuurburen zoeken. Leden vinden die cultuurburen dankzij een gezamenlijke voorliefde voor een artiest of attractie of eender welke bezigheid in de vrijetijdssfeer.
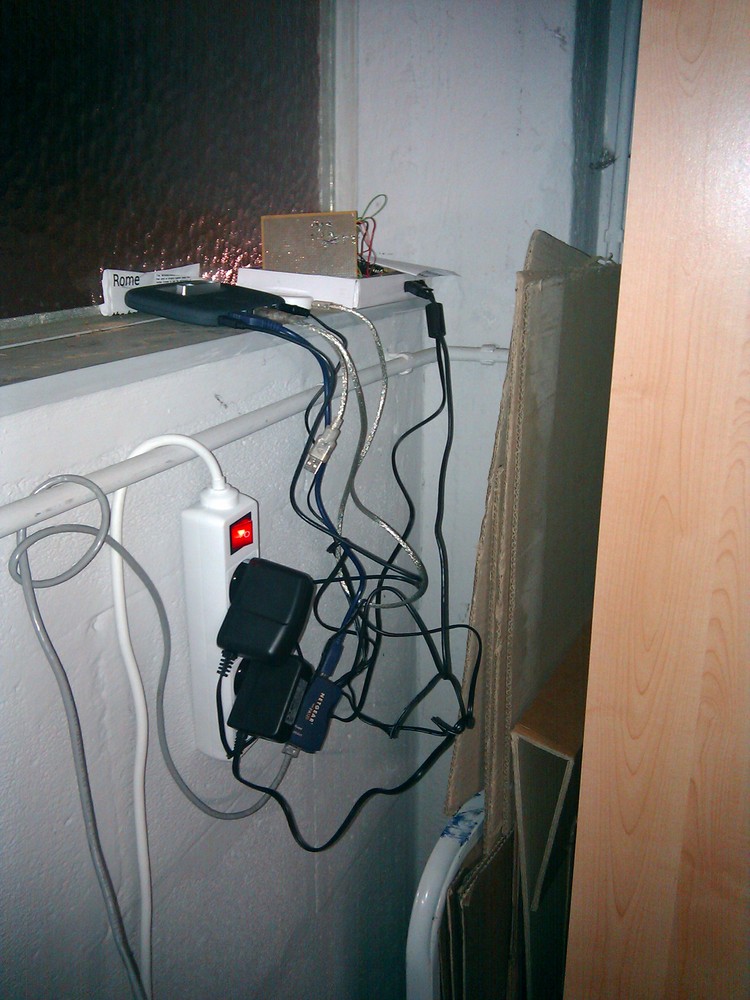
 This is the scenario: you have a Huawei e220, a linux computer and you want to react to a call from a set of predefined numbers. E.g.