Hi, I'm Joren. Welcome to my website. I'm a research software engineer in the field of Music Informatics and Digital Humanities. Here you can find a record of my research and projects I have been working on. Learn more »
It was attended by a mix of (Ethno)musicologists, archivists, computer scientists and people identifying themselves as more than one of these categories by varying degrees. This mix ensured a healthy discussion and talks by Frans Wiering, Willard McCarthy, Emilia Gomez, and “may more”:[program.pdf] provided ample source material to discuss. These discussions ranged from the abstracts around schemata down to concrete of software tools for archive management.
On a more personal side the workshop did provide useful insights to contextualize my research and help form ideas that can be condensed in my PhD dissertation.
The xOSC board by x-io technologies looks like a very nice solution in many interactive wireless setups. Judging from the specifications and documentation it offers a lot of value. It is basically a small WiFi transmitter with some sensors and a battery attached to it. The board also has some drawbacks. 1) It is expensive at about € 180. This is especially problematic if you need about five or so for your application.2) It seems that it is also hard to add extra sensors via SPI or I²C. 3)The battery needs to be removed to charge, which makes it harder to build into a fixed enclosure. This post describes an alternative based on the ESP32 platform that addresses these shortcomings.
The ESP32 is a micro-controller with a WiFi transmitter which can be programmed using the Arduino environment. Sparkfun has a thing called the ESP32 Thing which contains the ESP32 chip. It can be used to build an xOSC alternative.
It costs about 20$, when you add a battery 5$ and a sensor 20$ (IMU) you end up with a 45$ price tag. The price of course depends on which exact sensor/battery you need for your application. A 500mAh lasts about two hours when sending 66 messages per second over WiFi (using UDP).
The ESP32 Thing supports the Arduino environment which potentially allows you to use all available Arduino libraries and supported sensors. However, some libraries do contain hardware specific instructions which are often not ported yet. Since the hardware is rather new - large scale production started only 3 months ago - not many libraries have been ported. Fortunately a lot of libraries simply work without any changes. At hackaday they have been testing a few: ESP32 and Arduino libraries. I had success with the BNO55 library, it did not need any changes. The OSC library did need some small changes to operate as expected.
The Thing contains a battery charging circuit. Once embedded into an enclosure the battery can stay in place. The software running on the device even keeps running when changing power sources.
Attached to this post you can find modifications to the Andriod OSC library that enable it to run on the ESP32: ESP32-Arduino-OSC-library together with a patch that sends random data over OSC. This should enable you to build an xOSC alternative.
Some drawbacks of the ESP32 is that the supporting software is quite immature. There is a Bluetooth chip on the ESP32 which is currently not supported in the Arduino environment. The setup can be somewhat challenging. The documentation can be improved. Some of the ESP32 Things seem to be unable to connect to old WiFi routers which can be problematic.
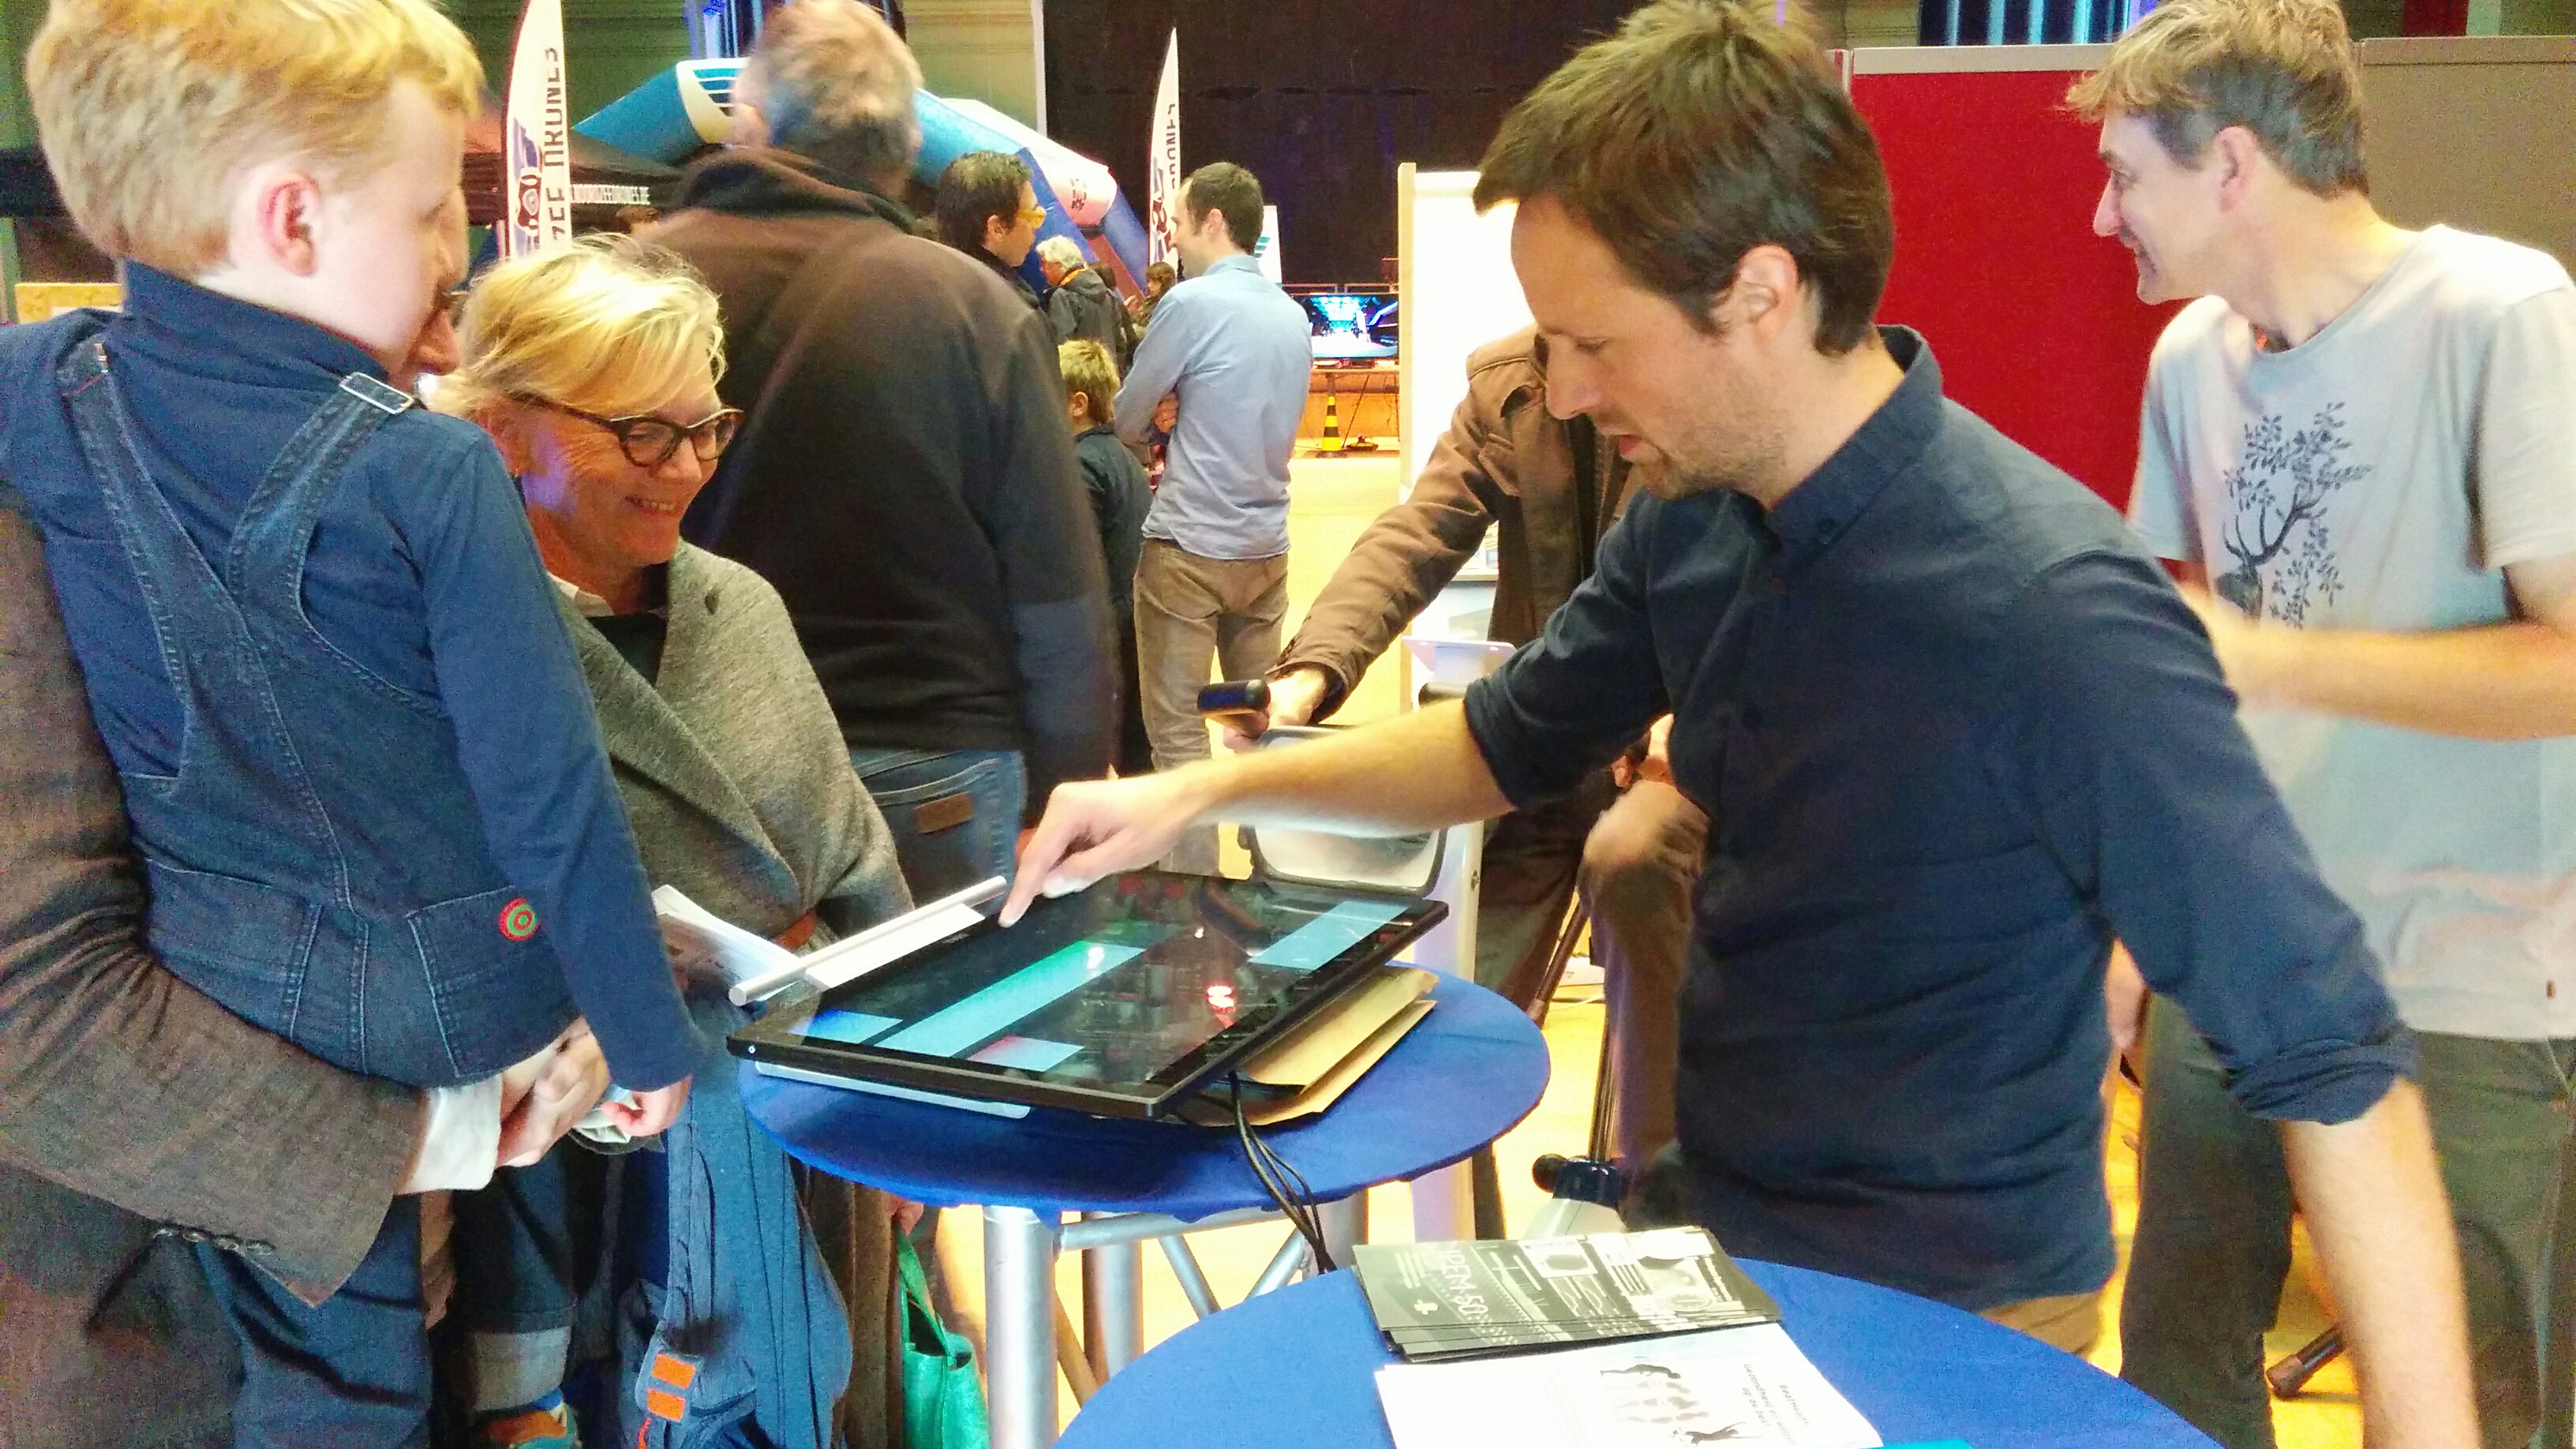
Last Saturday, October eight 2016, IPEM was present at the opening event of the digital week. A small video report was made for VRT news, unfortunately our contribution did not make the cut.
Van 8 tot en met 16 oktober 2016 loopt de elfde editie van de De Digitale Week. Plaatselijke organisaties in heel Vlaanderen en Brussel organiseren tijdens deze week diverse laagdrempelige activiteiten waarbij het gebruik van multimedia centraal staat, steeds gratis of zeer goedkoop, en open voor zowel beginners als mensen met wat meer ervaring. Daarnaast loopt er tijdens de Digitale Week een grote publiciteitscampagne die aandacht vraagt voor de thema’s e-inclusie en mediawijsheid.
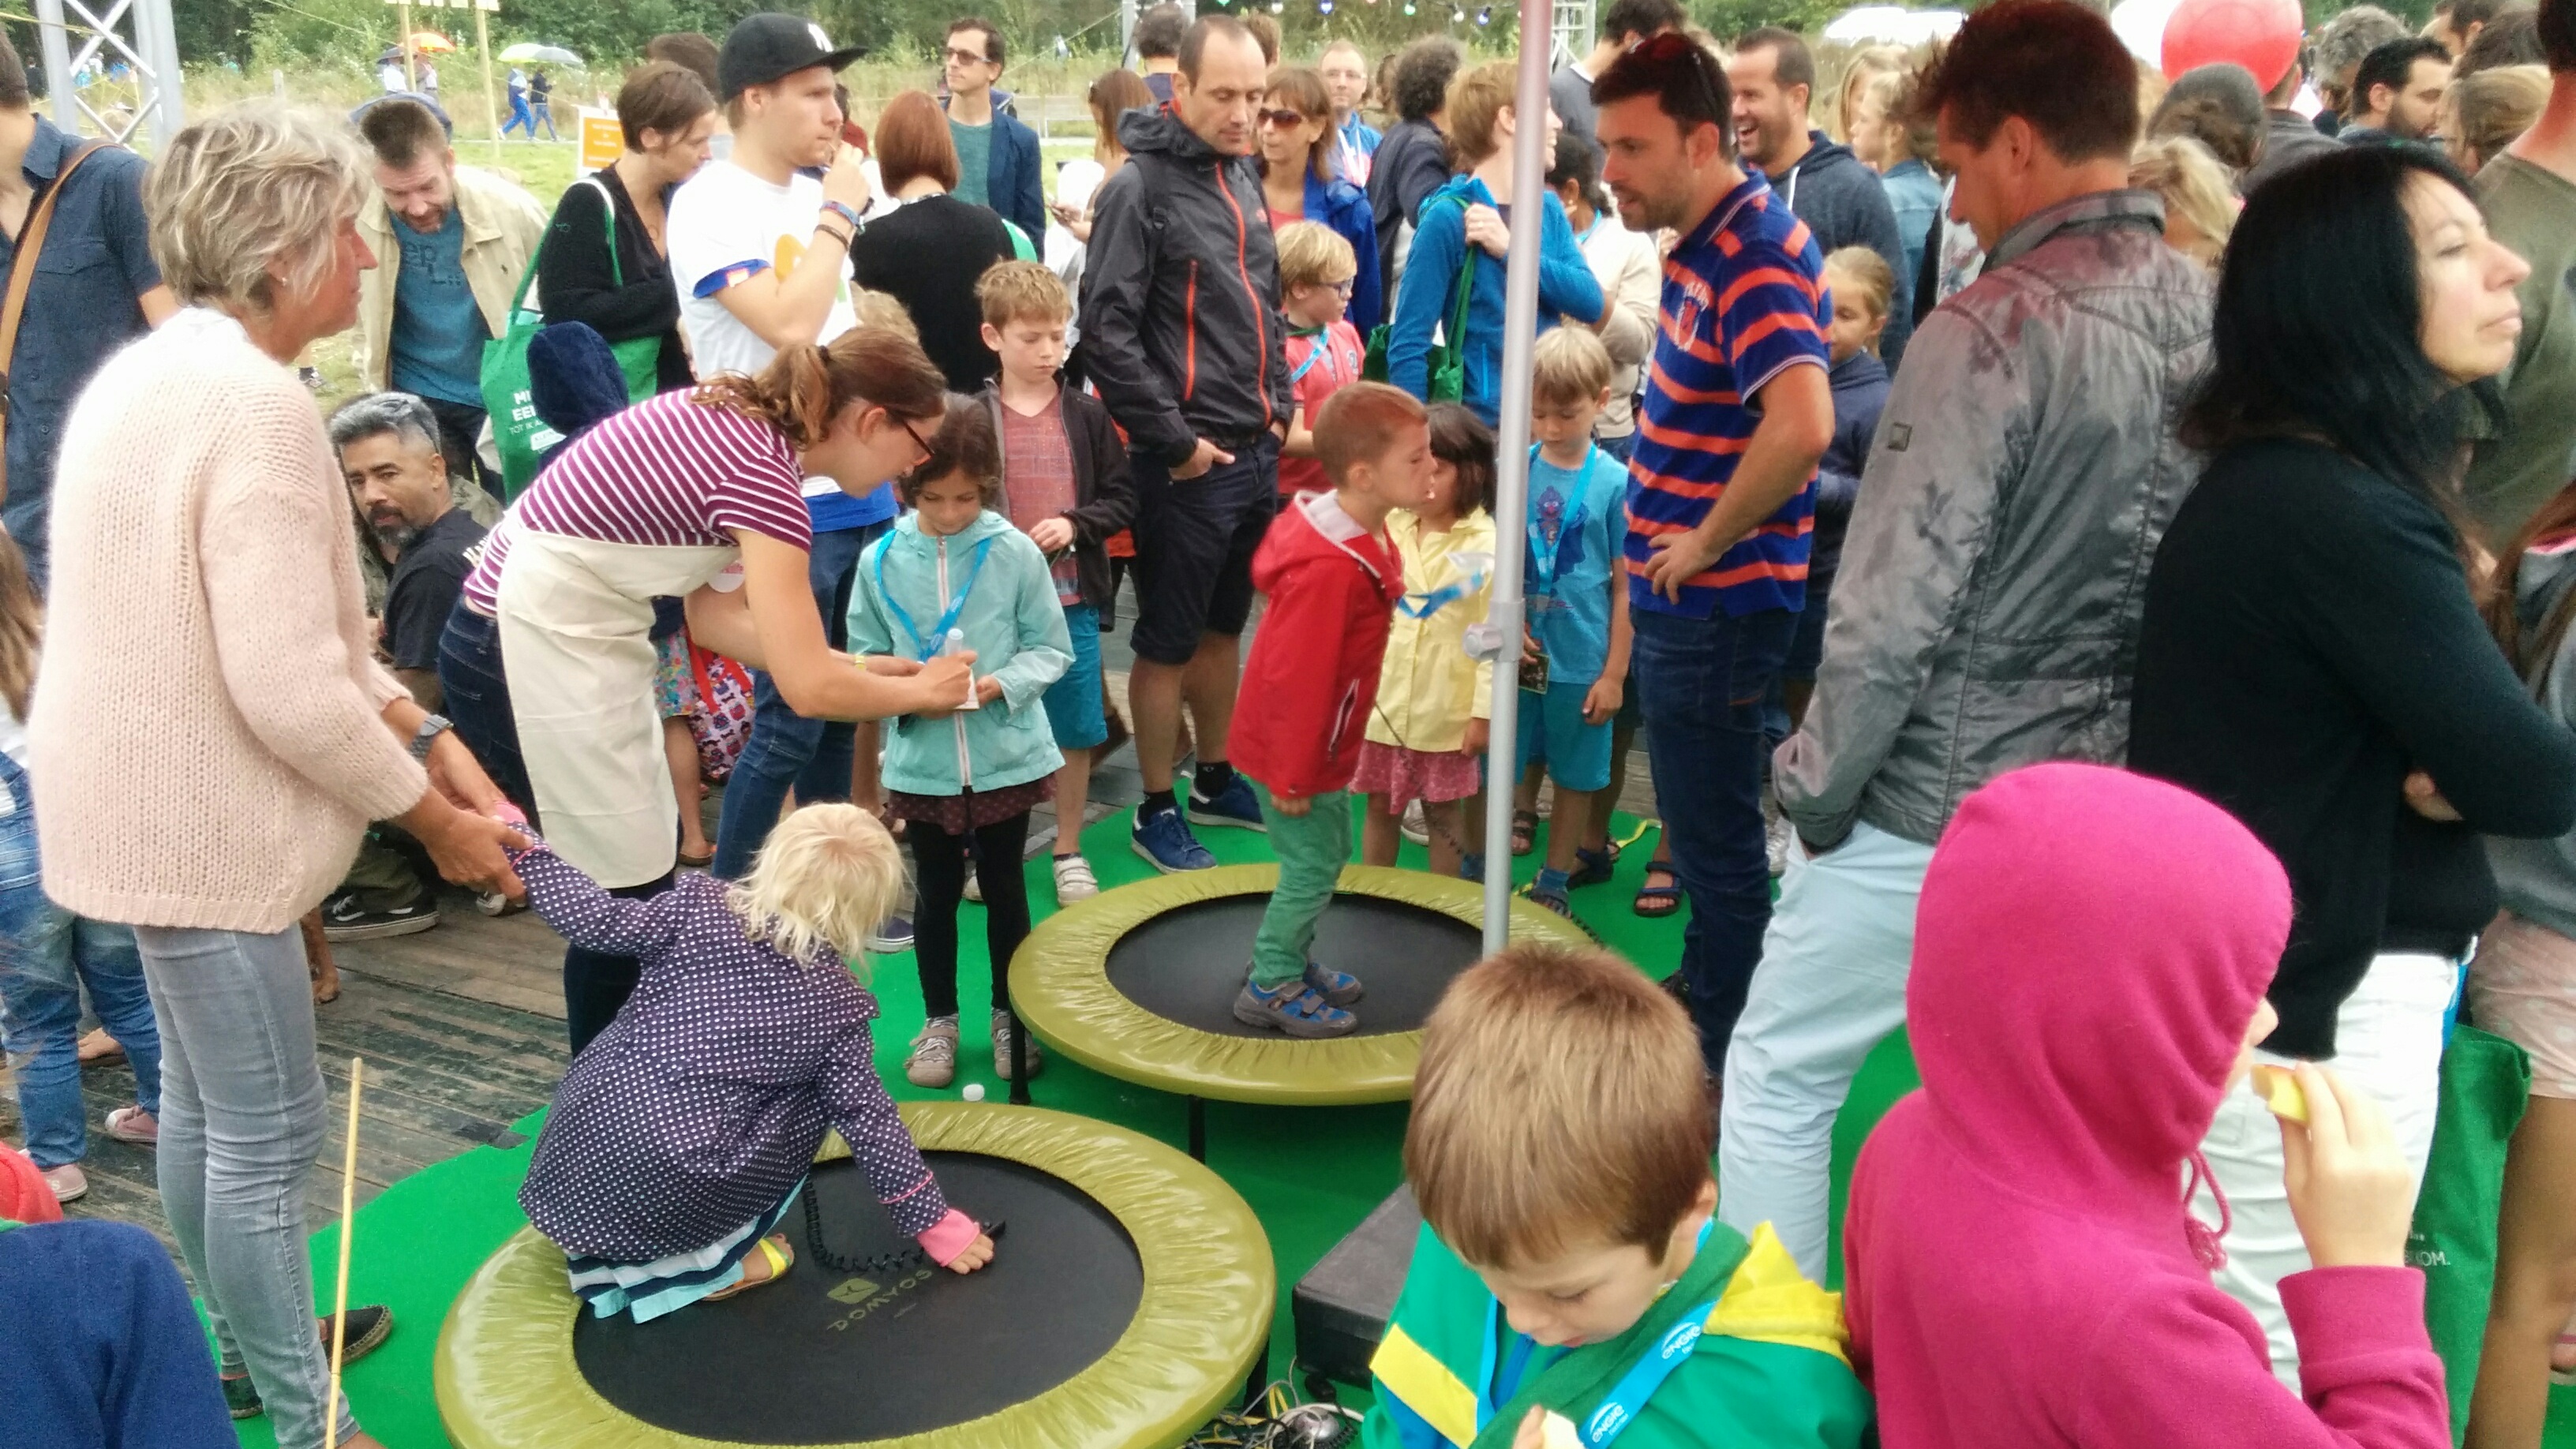
This weekend IPEM, the research institute in musicology of University Ghent, was present at Parklife 2016. Parklife is a music festival with a special focus on interactive music installations aimed at children. Two of those were provided by IPEM.
The first installation was a trampoline that triggered sounds. Two trampoline were provided with a pressure sensor. An Axoloti provides the sonic feedback. A simple but fun experience especially for younger children.
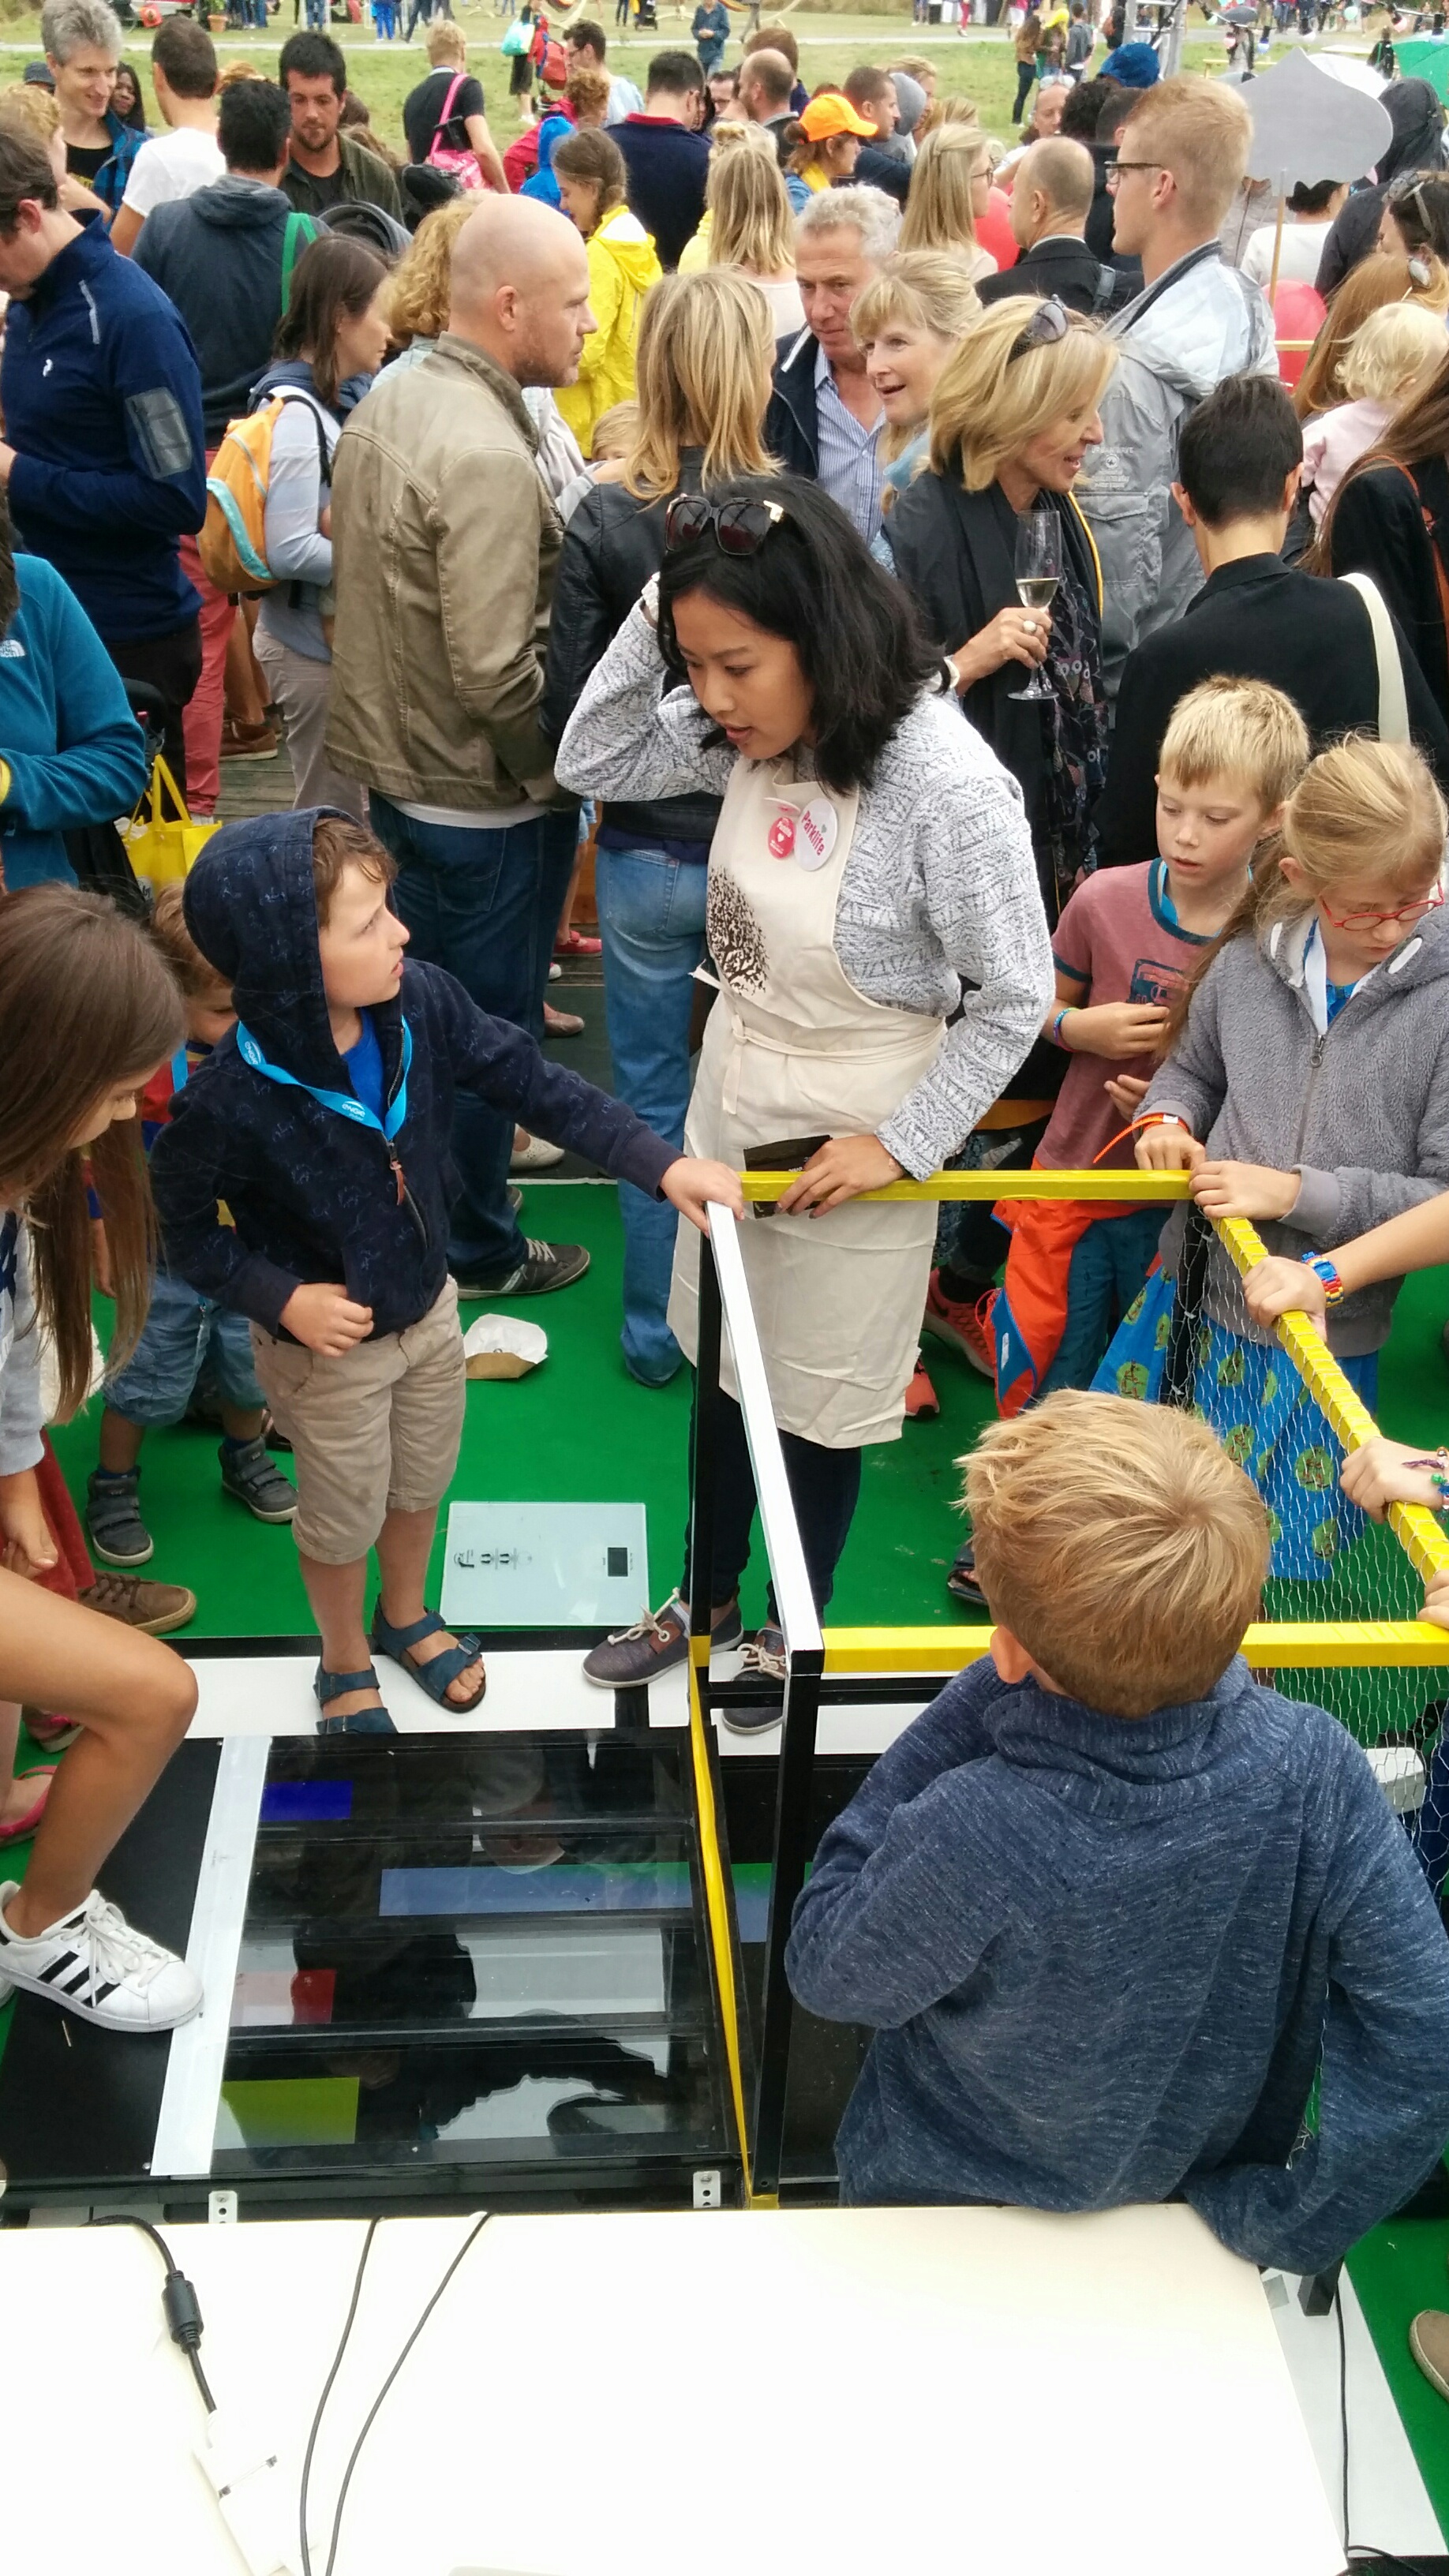
The second installation was more involved. It consisted of a bike - controlled by a first participant - that provided the speed of falling blocks that a second participant had to step on. When the second participant triggered the blocks on time a melody appeared. The video above makes it more clear.
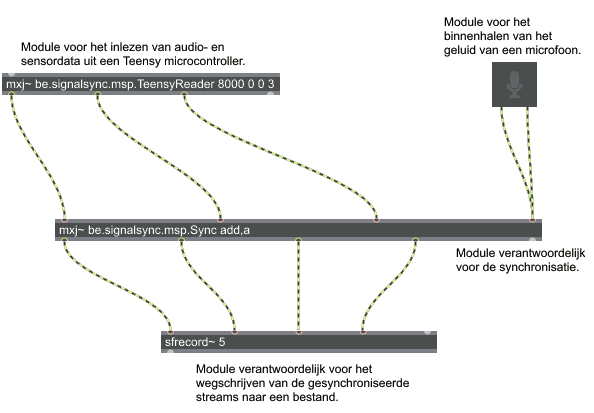
During the last semester Ward wrote a Masters thesis titled “Real-time signal synchronization with acoustic fingerprinting”:[Van_Assche_2016_Realtime_signaal_synchronisatie_met_acoustic_fingerprinting.pdf]. For his thesis Marleen Denert and I served both as promoter.
The aim of the thesis was to design and develop a system to automatically synchronize streams of incoming sensor data in real-time. Ward followed up on an idea that was described in an article called Synchronizing Multimodal Recordings Using Audio-To-Audio Alignment. The extended abstract can be consulted. The remainder of the thesis is in Dutch.
For the thesis Ward developed a Max/MSP object to read data from sensors together with audio. Also provided by Ward is an object to synchronize audio and data in real-time. The objects are depicted above.
I have given a presentation at the the Newline conference, a yearly event organized by the Hackerspace Ghent. It was about:
“In this talk I will give a practical overview on how to connect hard- and software components for musical applications. Next to an overview there will be demos! Do you want to make a musical instrument using a light sensor? Use your smartphone as an input device for a synth? Or are you simply interested in simple low-latency communication between devices? Come to this talk! More concretely the talk will feature the Axoloti audio board, Teensy micro-controller with audio board, MIDI and OSC protocols, Android MIDI features and some sensors.”
During the presentation the hard and software components were demonstrated. More concretely an introduction was given to the following:
This morning, the 30th of October 2015, I gave a lecture on Music Information Retrieval in general and two MIR-tasks in particular. The two more detailed tasks were tone scale analysis and acoustic fingerprinting.
During the lecture some live demonstrations were done with Panako and Tarsos. Also some examples from TarsosDSP were used. Excerpts of the music used is available here, this is especially interesting if you want to repeat the demos. Sonic visualizer, Music21 and MuseScore were also mentioned during the lecture.
Kelsec Systems developed a nice sensor for measuring running impact, the TgForce Running Impact Sensor. The sensor comes with an IOS application but has no available counterpart on Android. To interface with the sensor on Android I needed to create some glue code. The people of Kelsec Systems were kind enough to mail some documentation about the protocol and with that information I got to work.
The TgForce Sensor Android code is available on GitHub, together with some documentation which is available below as well:
TgForce Impact Running Sensor Andoid API
The TgForceSensor repository contains Android code to interface with the TgForce Impact Running Sensor. The TgForce sensor is a Bluetooth LE device that measures tibial shock. It follows the\
Bluetooth LE standards and is relatively easy to interface with.
This repository contains Android code to interface with the device. The protocol is encoded in the source code and is documented in the readme.
For the opening of the Sport Science Laboratory - Jacques Rogge of University Ghent I have created a demo of a system to visualize running impact. The demo can be seen starting at 45s in the video below.
Aangezien heel wat joggers met muziek trainen, wilden onderzoekers van het IPEM (het onderzoekscentrum van de afdeling Musicologie, Vakgroep Kunst, Muziek, en Theaterwetenschappen aan de UGent) nagaan of het tempo van muziek de pasfrequentie tijdens het lopen kan beïnvloeden. Eerdere studies hadden al aangetoond dat muziek een motiverend effect kan hebben op sportprestaties en dat een hogere pasfrequentie blessurepreventief kan werken.
Een neerslag van het onderzoek is te lezen in het artikel Spontaneous Entrainment of Running Cadence to Music Tempo. Het persbericht werd goed opgepikt door de media en ook de lokale televisiezender AVS vertoonde interesse. Een cameraploeg kwam langs en dit resulteerde in volgend verslag. In het verslag spelen mijn vriendin en ikzelf een figurantenrol. De hoofdrol is weggelegd voor Dieter.
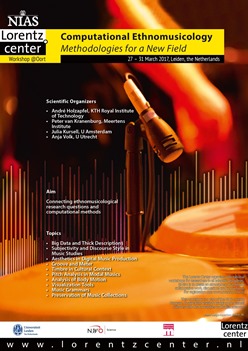 From 27 to 31 March 2017 I have attended a workshop on Computational Ethnomusicology: Methodologies for a New Field at the Lorentz Center in Leiden. The workshop format was aimed at creating time for interdisciplinary discussion.
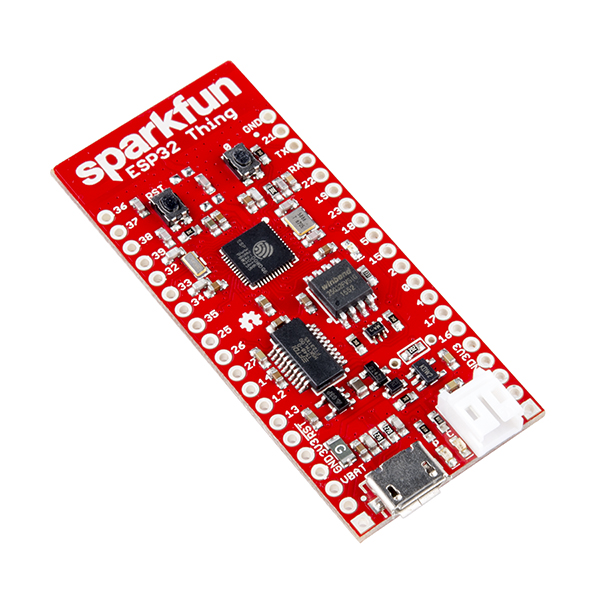 The xOSC board by