TarsosDSP: a Java Library for Audio Processing
TarsosDSP is a Java library for audio processing. Its aim is to provide an easy-to-use interface to practical music processing algorithms implemented, as simply as possible, in pure...
Below you can find links to the open source software I developed during my research. It is always nice to hear how this software is used, don’t hesitate to drop me a line. Bug reports are welcomed as well.
TarsosDSP is a Java library for audio processing. Its aim is to provide an easy-to-use interface to practical music processing algorithms implemented, as simply as possible, in pure...
MI-Kit is a low-cost, open-source system for controlling music production software through body movement. Designed for creative music practice and embodied music interaction research. EMI-Kit can be used...
Panako is an extendable acoustic fingerprinting framework. The aim of acoustic fingerprinting is to find small audio fragments in large audio databases. Panako contains several acoustic fingerprinting algorithms...
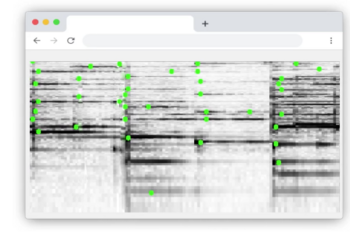
Olaf is a portable, landmark-based, acoustic fingerprinting system released as open source software. Olaf runs on embedded platforms, traditional computers and in the browser. Olaf is able to...
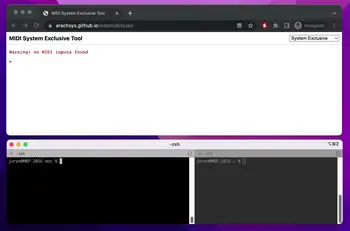
mot consists of several MIDI and OSC command line tools. These are mainly of interest to debug and check OSC messages and MIDI devices. The tools are written...
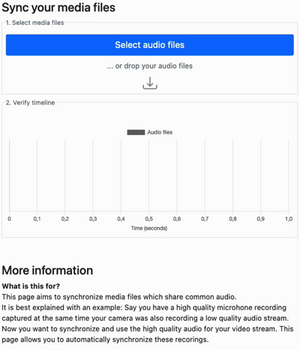
Thanks to WebAssembly it is possible to repurpose software for use on the web, even if it was originally designed with other use in mind. I have developed...
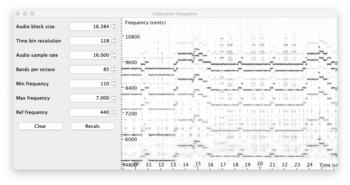
This library calculates fine-grained constant-Q spectral representations of audio signals quickly from Java. The spectral transform can be visualized or further processed in a (Music Information Retrieval) processing...
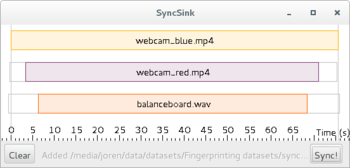
SyncSink is able to synchronize video and audio recordings of the same event. As long as some audio is shared between the multimedia files a reliable synchronization solution...
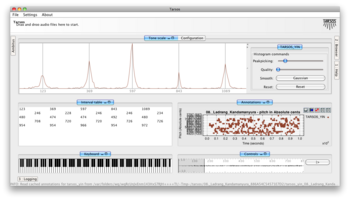
Tarsos is a software tool to analyze and experiment with pitch organization in all kinds of musics. Most of the analysis is done using pitch histograms and octave...

TarsosLSH is a Java library implementing Locality-sensitive Hashing (LSH), a practical nearest neighbor search algorithm for multidimensional vectors that operates in sublinear time. It supports several LSH families:...
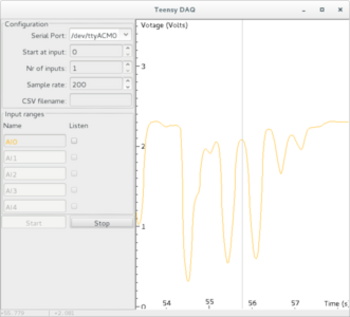
TeensyDAQ is a Java application to quickly visualize and record analog signals with a Teensy micro-controller and some custom software. It is mainly useful to quickly get an...
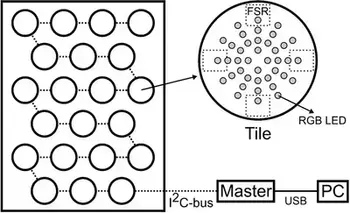
The idea behind AMPEL (by Lousin Moumdjian, Marc Leman, Peter Feys) is to combine both motor and cognitive rehabilitation in a single combined ‘embodied learning’ paradigm. To this...
The Pidato experiment demonstrates a rather straightforward method to handle vibrato on a digital piano. It ‘solves’ the age-old problem on what to do with the enigmatic “vibrato”...
TarsosLSH is a Java library implementing Locality-sensitive Hashing (LSH), a practical nearest neighbor search algorithm for high dimensional vectors that operates in sublinear time. The open source software package is authored by me and is available on GitHub: TarsosLSH on GitHub.
With TarsosLSH, Joseph Hwang and Nicholas Kwon from Rice University created an Image Mosaic web application. The application chops an uploaded photo into small blocks. For each block, a color histogram is created and compared with an index of color histograms of reference images. Subsequently each block is replaced with one of the top three nearest neighbors, creating a mosaic. Since high dimensional nearest neighbor search is needed, this is an ideal application for TarsosLSH. The application somewhat proves that TarsosLSH can be used in practical applications, which is comforting.


 0110.be, Code, HoGent, Java, and UGent
Below some notes on installing and using the drivers for the Avandtech USB-4716 on Linux can be found. Since I was unable to find these instructions elsewhere and it took me some time to figure things out, it is perhaps of use to someone else. A similar approach should work for the following devices as well: pci1715, pci1724, pci1734, pci1752, pci1758, pcigpdc, usb4711a, usb4750, pci1711, pci1716, pci1727, pci1747, pci1753_mic3753_pcm3753i, pci1761_pcm3761i, pcm3810i, usb4716, usb4761, pci1714_pcie1744, pci1721, pci1730_pcm3730i, pci1750, pci1756, pci1762, usb4702_usb4704, usb4718
Download the linux driver for the Avandtech USB-4716 DAQ. If you are on a system that can install either deb or rpm use the driver_package. Unzip the package. The driver is split into two parts. A base driver biokernbase and a driver specific for the USB-4716 device, bio4716. The drivers are Linux kernel modules that need to installed. First the base driver needs to be installed, the order is important. After the base driver install the device specific deb kernel module. After a reboot or perhaps immediately this should be the result of executing lsmod | grep bio:
  1
2
3

  bio4716 23724 0
biokernbase 17983 1 bio4716
usbcore 128741 9 ehci_hcd,uhci_hcd,usbhid,usb_storage,snd_usbmidi_lib,snd_usb_audio,biokernbase,bio4716
A library to interface with the hardware is provided as a deb package as well. Install this library on your system.
Next download the the examples for the Avandtech USB-4716 DAQ. With the kernel modules installed the system is ready to test the examples in the provided examples directory. If you are using the Java code, make sure to set the java.library.path correctly.
 Code and UGent
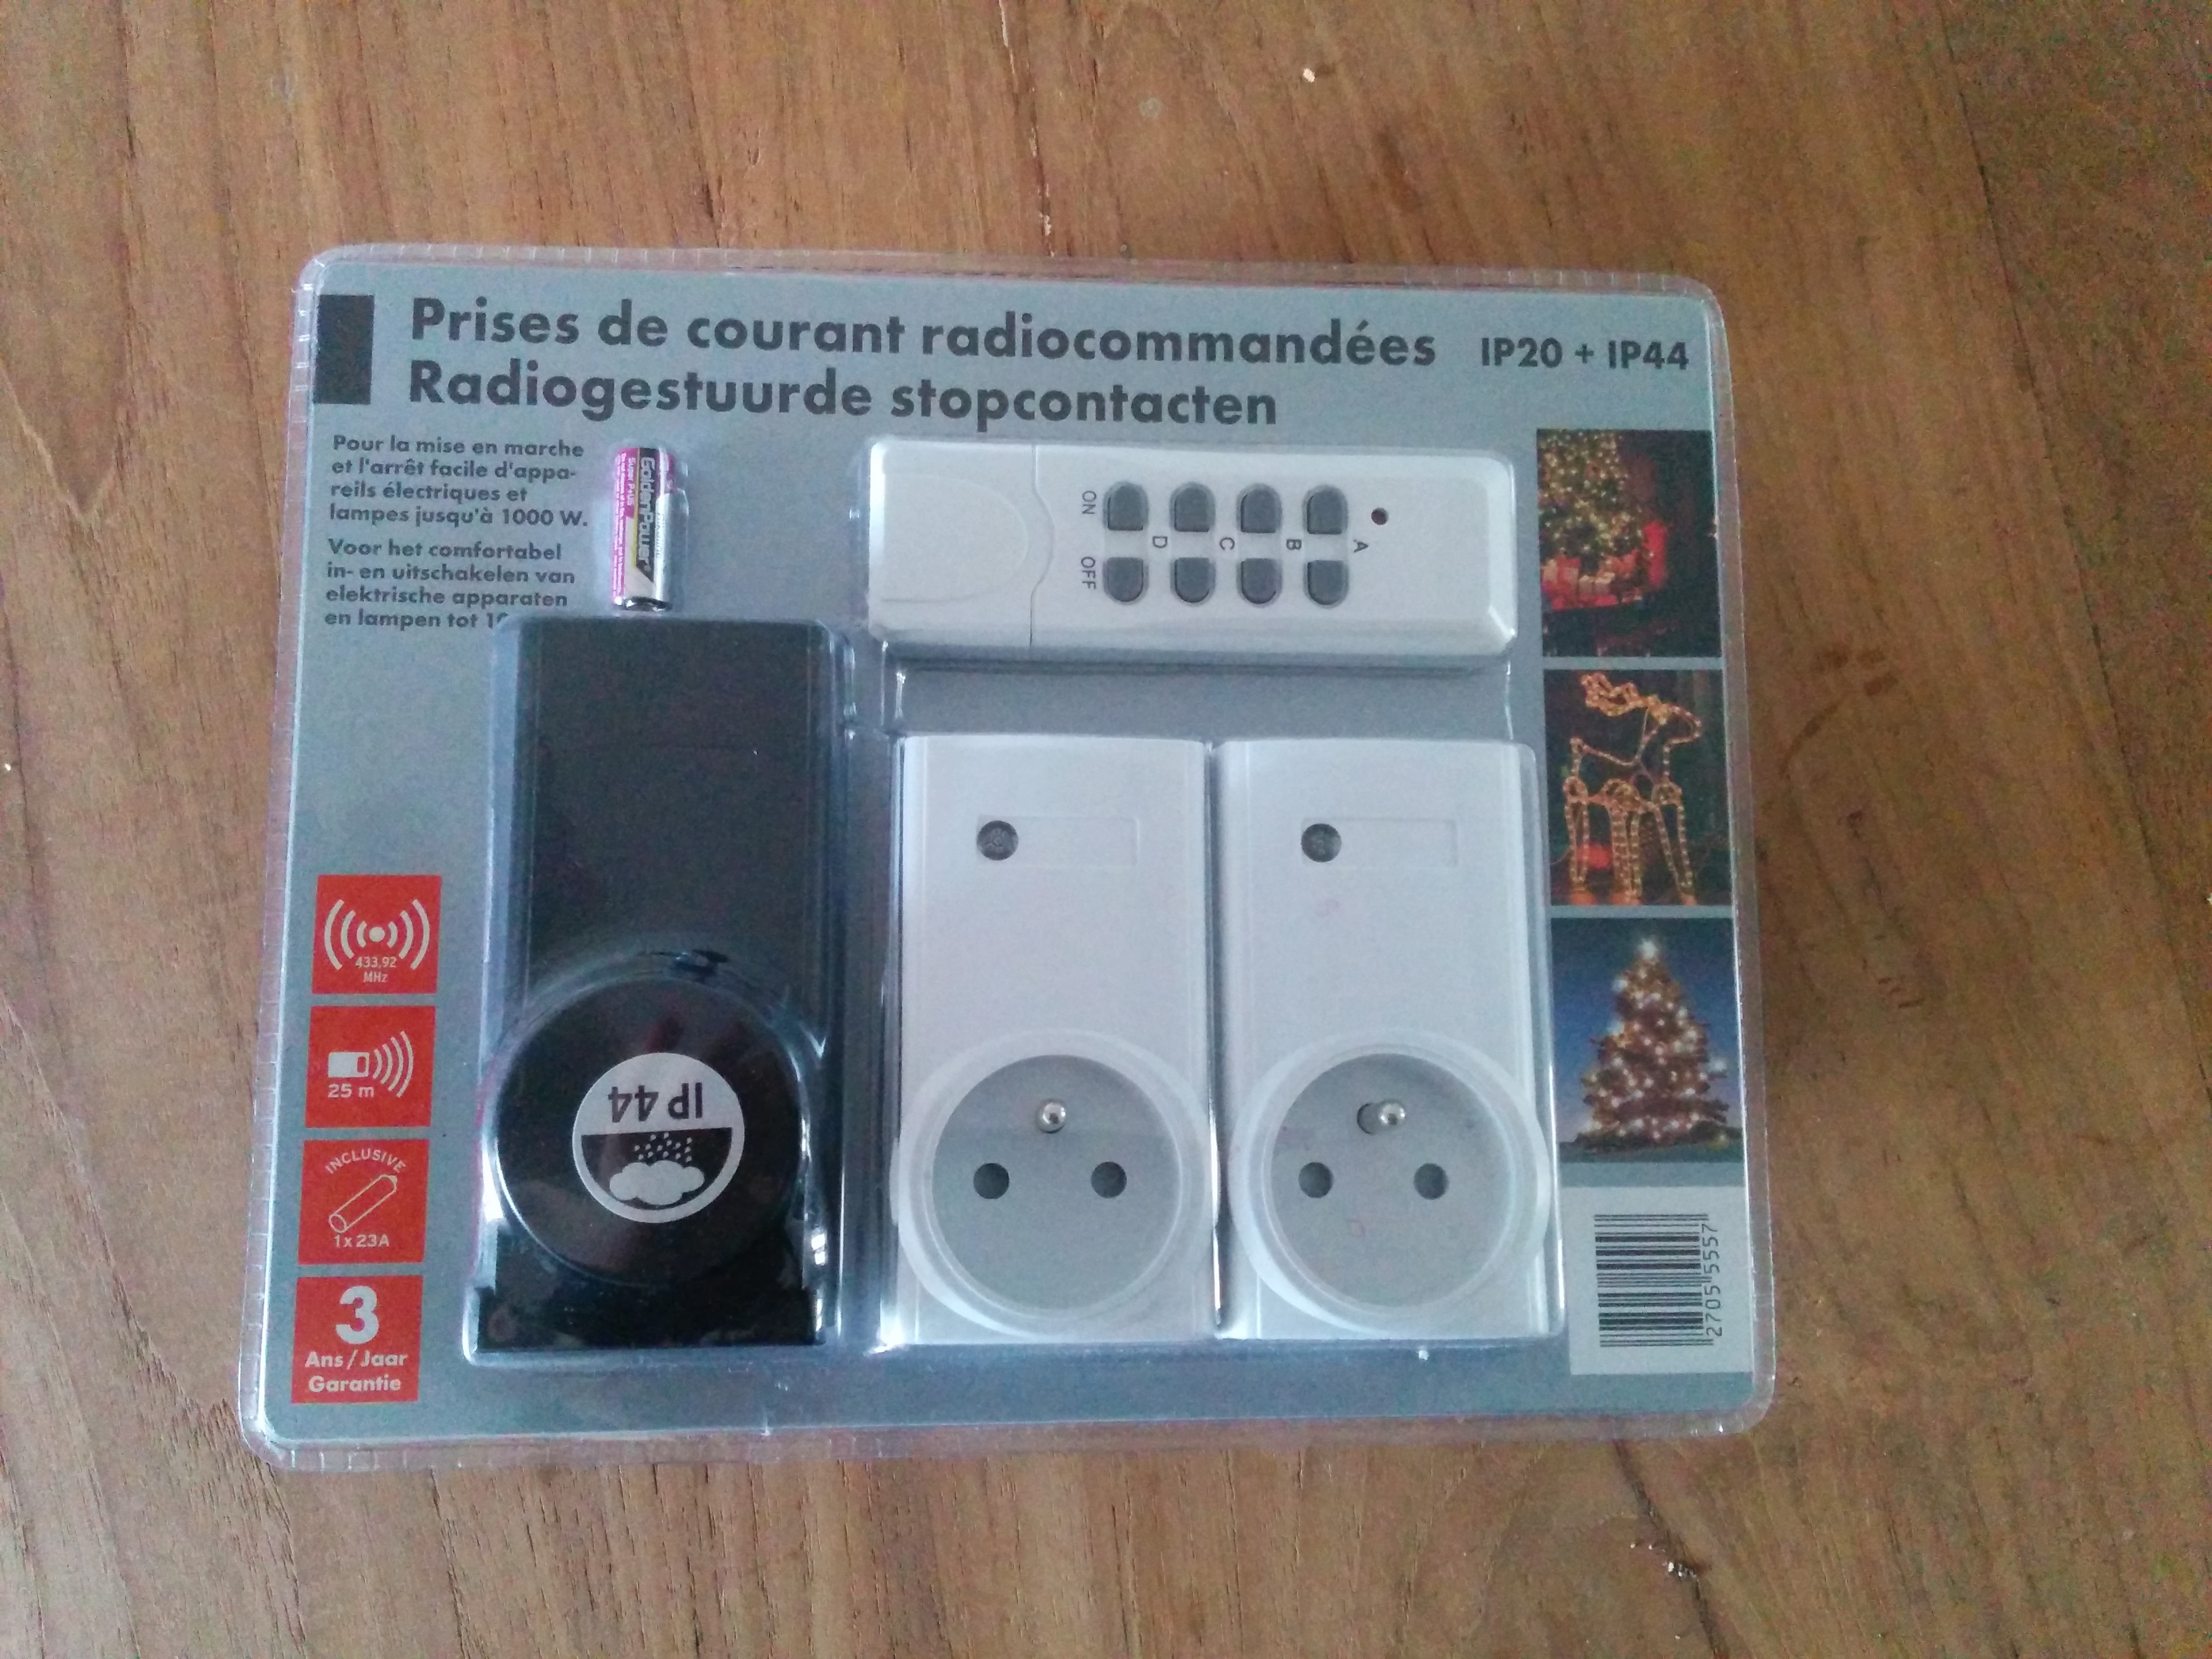
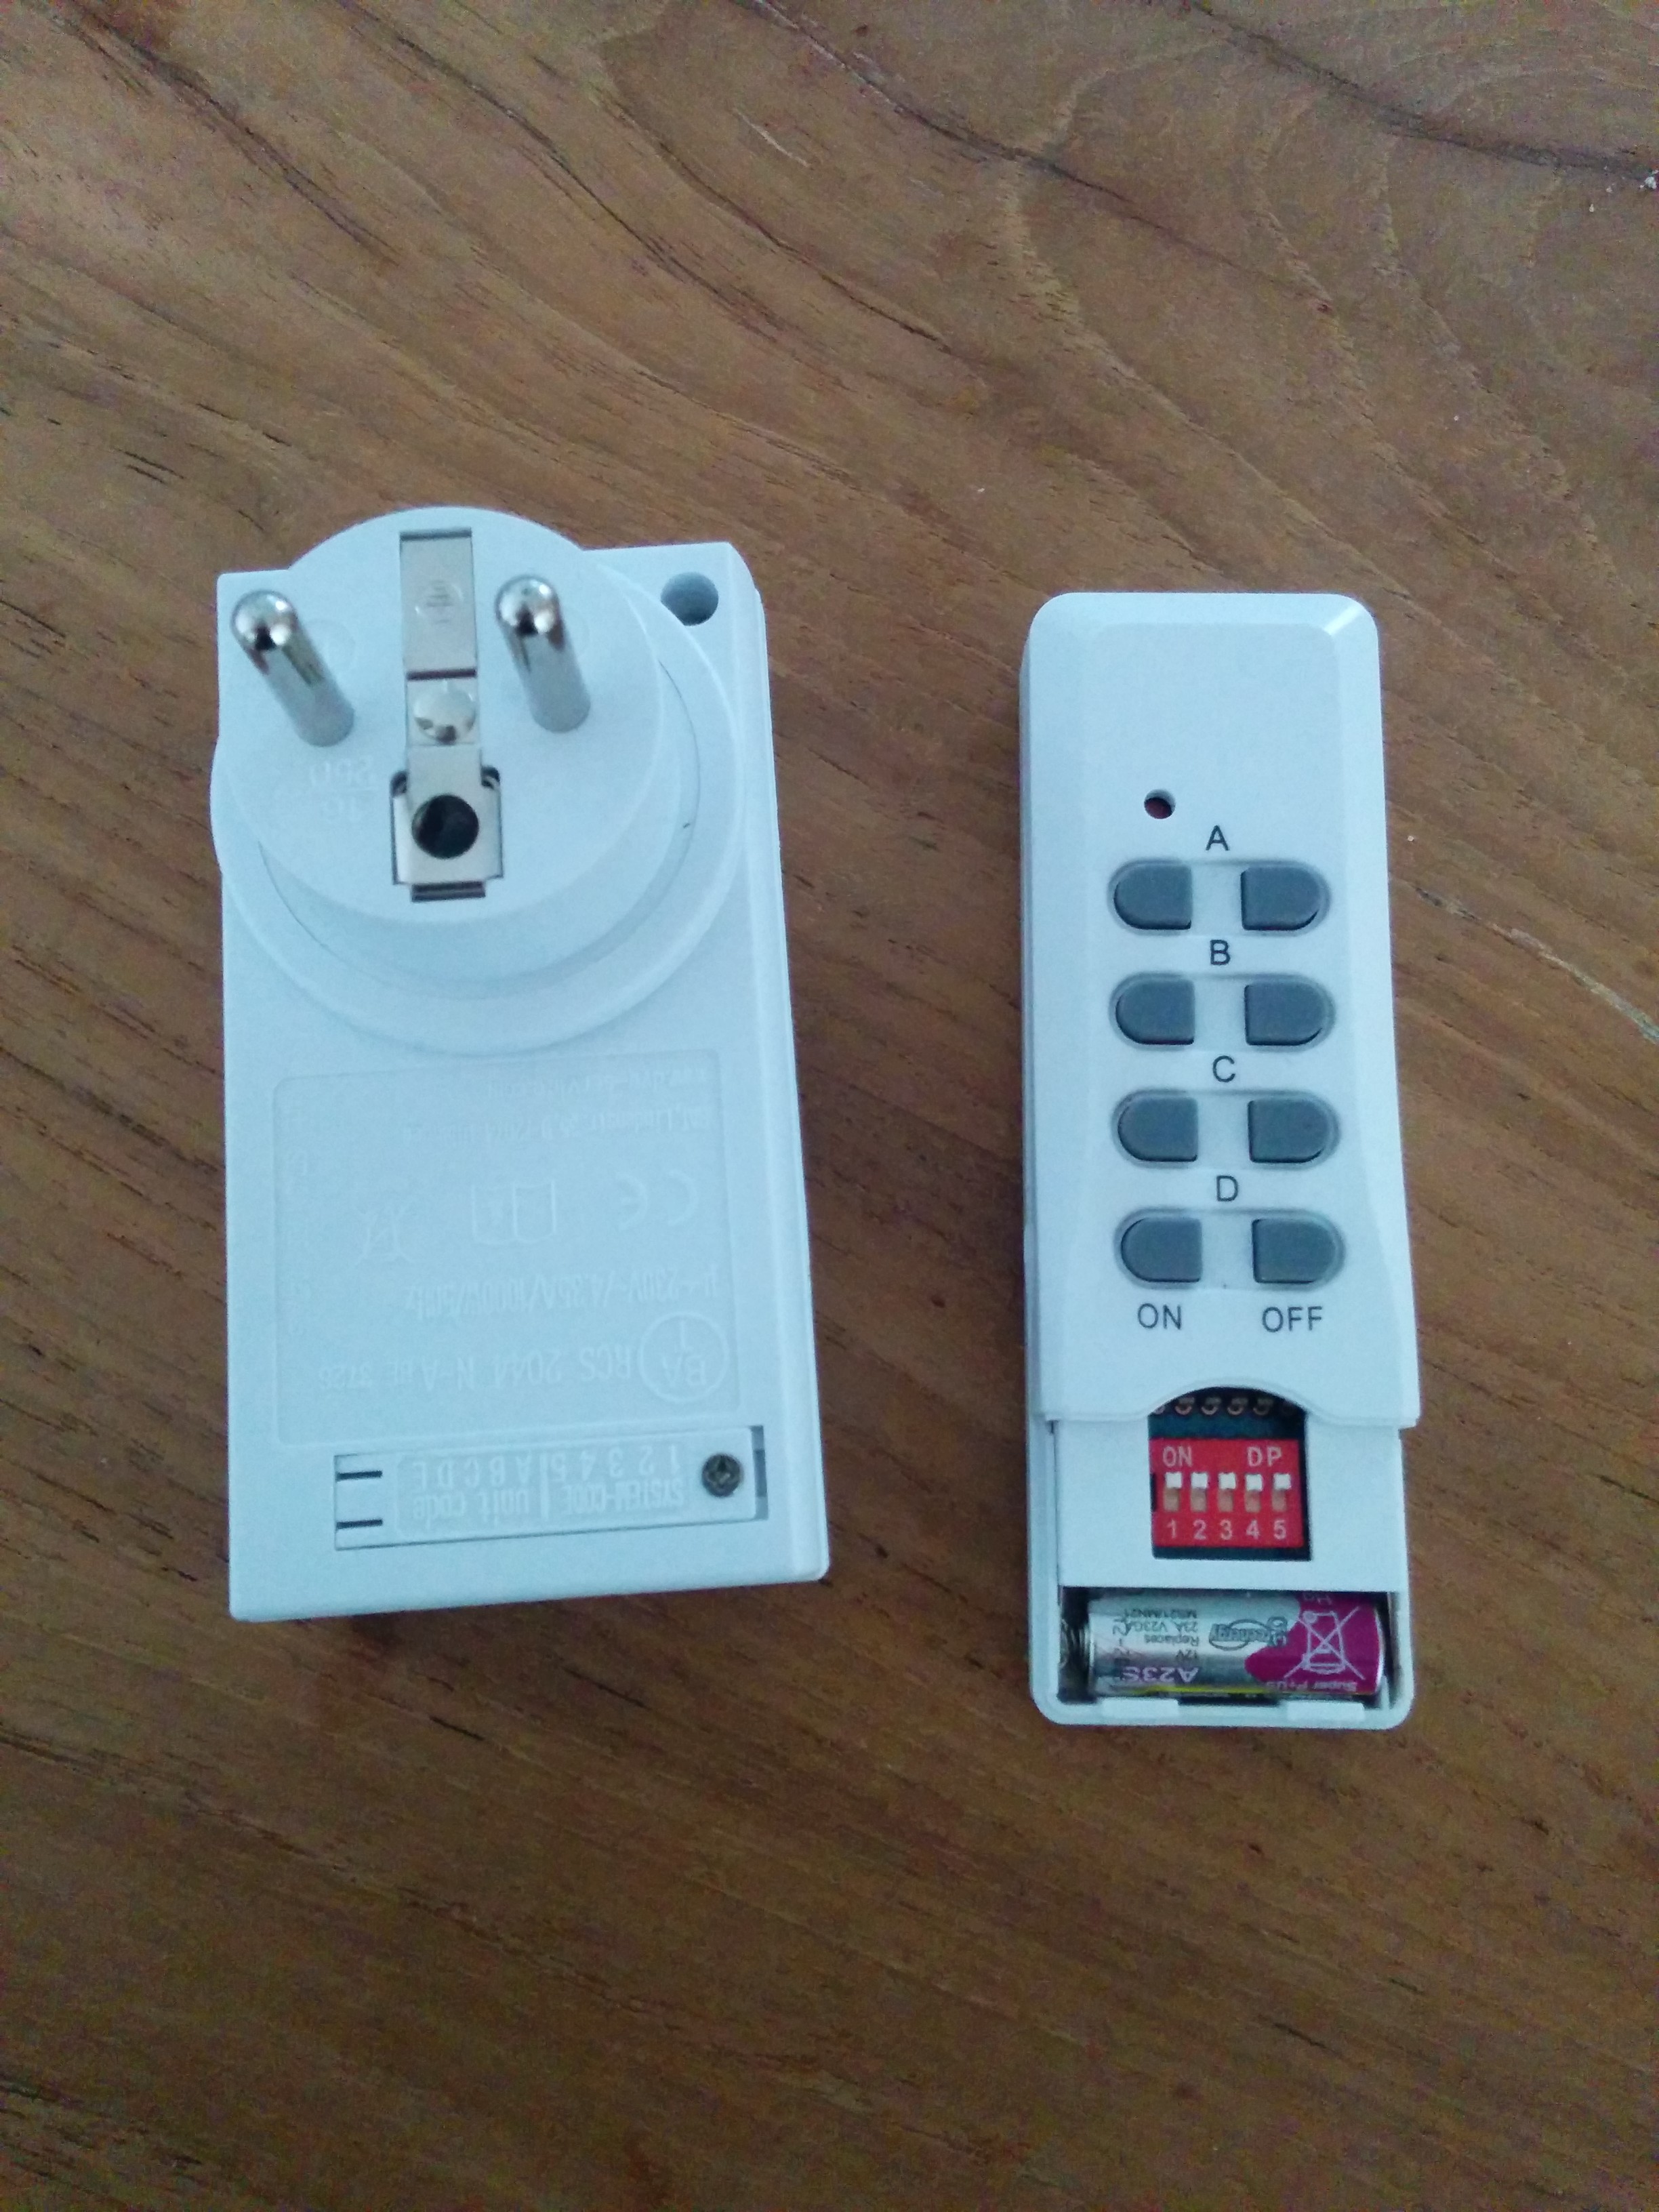
This post contains some info on how do some basic home automation: it shows how cheap remote controlled power sockets can be managed using a computer. The aim is to power on or power off lights, a stereo or other devices remotely from a command shell.
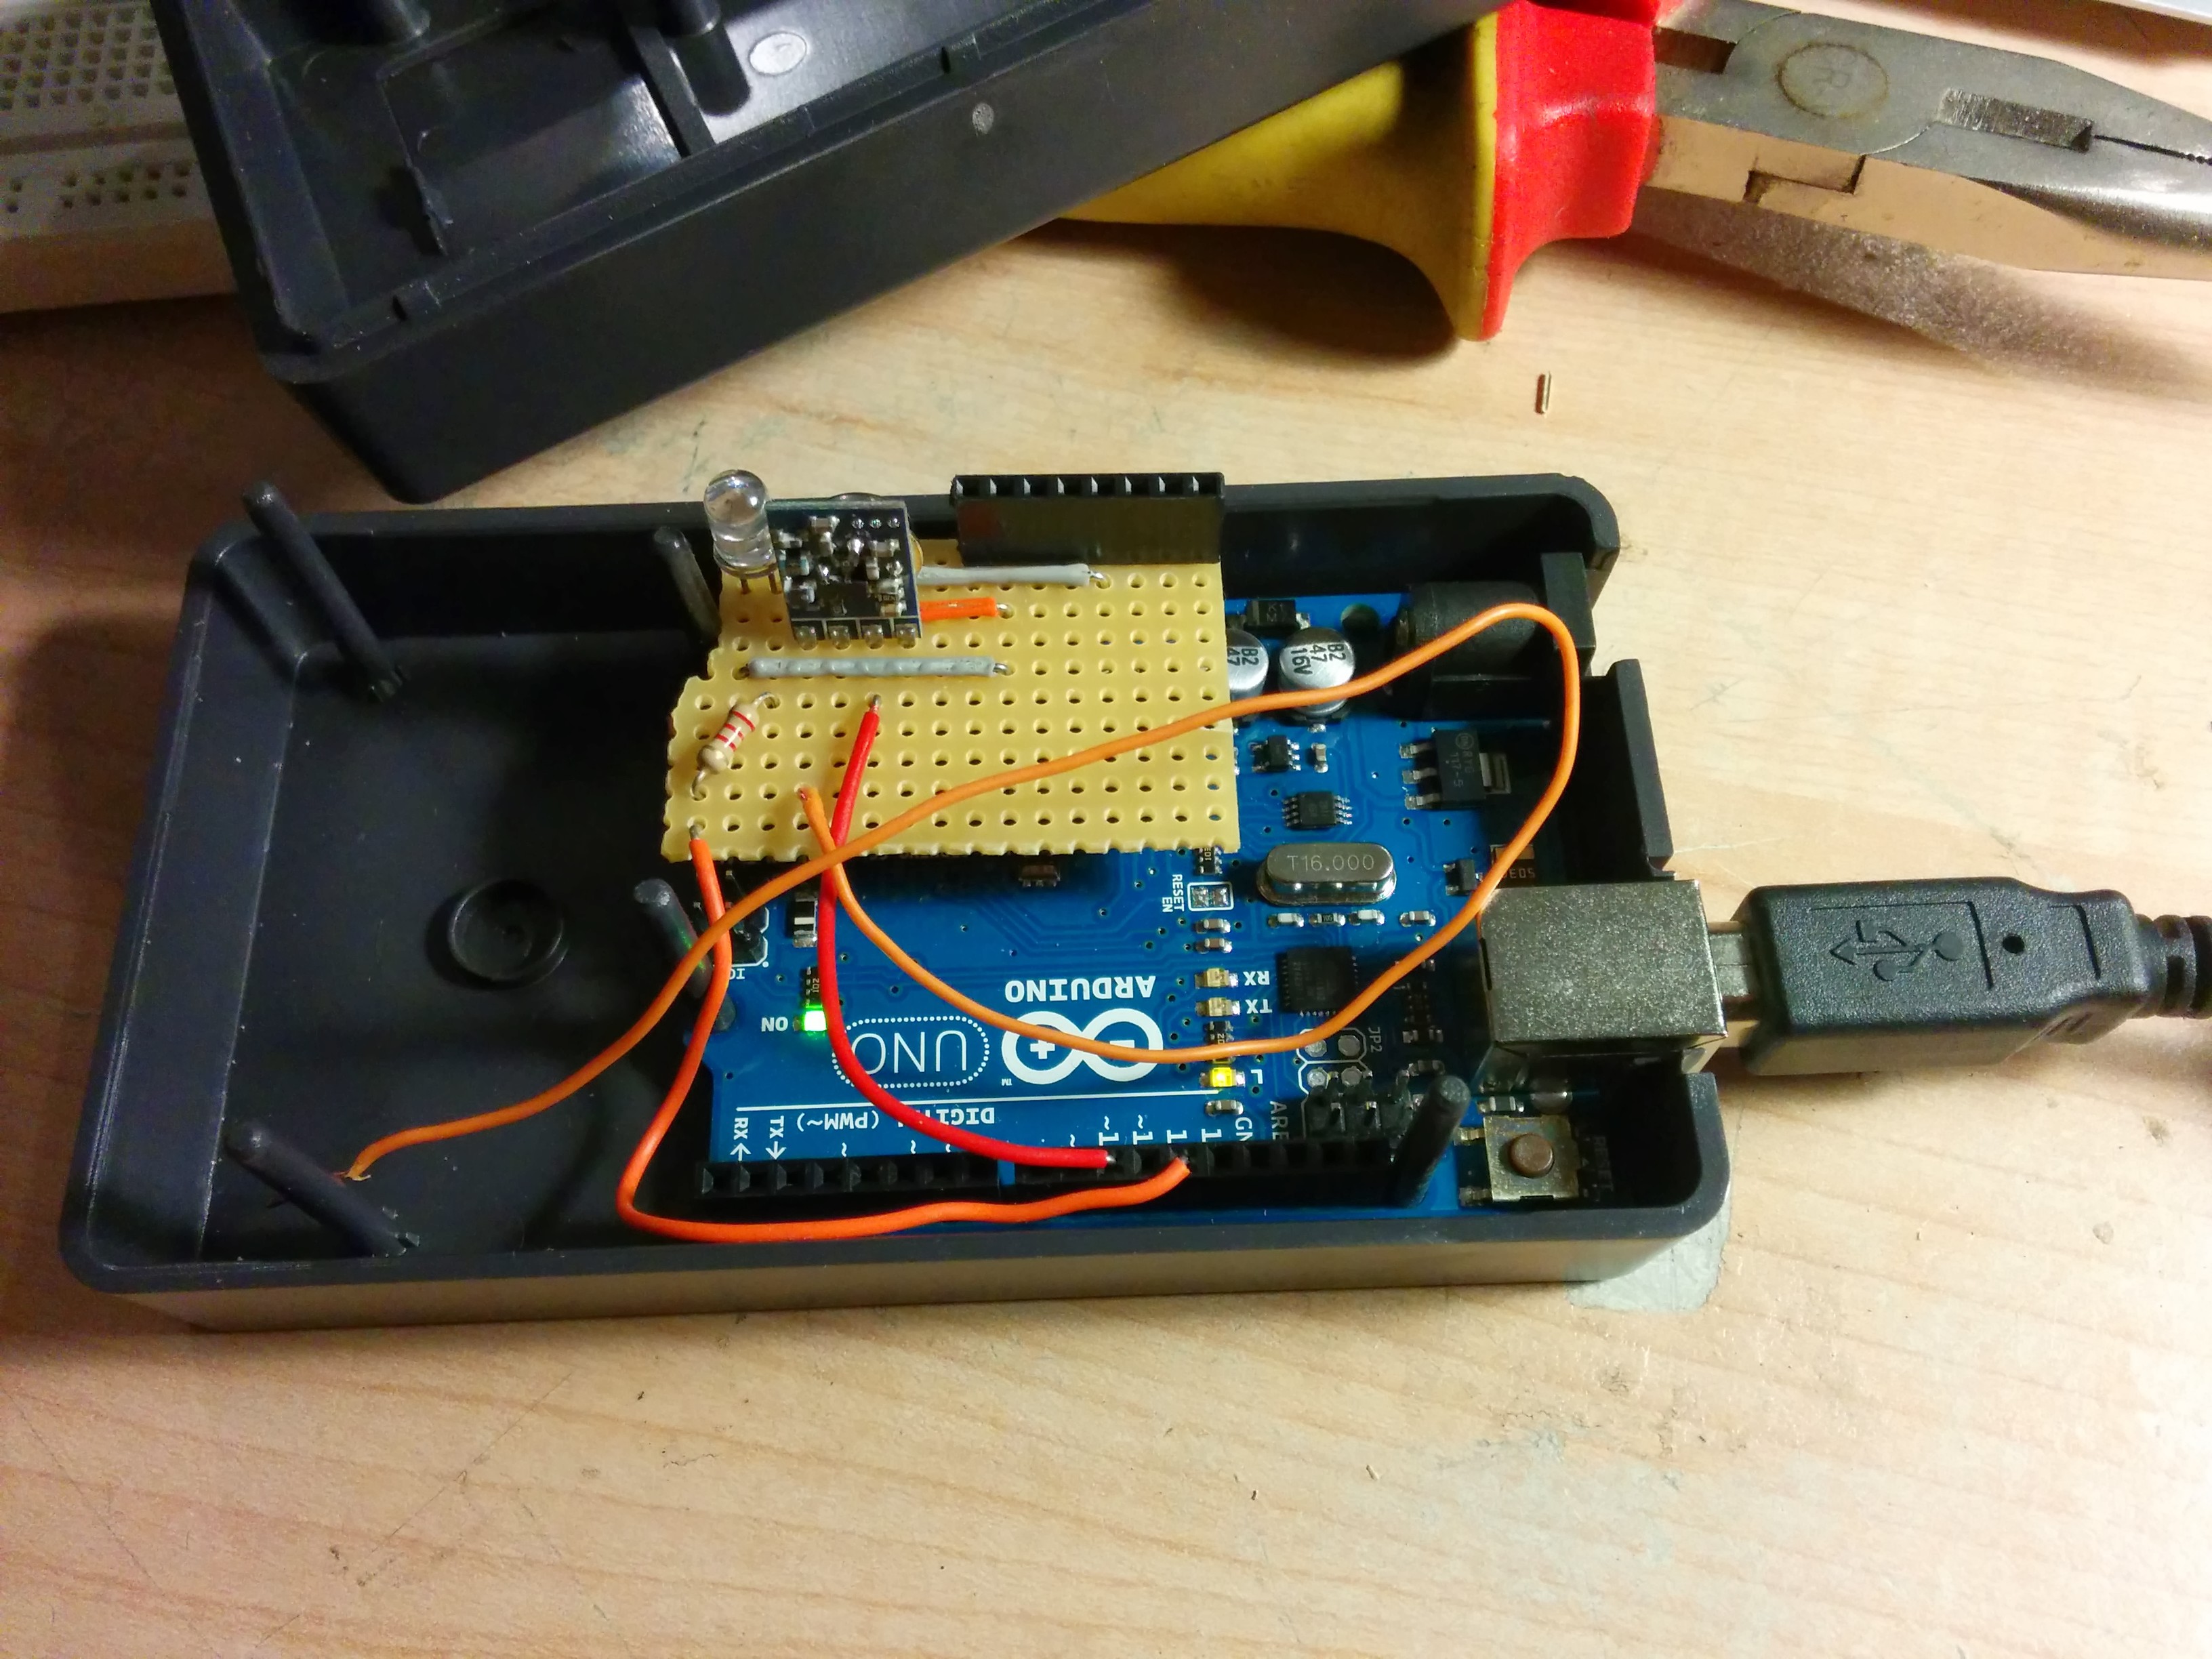
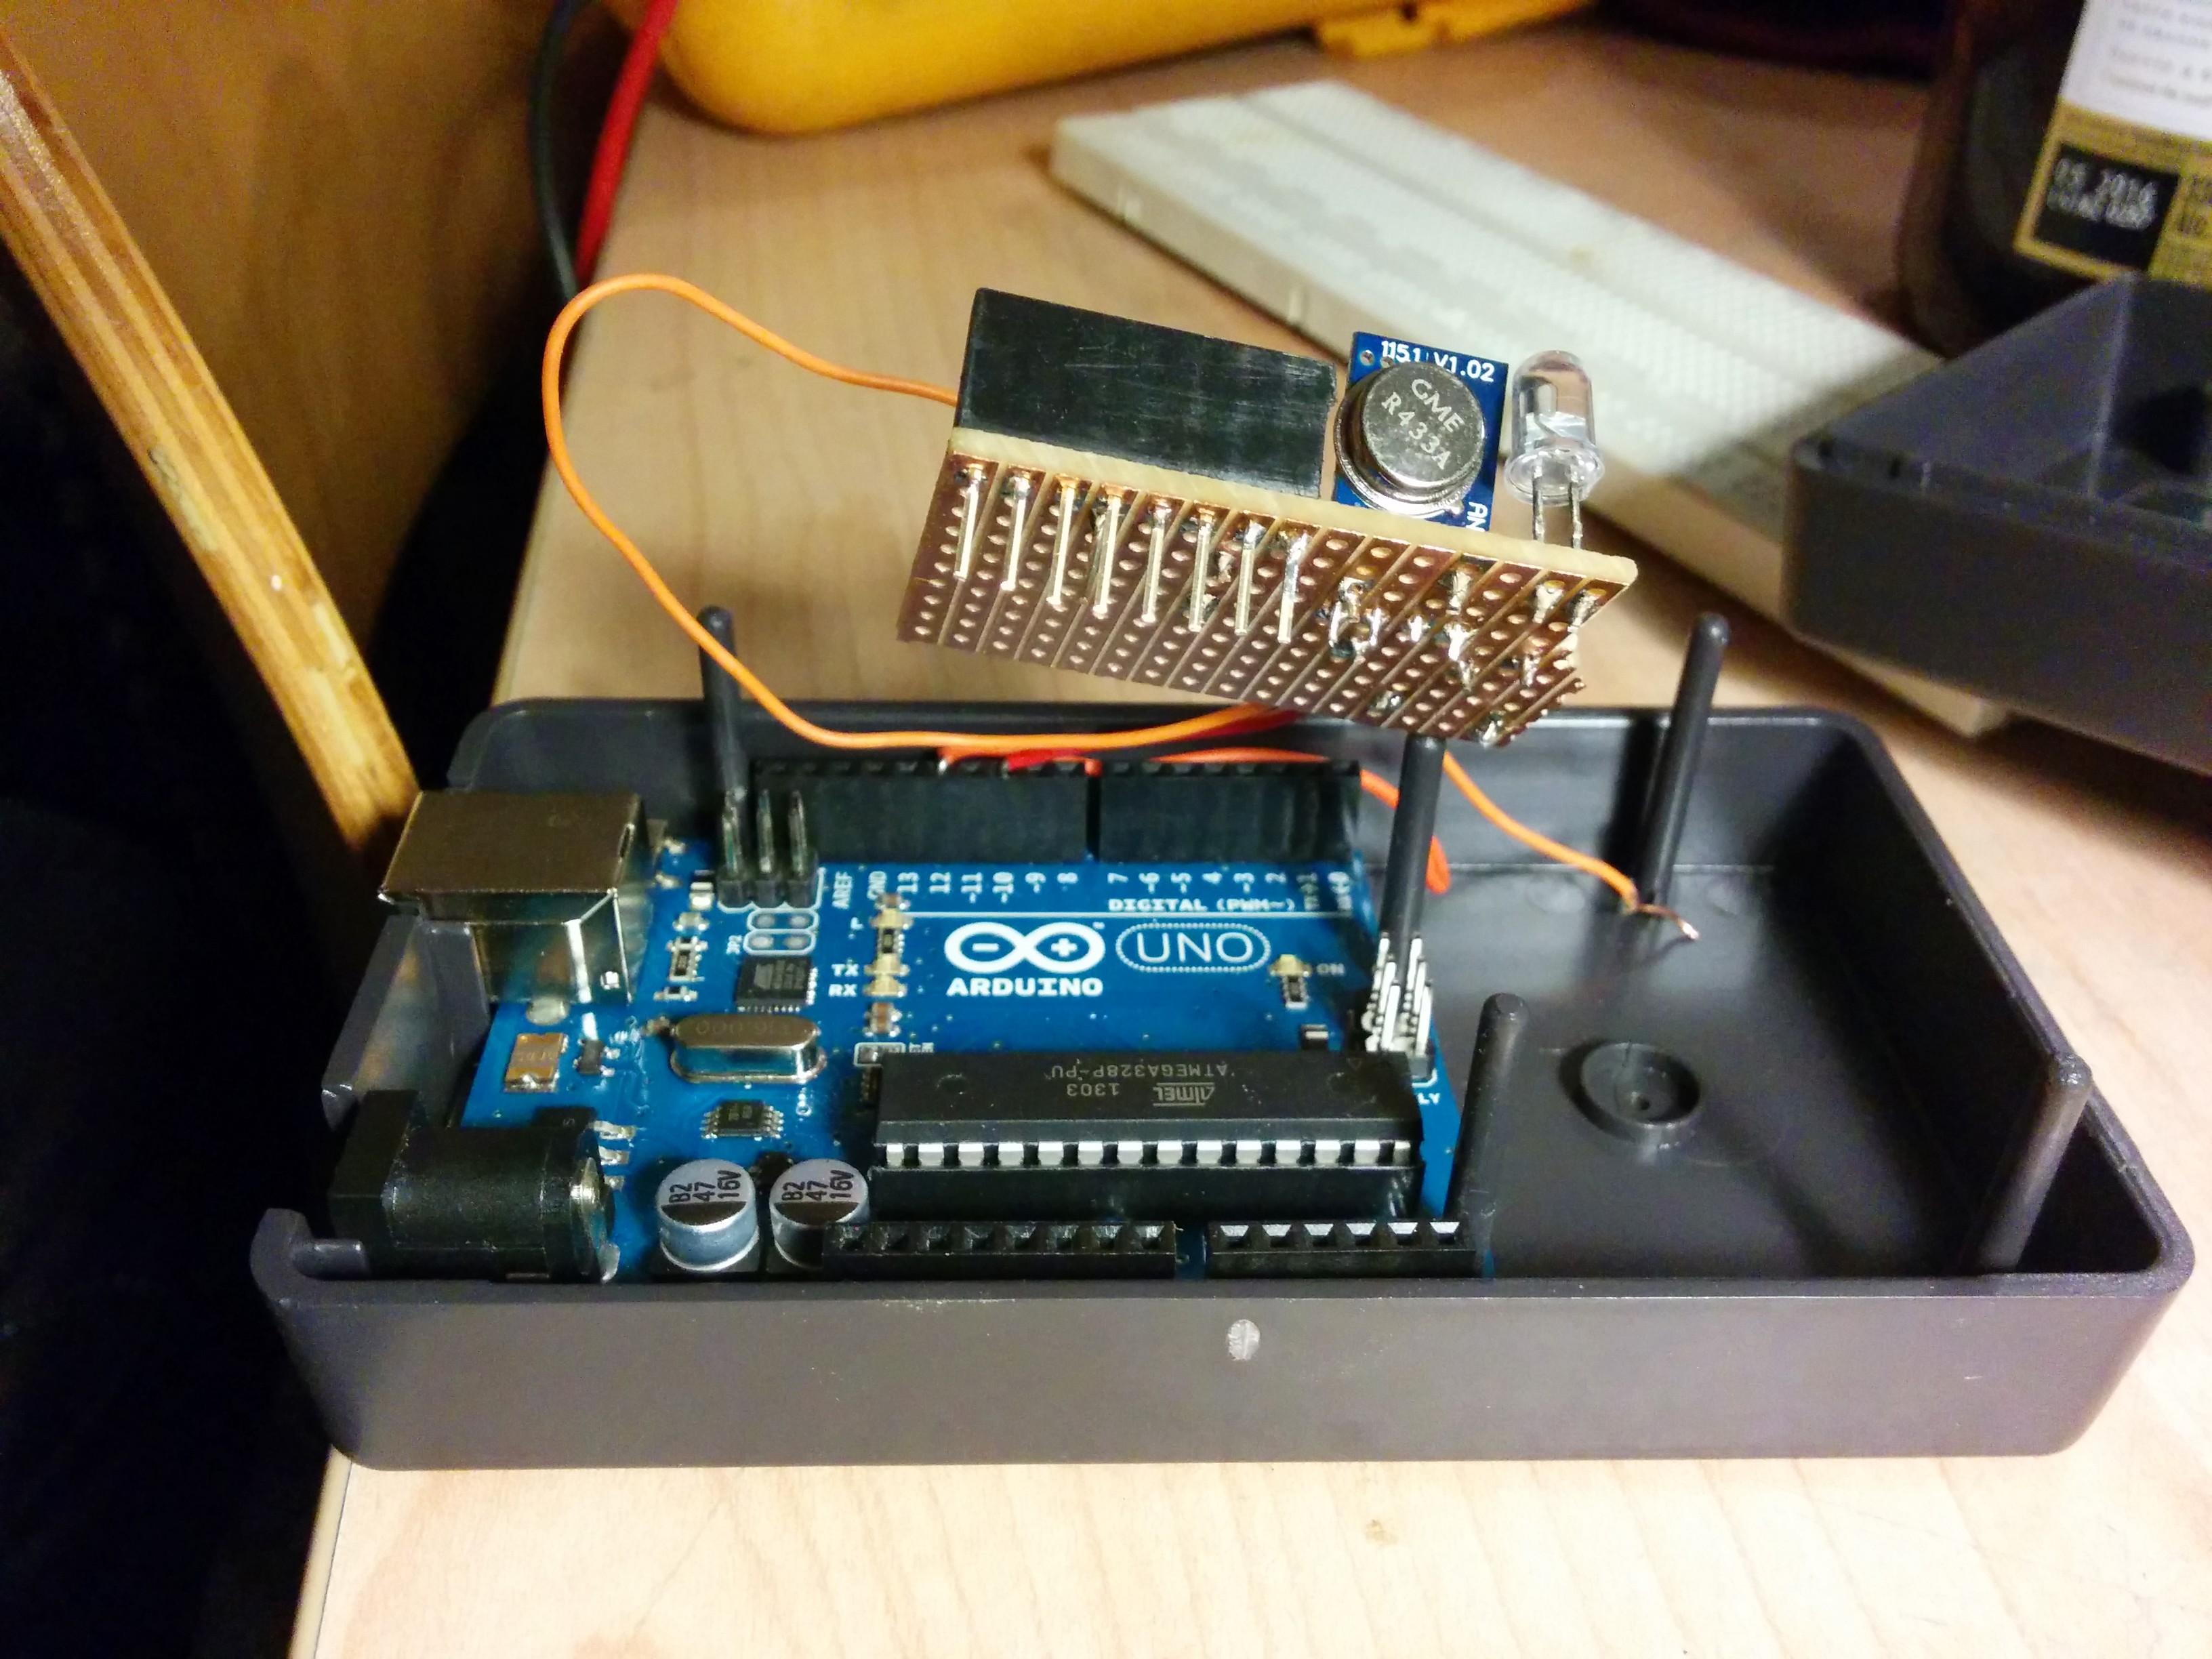
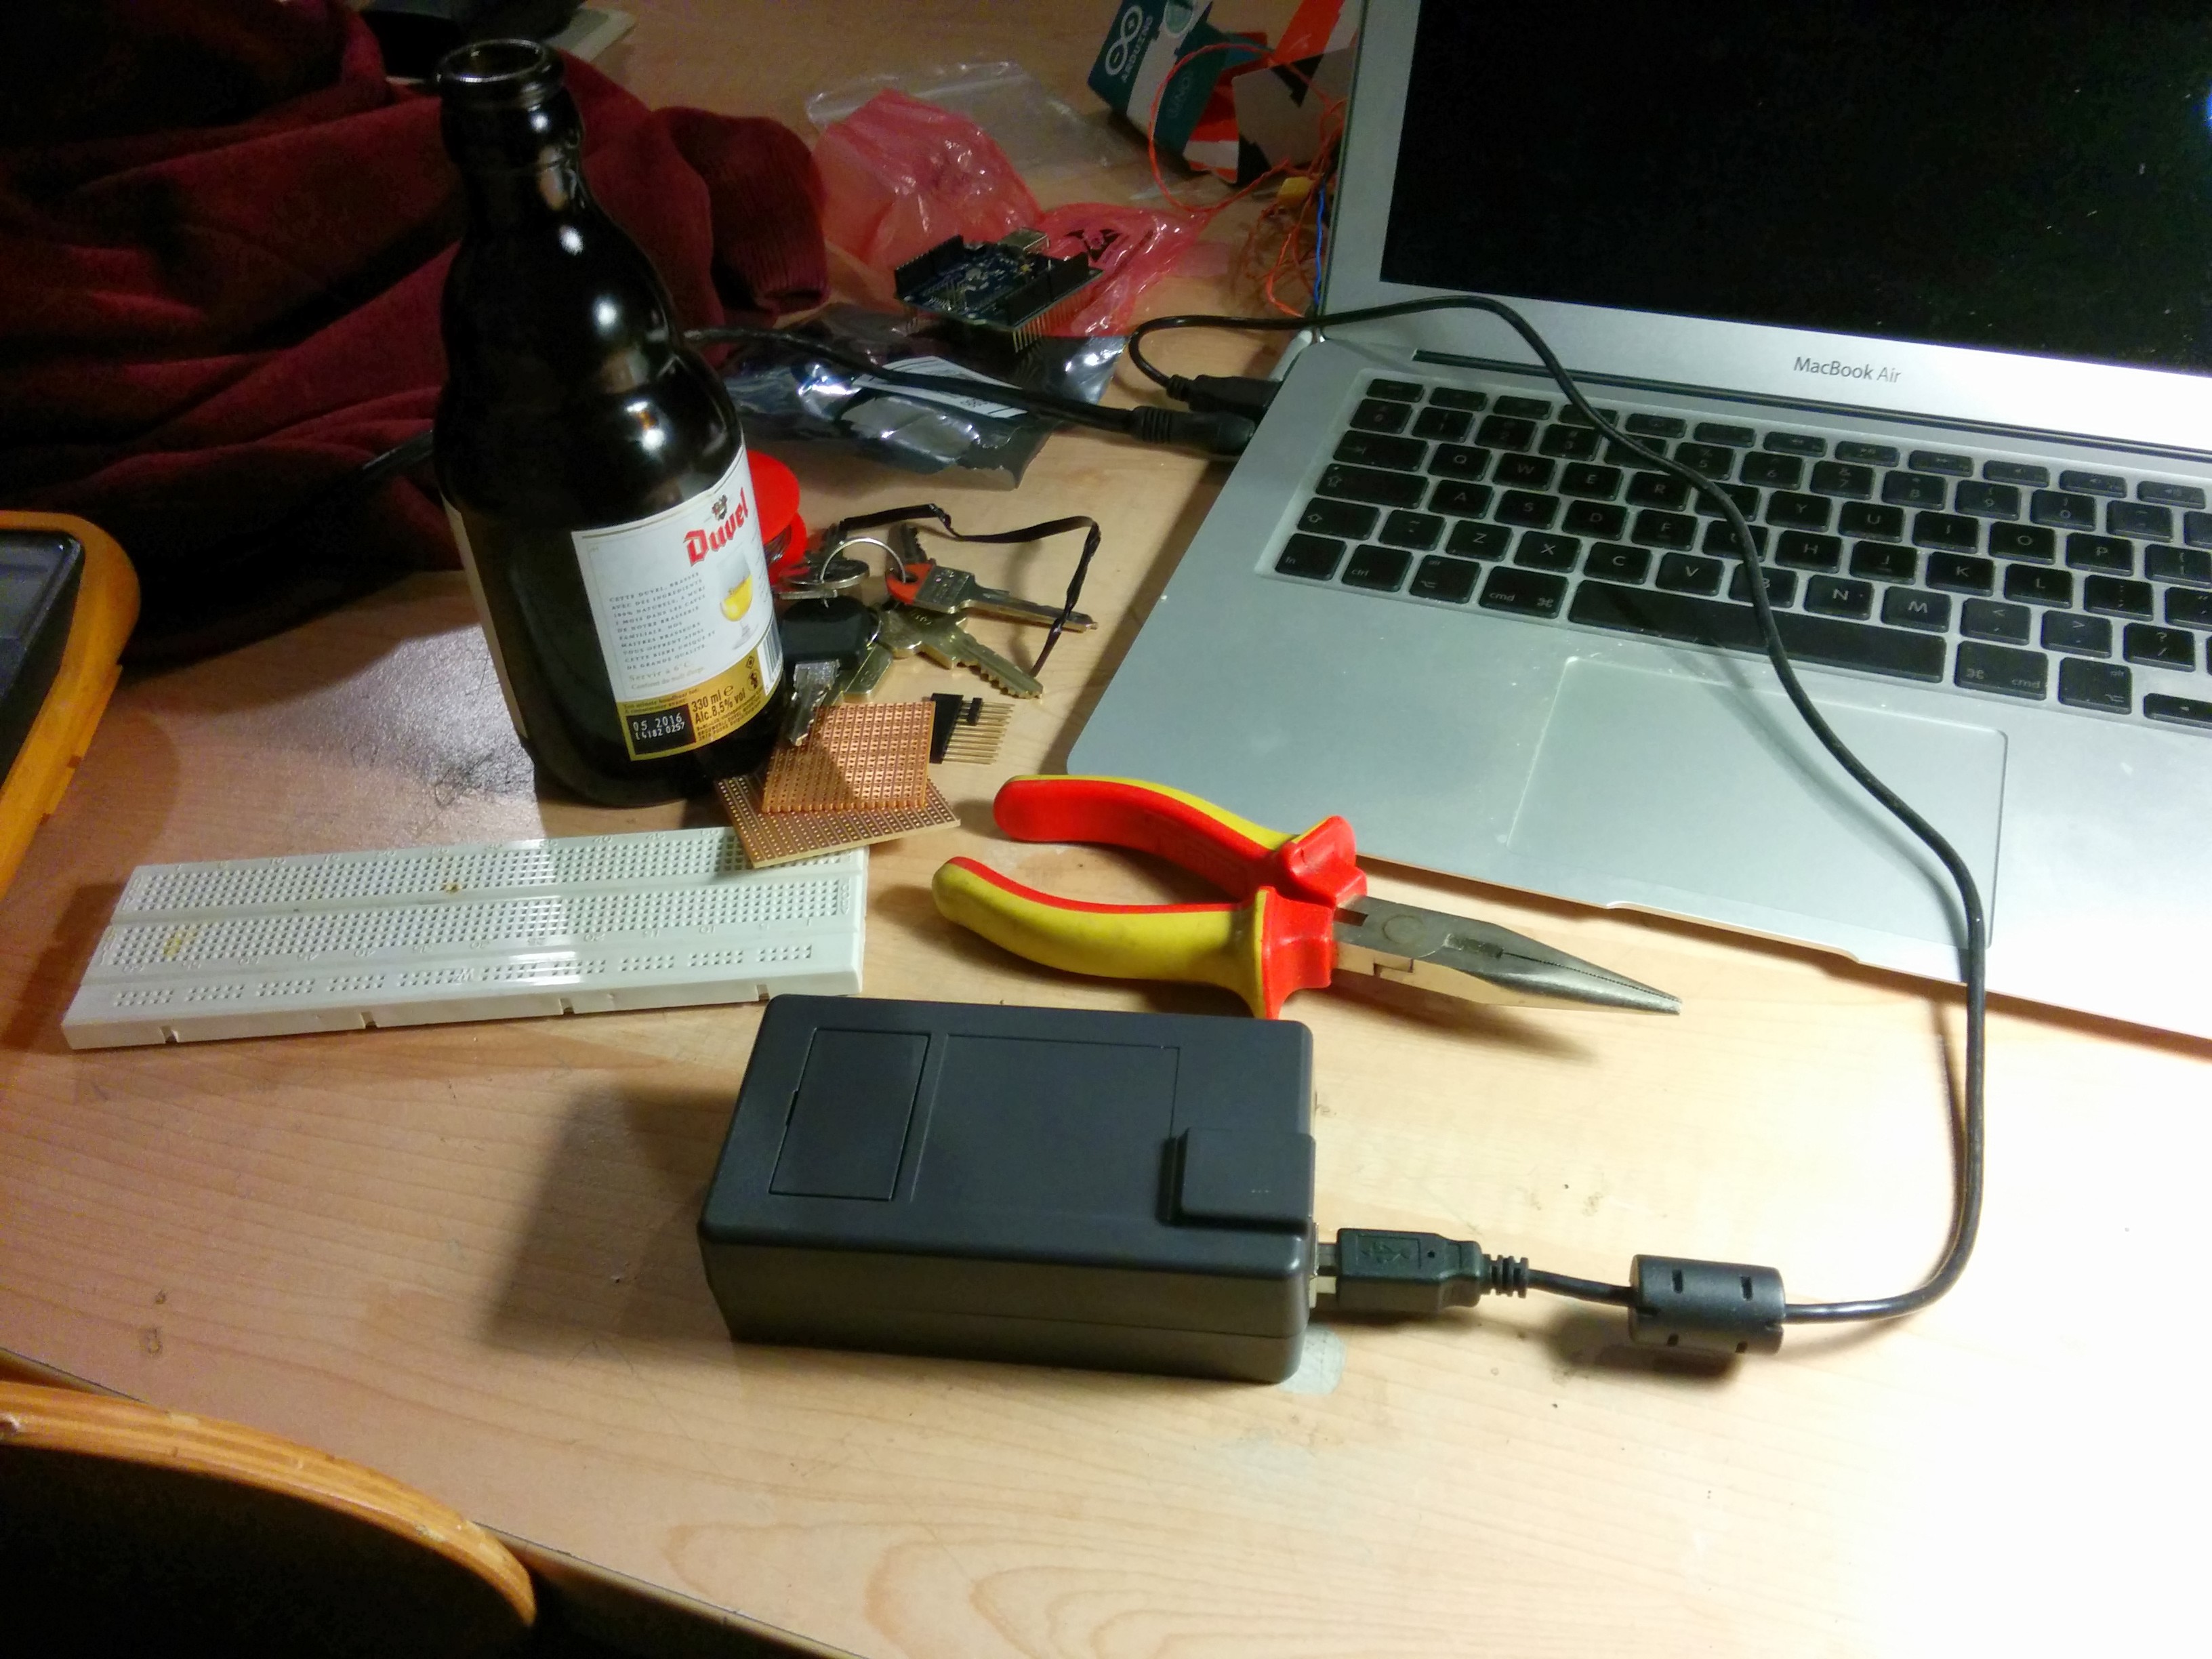
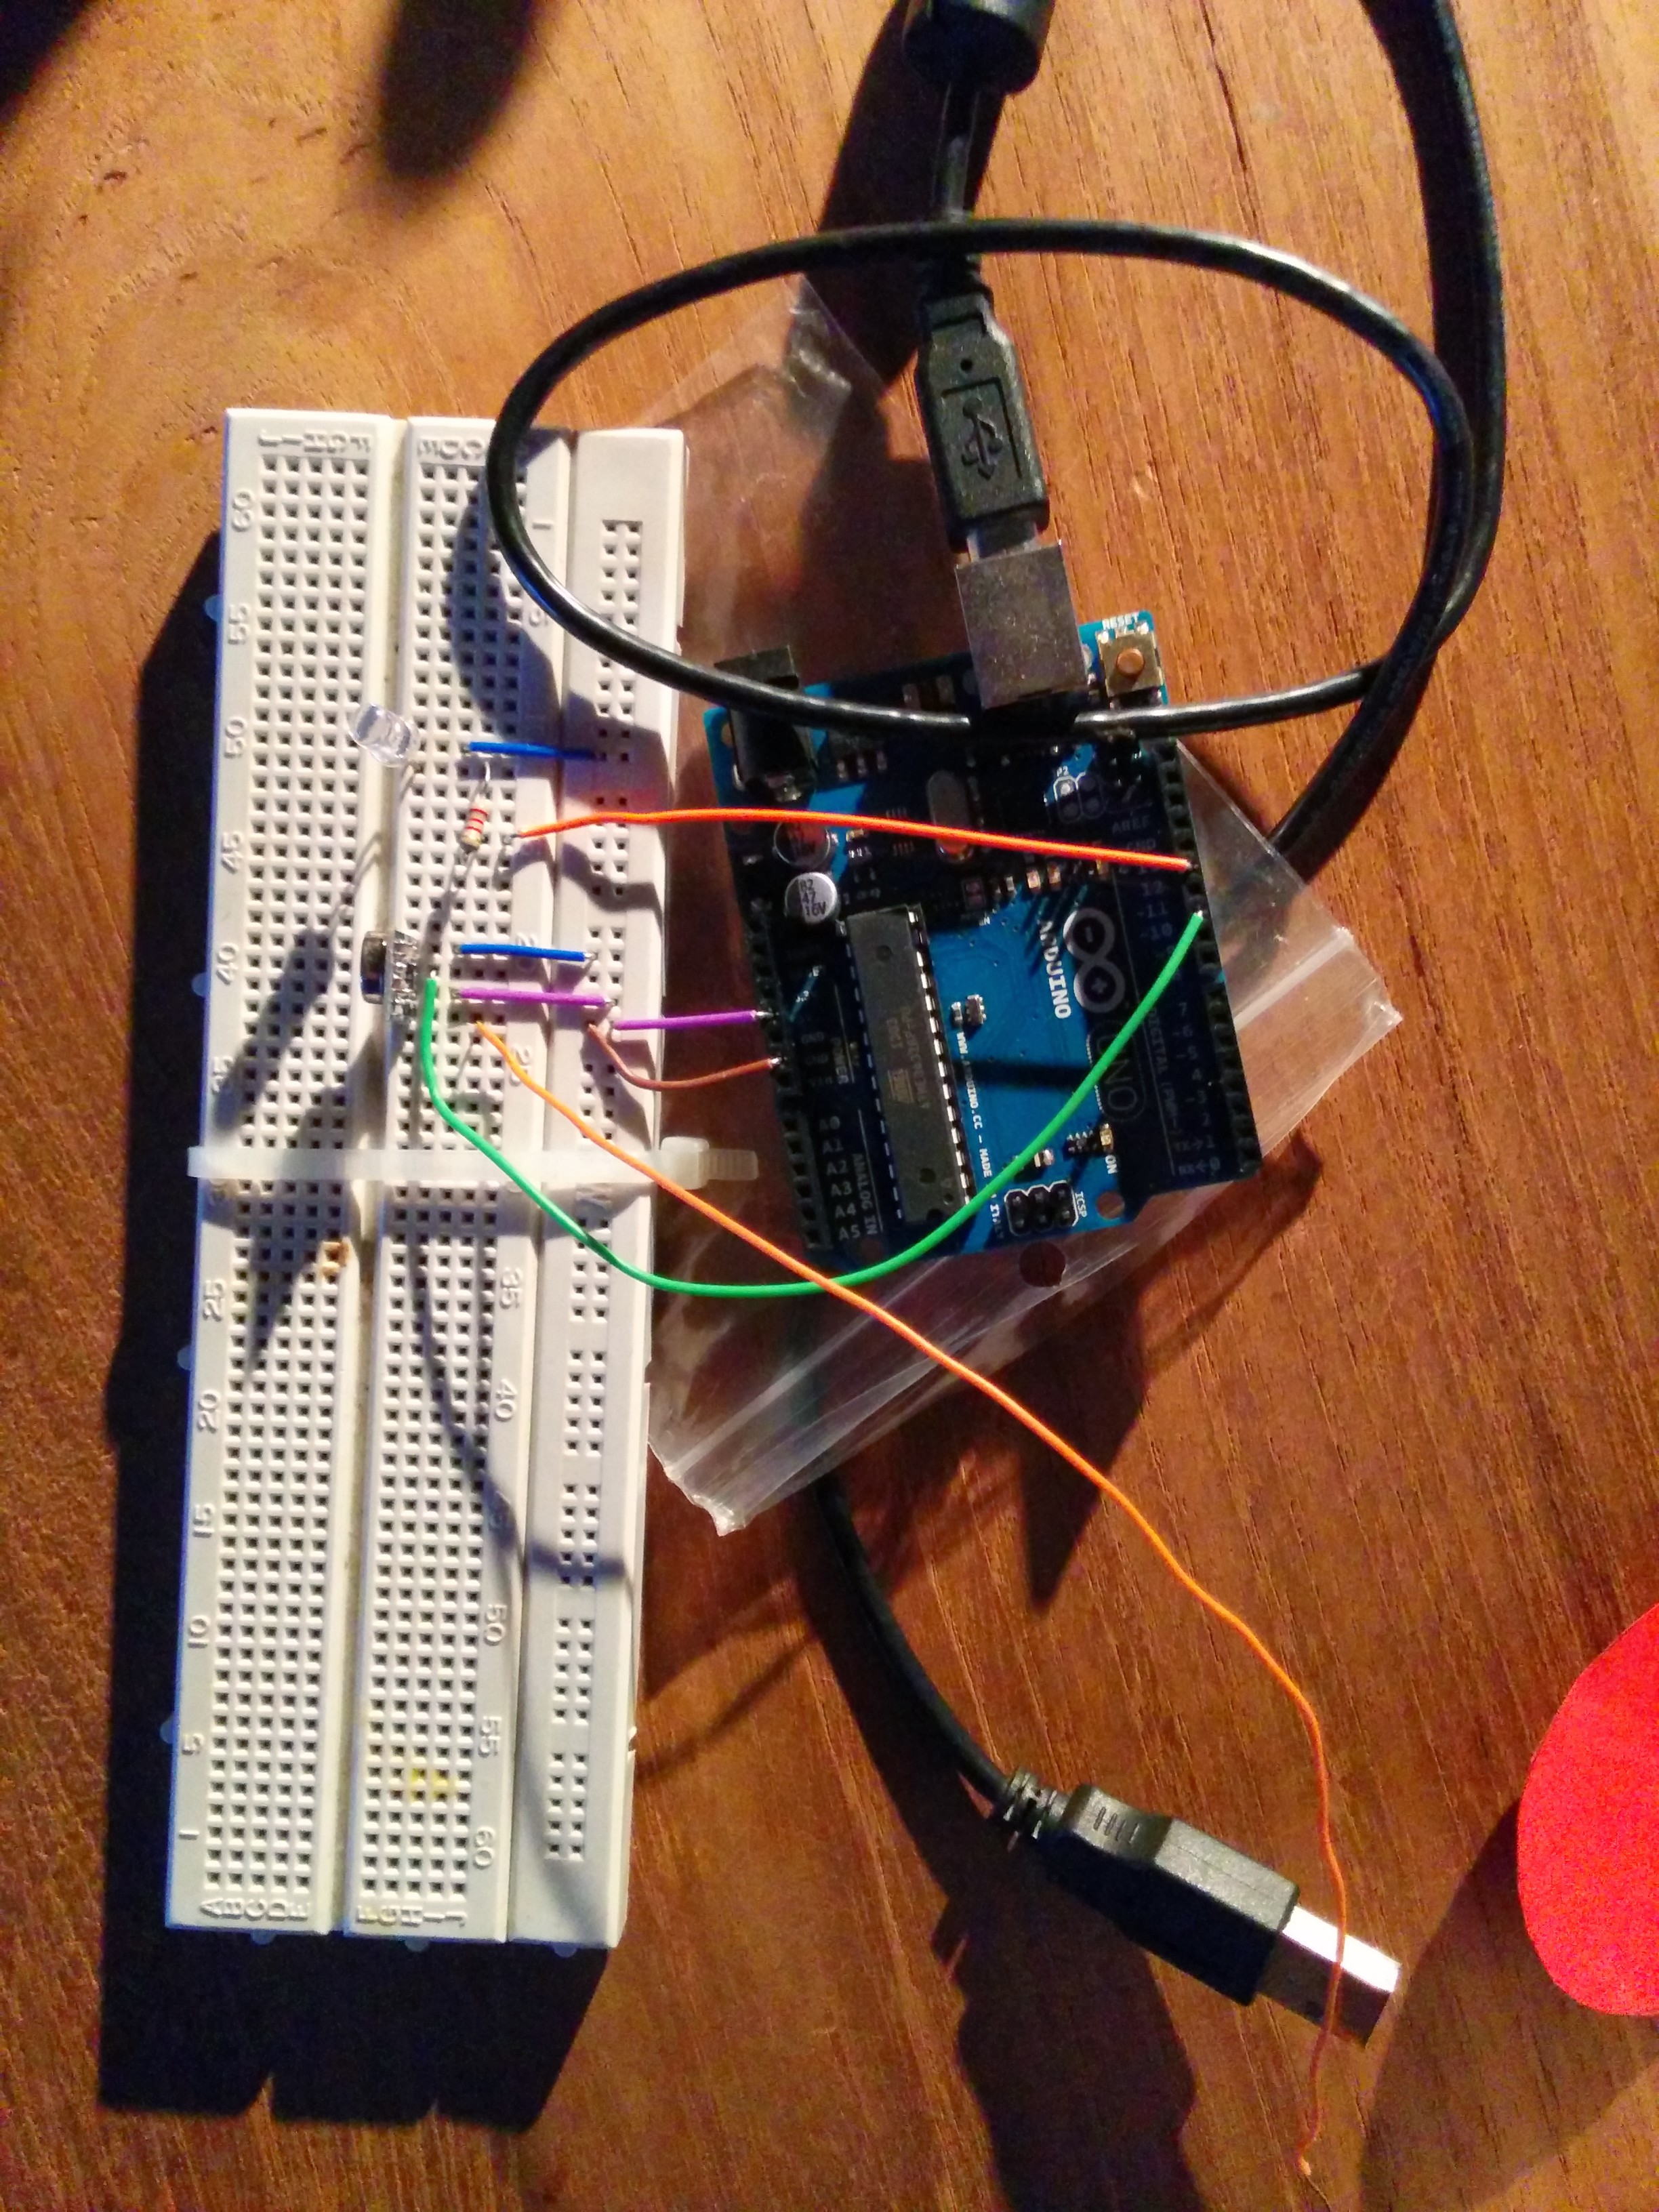
The solution here uses an Arduino connected to a 433.33MHz transmitter. Via a Ruby script installed on the computer a command is send over serial to the Arduino. Subsequently the Arduino sends the command over the air to the power socket(s). If all goes well the power socket reacts by switching the connecting device on or off.
In the video below the process is shown. The command line interface controls the light via the Arduino. It should show the general idea.
The following Ruby script simply sends the binary control codes to the Arduino. For this type of power socket the code consist of a five bit group code and five bit device code. The Arduino is connected to /dev/tty.usbmodem411.
```ruby\ require ‘rubygems’\ require ‘serialport’
group = “11111”;
lamp = “01000” #B\ kerstboom = “00100” #C\ stereo = “00010” #D
port = “/dev/tty.usbmodem411”\ baud_rate = 9600\ data_bits = 8\ stop_bits = 1\ parity = SerialPort::NONE
command = ARGV[1] == “on”
device_string = ARGV[0]\ device = if device_string "kerstboom" kerstboom elsif device_string “lamp”\ lamp\ elsif device_string == “stereo”\ stereo\ end
def send(sp,group,device,deviceOn)\ command = deviceOn ? “1” : “0”\ command.each_char{|c| sp.write©}\ group.each_char{|c| sp.write©}\ device.each_char{|c| sp.write©}\ sp.flush\ read_response sp\ read_response sp\ end
def read_response(sp)\ response = sp.readline\ puts response.chomp\ end
SerialPort.open(port, baud_rate, data_bits, stop_bits, parity) do |sp|\ read_response sp\ send(sp,group,device,command)\ end\ ```
The code below is the complete Arduino sketch. It uses the RCSwich library, which makes the implementation very simple. Essentially it waits for a complete command and transmits it through the connected transmitter. The transmitter connected is a tx433n
```ruby\ #include <RCSwitch.h>
RCSwitch mySwitch = RCSwitch();
char command[12];//2x5 for device and group + command\ int index = 0;\ char currentChar = –1;
//the led pin in use\ int ledPin = 12;
void setup() {\ //start the serial communication\ Serial.begin(9600);\ // 433MHZ Transmitter is connected to Arduino Pin #10\ mySwitch.enableTransmit(10);\ //Led connected to led pin\ pinMode(ledPin, OUTPUT);\ Serial.println(“Started the power command center! Mwoehahaha!”);\ }
void readCommand(){\ //read a command\ while (Serial.available() > 0){\ if(index < 11){\ currentChar = Serial.read(); // Read a character\ command[index] = currentChar; // Store it\ index; // Increment where to write next\ command[index] = ‘\0’; // append termination char\ }\ }\ }
void loop() {\ //read a command\ readCommand();\ //if a command is complete\ if(index == 11){\ Serial.print(“Recieved command: “);\ Serial.println(command);\ char operation = command[0];\ char* group = &command[1];\ //group is 5 bits, as is device\ char* device = &command[6];
//execute the operation\ doSwitch(operation,group,device);\ //reset the index to read a new command\ index=0;\ }\ }
void doSwitch(char operation, char* group, char* device){\ digitalWrite(ledPin, HIGH);\ if(operation == ‘1’){\ mySwitch.switchOn(group, device);\ Serial.print(“Switched on device “);\ } else {\ mySwitch.switchOff(group, device);\ Serial.print(“Switched off device “);\ }\ Serial.println(device);\ digitalWrite(ledPin, LOW);\ }\ ```
 Code, Hackerspace Ghent, Harde waren, and Projecten
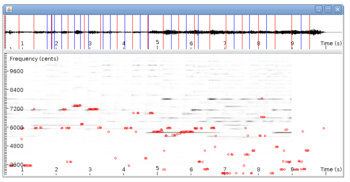
The DSP library for Taros, aptly named TarsosDSP, now includes an implementation of a Constant-Q Transform (as of version 1.6). The Constant-Q transform does essentially the same thing as an FFT, but has the advantage that each octave has the same amount of bins. This makes the Constant-Q transform practical for applications processing music. If, for example, 12 bins per octave are chosen, these can correspond with the western musical scale.
Also included in the newest release (version 1.7) is a way to visualize the transform, or other musical features. The visualization implementation is done together with Thomas Stubbe.
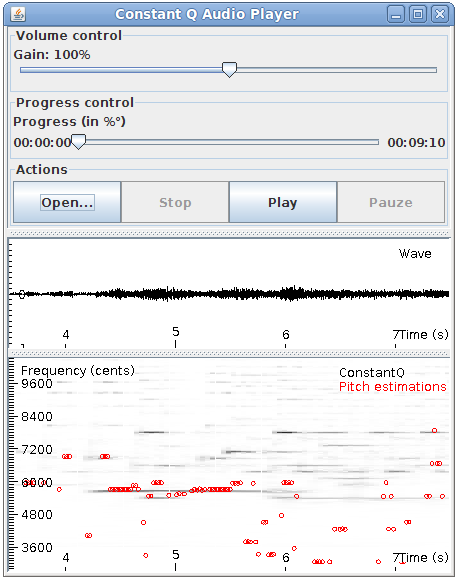
The example application below shows the Constant-Q transform with an overlay of pitch estimations. The corresponding waveform is also shown.
Find your oven fresh baked binaries at the TarsosDSP Release Repository.\ The source code can be found at the TarsosDSP GitHub repository.
Music Information Retrieval, Code, TarsosDSP, Java, HoGent, and Computational musicology
 constantq-visualization-java.png
TarsosLSH is a Java library implementing Locality-sensitive Hashing (LSH), a practical nearest neighbour search algorithm for multidimensional vectors that operates in sublinear time. It supports several Locality Sensitive Hashing (LSH) families: the Euclidean hash family (L2), city block hash family (L1) and cosine hash family. The library tries to hit the sweet spot between being capable enough to get real tasks done, and compact enough to serve as a demonstration on how LSH works. It relates to the Tarsos project because it is a practical way to search for and compare musical features.
Head over to the TarsosLSH release repository and download the latest TarsosLSH library. Consult the TarsosLSH API documentation. If you, for some reason, want to build from source, you need Apache Ant and git installed on your system. The following commands fetch the source and build the library and example jars:
<code>git clone https://JorenSix@github.com/JorenSix/TarsosLSH.git
cd TarsosLSH/build
ant  #Builds the core TarsosLSH library
ant javadoc #build the API documentation
</code>
\ When everything runs correctly you should be able to run the command line application, and have the latest version of the TarsosLSH library for inclusion in your projects. Also, the Javadoc documentation for the API should be available in TarsosLSH/doc. Drop me a line if you use TarsosLSH in your project. Always nice to hear how this software is used.
The fastest way to get something on your screen is executing this on your command line: java - jar TarsosLSH.jar this lets LSH run on a random data set. The full reference of the command line application is included below:
Name
    TarsosLSH: finds the nearest neighbours in a data set quickly, using LSH.
Synopsis
    java - jar TarsosLSH.jar [options] dataset.txt queries.txt
Description
    Tries to find nearest neighbours for each vector in the
    query file, using Euclidean (L2) distance by default.

    Both dataset.txt and queries.txt have a similar format:
    an optional identifier for the vector and a list of N
    coordinates (which should be doubles).

    [Identifier] coord1 coord2 ... coordN
    [Identifier] coord1 coord2 ... coordN

    For an example data set with two elements and 4 dimensions:

    Hans 12 24 18.5 -45.6
    Jane 13 19 -12.0 49.8

    Options are:

    -f cos|l1|l2
        Defines the hash family to use:
            l1  City block hash family (L1)
            l2  Euclidean hash family(L2)
            cos Cosine distance hash family
    -r radius
        Defines the radius in which near neighbours should
        be found. Should be a double. By default a reasonable
        radius is determined automatically.
    -h n_hashes
        An integer that determines the number of hashes to
        use. By default 4, 32 for the cosine hash family.
    -t n_tables
        An integer that determines the number of hash tables,
        each with n_hashes, to use. By default 4.
    -n n_neighbours
        Number of neighbours in the neighbourhood, defaults to 3.
    -b
        Benchmark the settings.
    --help
        Prints this helpful message.
Examples
    Search for nearest neighbours using the l2 hash family with a radius of 500
    and utilizing 5 hash tables, each with 3 hashes.

    java - jar TarsosLSH.jar -f l2 -r 500 -h 3 -t 5 dataset.txt queries.txt
The source tree is divided in three directories:
src contains the source files of the core DSP libraries.
test contains unit tests for some of the DSP functionality.
build contains ANT build files. Either to build Java documentation or runnable JAR-files for the example applications.
This section includes a links to resources used to implement this library.
Locality-Sensitive Hashing for Finding Nearest Neighbors a good introduction of LSH by Malcom Slaney & Michael Casey
Finding Similar Items, Chapter Three of “Mining of Massive Datasets” by Anand Rajaraman and Jeff Ullman is a textbook introducing the LSH concept.
Code, Java, and HoGent
The DSP library for Taros, aptly named TarsosDSP, now includes an example showing how to synthesize cat sounds. The inspration came from this youtube video
To hear what exactly it does, listen to the following audio example.
There is also a command line interface, the following command does
\
java -jar Catify-latest.jar in.mid\
 _______                       _____   _____ _____
|__   __|                     |  __ \ / ____|  __ \
   | | __ _ _ __ ___  ___  ___| |  | | (___ | |__) |
   | |/ _` | '__/ __|/ _ \/ __| |  | |\___ \|  ___/
   | | (_| | |  \__ \ (_) \__ \ |__| |____) | |
   |_|\__,_|_|  |___/\___/|___/_____/|_____/|_|

----------------------------------------------------
Name:
    TarsosDSP catify'er
----------------------------------------------------
Synopsis:
    java -jar Catify-latest.jar input.mid
----------------------------------------------------
Description:
The source code of the Java implementation of the catify’er can be found on the TarsosDSP github page.
Code, Java, and HoGent
The DSP library for Taros, aptly named TarsosDSP, now includes an implementation of a pitch shifting algorithm (as of version 1.4). The goal of pitch shifting is to change the pitch of a piece of audio without affecting the duration. The algorithm implemented is a combination of resampling and time stretching. Resampling changes the pitch of the audio, but affects the total duration. Consecutively, the duration of the audio is stretched to the original (without affecting pitch) with time stretching. The result is very similar to phase vocoding.
The example application below shows how to pitch shift input from the microphone in real-time, or pitch shift a recorded track with the TarsosDSP library.
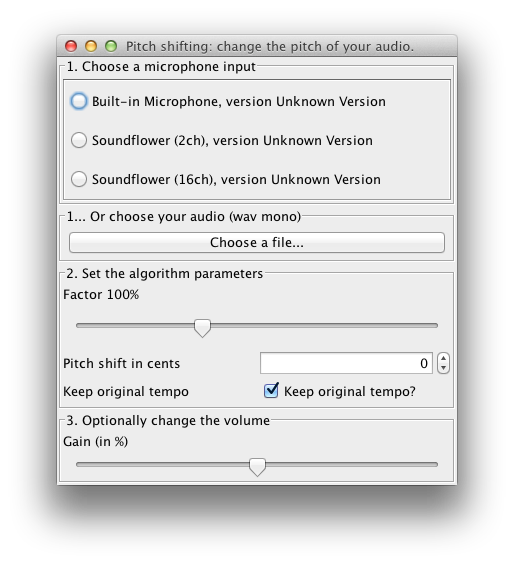
To test the application, download and execute the PitchShift.jar file and load an audio file. For the moment only 44.1kHz mono wav is allowed. To get started you can try “this piece of audio”:[08._Ladrang_Kandamanyura_10s-20s.wav].
There is also a command line interface, the following command lowers the pitch of in.wav by two semitones.
java -jar in.wav out.wav -200

----------------------------------------------------
 _______                       _____   _____ _____
|__   __|                     |  __ \ / ____|  __ \
   | | __ _ _ __ ___  ___  ___| |  | | (___ | |__) |
   | |/ _` | '__/ __|/ _ \/ __| |  | |\___ \|  ___/
   | | (_| | |  \__ \ (_) \__ \ |__| |____) | |
   |_|\__,_|_|  |___/\___/|___/_____/|_____/|_|

----------------------------------------------------
Name:
    TarsosDSP Pitch shifting utility.
----------------------------------------------------
Synopsis:
    java -jar PitchShift.jar source.wav target.wav cents
----------------------------------------------------
Description:
    Change the play back speed of audio without changing the pitch.

        source.wav  A readable, mono wav file.
        target.wav  Target location for the pitch shifted file.
        cents       Pitch shifting in cents: 100 means one semitone up,
                -100 one down, 0 is no change. 1200 is one octave up.
The resampling feature was implemented with libresample4j by Laszlo Systems. libresample4j is a Java port of Dominic Mazzoni’s libresample 0.1.3, which is in turn based on Julius Smith’s Resample 1.7 library.
Code, Java, TarsosDSP, featured, WSOLA, Command Line Application, and HoGent
pitch-shift-in-java.png and 08._Ladrang_Kandamanyura_10s-20s.wav
After about a year of development and several revisions TarsosDSP has enough features and is stable enough to slap the 1.0 tag onto it. A ‘read me’, manual, API documentation, source and binaries can be found on the TarsosDSP release directory. The source is present in the\ What follows below is the information that can be found in the read me file:
TarsosDSP is a collection of classes to do simple audio processing. It features an implementation of a percussion onset detector and two pitch detection algorithms: Yin and the Mcleod Pitch method. Also included is a Goertzel DTMF decoding algorithm and a time stretch algorithm (WSOLA).
Its aim is to provide a simple interface to some audio (signal) processing algorithms implemented in pure JAVA. Some TarsosDSP example applications are available.
The following example filters a band of frequencies of an input file testFile. It keeps the frequencies form startFrequency to stopFrequency.
<code>AudioInputStream inputStream = AudioSystem.getAudioInputStream(testFile);
AudioDispatcher dispatcher = new AudioDispatcher(inputStream,stepSize,overlap);
dispatcher.addAudioProcessor(new HighPass(startFrequency, sampleRate, overlap));
dispatcher.addAudioProcessor(new LowPassFS(stopFrequency, sampleRate, overlap));
dispatcher.addAudioProcessor(new FloatConverter(format));
dispatcher.addAudioProcessor(new WaveformWriter(format,stepSize, overlap, "filtered.wav"));
dispatcher.run();
</code>
Head over to the TarsosDSP release repository and download the latest TarsosDSP library. To get up to speed quickly, check the TarsosDSP Example applications for inspiration and consult the API documentation. If you, for some reason, want to build from source, you need Apache Ant and git installed on your system. The following commands fetch the source and build the library and example jars:
git clone https://JorenSix@github.com/JorenSix/TarsosDSP.git
    cd TarsosDSP/build
    ant tarsos_dsp_library #Builds the core TarsosDSP library
    ant build_examples #Builds all the TarsosDSP examples
    ant javadoc #Creates the documentation in TarsosDSP/doc
\
When everything runs correctly you should be able to run all example applications and have the latest version of the TarsosDSP library for inclusion in your projects. Also the Javadoc documentation for the API should be available in TarsosDSP/doc. Drop me a line if you use TarsosDSP in your project. Always nice to hear how this software is used.
The source tree is divided in three directories:
src contains the source files of the core DSP libraries.
test contains unit tests for some of the DSP functionality.
build contains ANT build files. Either to build Java documentation or runnable JAR-files for the example applications.
examples contains a couple of example applications with a Java Swing user interface:
TarsosDSP, Music Information Retrieval, Code, Java, featured, WSOLA, Command Line Application, and HoGent
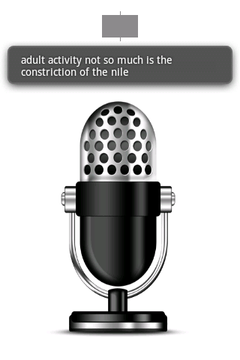 This post is about a hack I did for the 2012 Amsterdam music hack days. From the website:
The Amsterdam Music Hack Day is a full weekend of hacking in which participants will conceptualize, create and present their projects. Music + software + mobile + hardware + art + the web. Anything goes as long as it’s music related
The hackathon was organized at the NiMK(Nederlands instituut voor Media Kunst) the 25th and 24th of May. My hack tries to let a phone start a conversation on its own. It does this by speaking a text and listening to the spoken text with speech recognition. The speech recognition introduces all kinds of interesting permutations of the original text. The recognized text is spoken again and so a dreamlike, unique nonsensical discussion starts. It lets you hear what goes on in the mind of the phone.
The idea is based on Alvin Lucier’s I am Sitting in a Room form 1969 which is embedded below. He used analogue tapes to generate a similar recursive loop. It is a better implementation of something I did a couple of years ago.
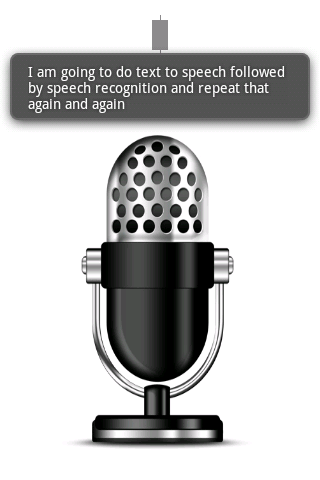
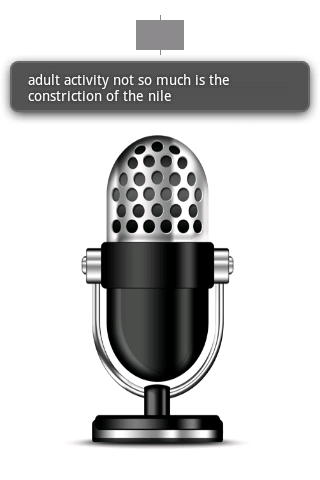
The implementation is done with Android and its API’s. Both speech recognition and text to speech are available on android. Those API’s are used and a user interface shows the recognized text. An example of a session can be found below:
To install the application you can download “Tryalogue.apk”:[Tryalogue.apk] of use the QR-code below. You need Android 2.3 with Voice Recognition and TTS installed. Also needed is an internet connection. “The source”:[Tryalogue.zip] is also up for grabs.

 Muziek, Code, Poging tot humor, Projecten, Hackerspace Ghent, and 0110.be
screenshot.png, Tryalogue.apk, Tryalogue.zip, and apk.png
Muziek, Code, Poging tot humor, Projecten, Hackerspace Ghent, and 0110.be
screenshot.png, Tryalogue.apk, Tryalogue.zip, and apk.png
This blog post documents how to get the Matlab implementation by Dan Ellis of Avery Wangs Industrial-Strength Audio Search Algorithm running with GNU Octave on Ubuntu (and similar Linux distributions).
The Dan Ellis implementation is nicely documented here: Robust Landmark-Based Audio Fingerprinting . To download, get info about and decode mp3’s some external binaries are needed:
```bash\ #install octave if needed\ sudo apt-get install octave3.2\ #Install the required dependencies for the script\ sudo apt-get install mp3info curl
wget http://www.mpg123.de/download/mpg123-1.13.5.tar.bz2\ tar xvvf mpg123-1.13.5.tar.bz2\ cd mpg123-1.13.5/\ ./configure\ make\ sudo make install\ ```
In mp3read.m the following code was changed (line 111 and 112):
```matlab\ mpg123 = ‘mpg123’; % was fullfile(path,[‘mpg123.’,ext]);\ mp3info = ‘mp3info’; % was fullfile(path,[‘mp3info.’,ext]);\ ```
Then, the demo program runs flawlessly when executing octave -q demo_fingerprint.m.
Running the demo with the original code with GNU Octave, version 3.2.3 takes 152 seconds on a PC with a Q9650 @ 3GHz processor. A small tweak can make it run almost 8 times faster. When working with larger data sets (10k audio files) this makes a big difference. I do not know why but storing a hash in the large hash table was really slow (0.5s per hash, with 900 hashes per song…). Caching the hashes and adding them all at once makes it faster (at least in Octave, YMMV). The optimized version of “record_hashes.m”:[record_hashes.m.txt] can be found attached. With this alteration the same demo ran in 20s. When caching the data locally the difference is 11.5s to 141s or 12 times faster. The code with all the changes can be found here: “Robust Landmark-Based Audio Fingerprinting - optimized for Octave 3.2”:[fingerprint_fast.zip]. Please note again that the implementation is done by Dan Ellis (2009) ( available on Robust Landmark-Based Audio Fingerprinting) and I did only some small tweaks.
Code and HoGent
record_hashes.m.txt and fingerprint_fast.zip